
Fun with upcycling
Braided upcycled rug: Easy, affordable, and beautiful
This round rug is made by braiding and sewing fabric strips together. You can cut the strips from old clothes and sheets, and even the smallest scraps will do!
Braided round rug: supplies
Size: 61 x 57 cm
- Approx. 530 g of cut fabric strips
- Scissors
- Strong sewing thread
- Sharp sewing needle.


Braided rug: instructions
Cutting the fabric strips
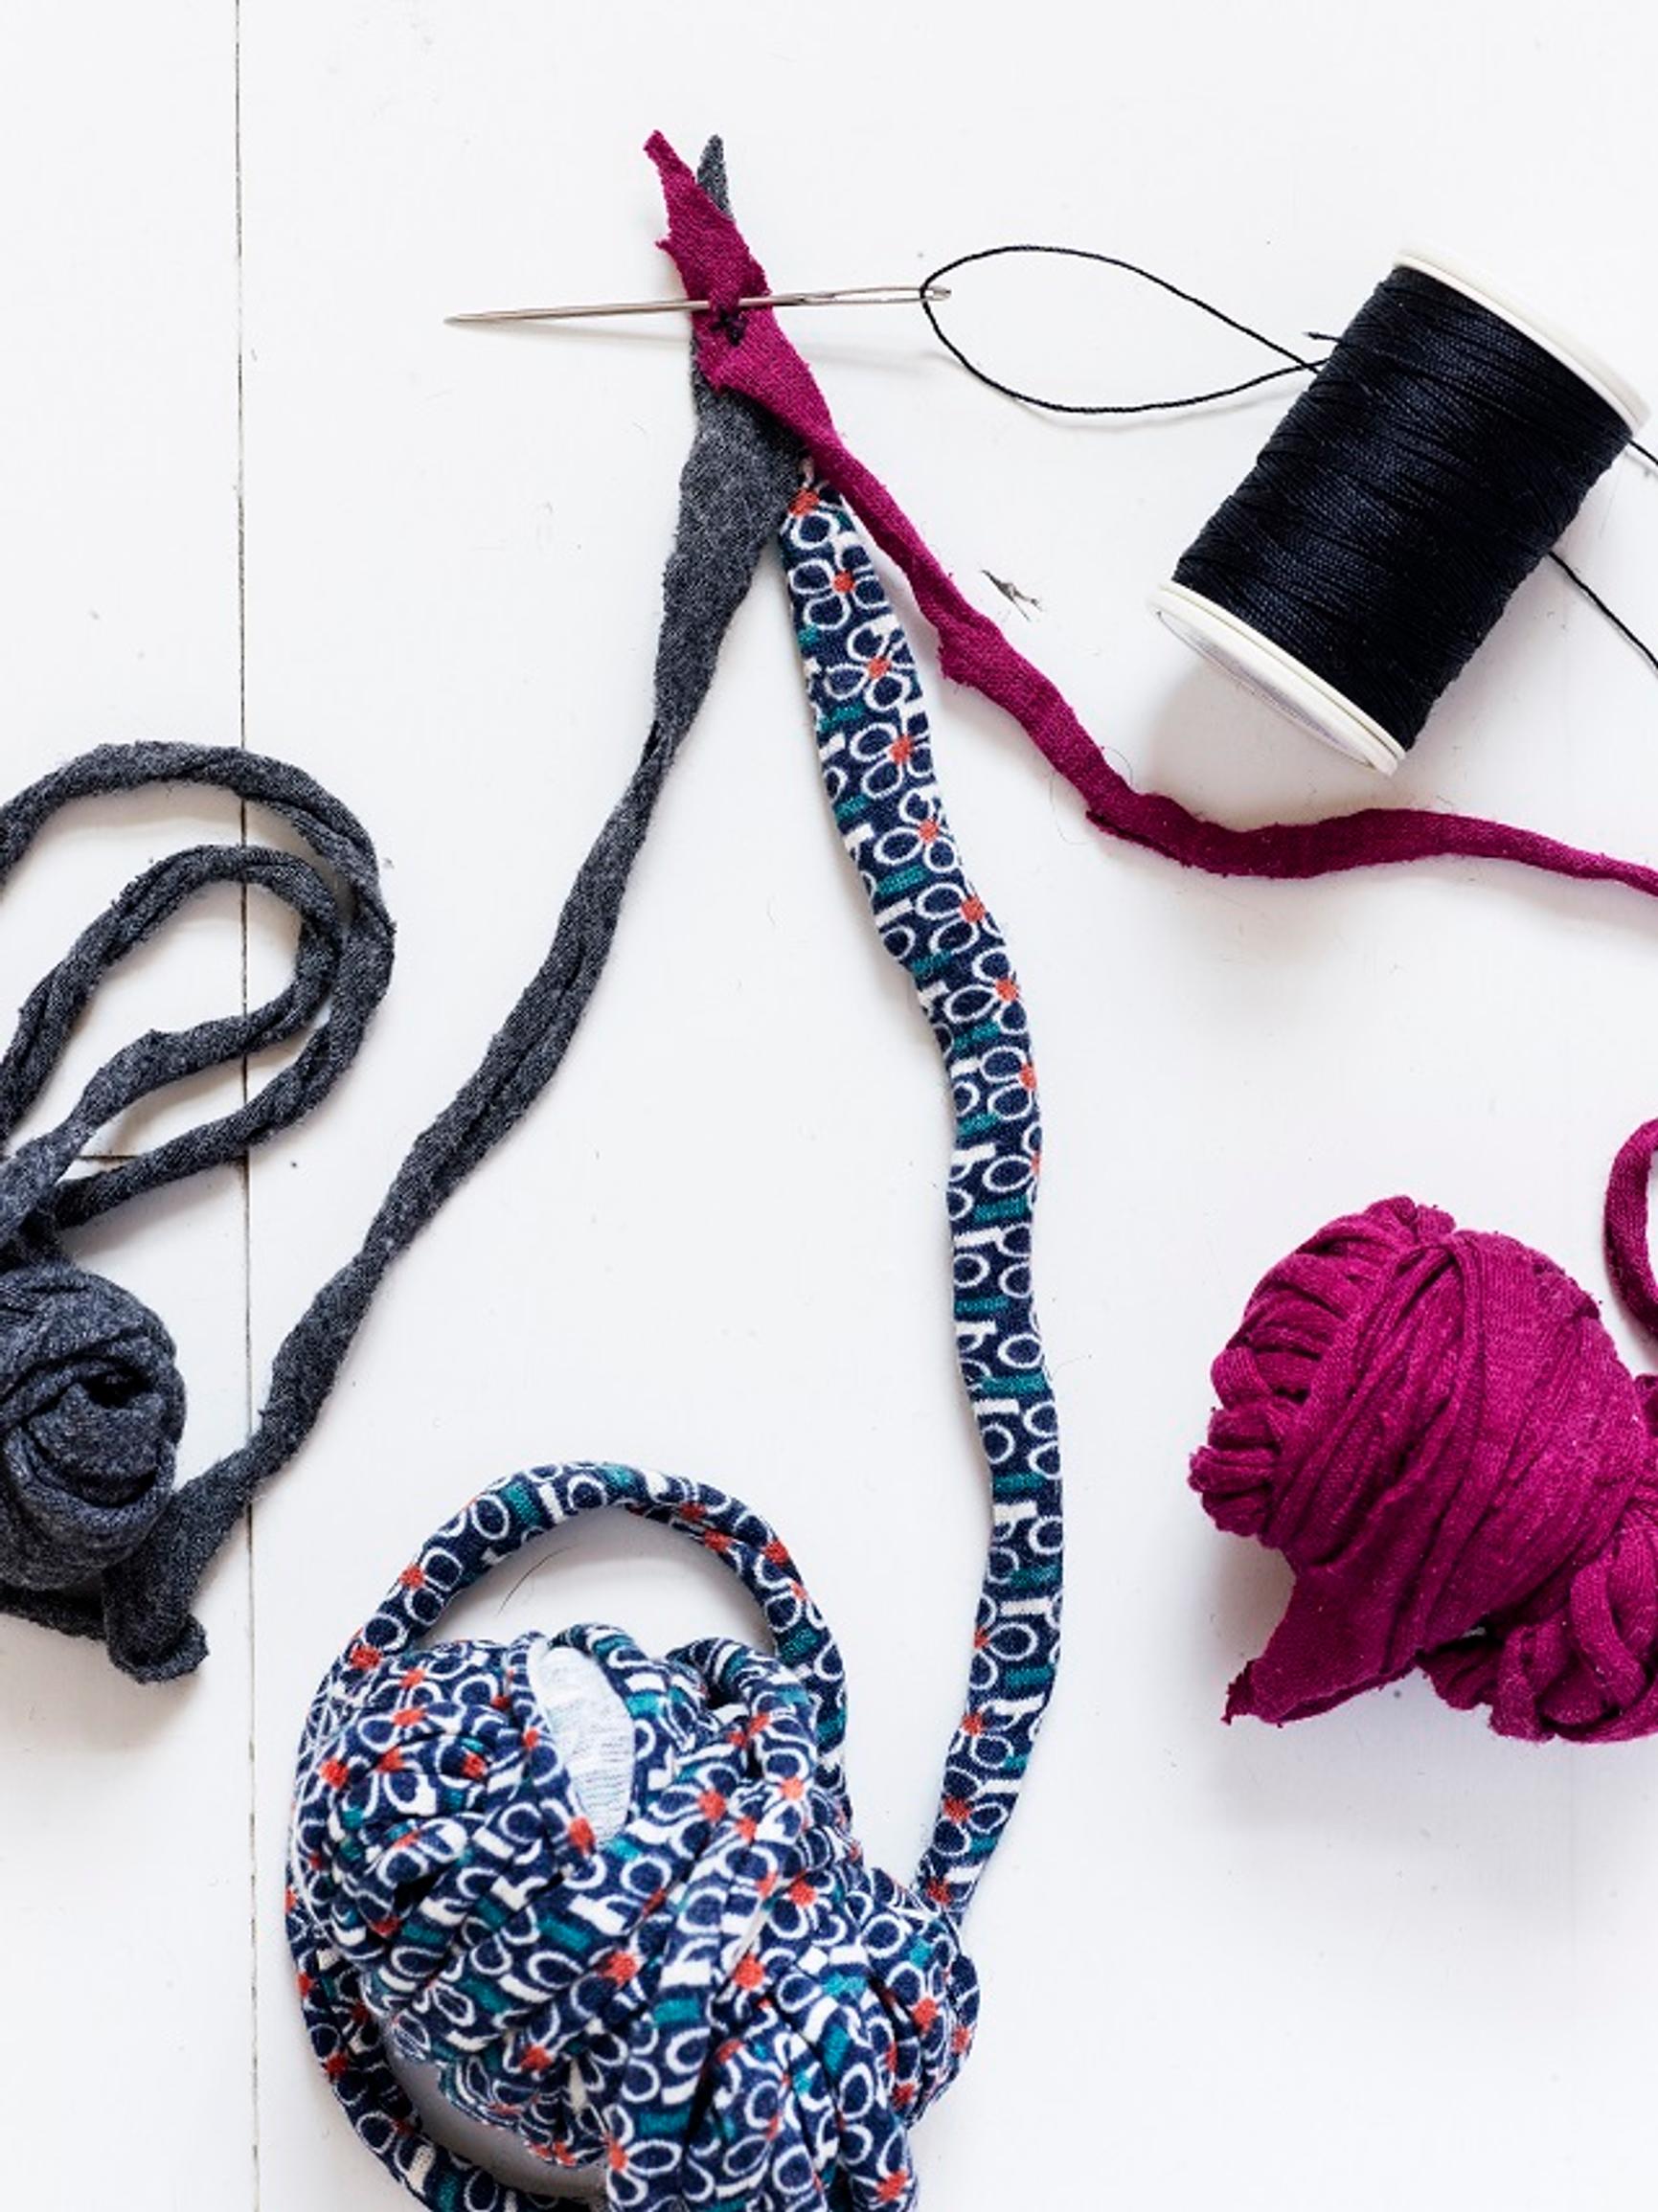
- First, cut off the front and back pieces of the clothes. You can cut fabric strips from garment pieces and fabrics horizontally, vertically, or diagonally. However, keep in mind that when cutting jersey, the strip will unravel less if you cut it vertically along the knit.
- Taper the ends of the strips by cutting them at an angle. Also taper the turning points by cutting them diagonally on both sides into a V shape.
- Make sure the strips you cut from different materials have the same thickness: if you cut from thinner fabric, the strip can be wider, and if you cut from thicker fabric, it can be narrower. Also note that the thicker the strip, the thicker and heavier the rug becomes, and vice versa. The strips for the rug in the photo, cut from jersey shirts, were cut a little over 1 cm wide.

Braiding the strips
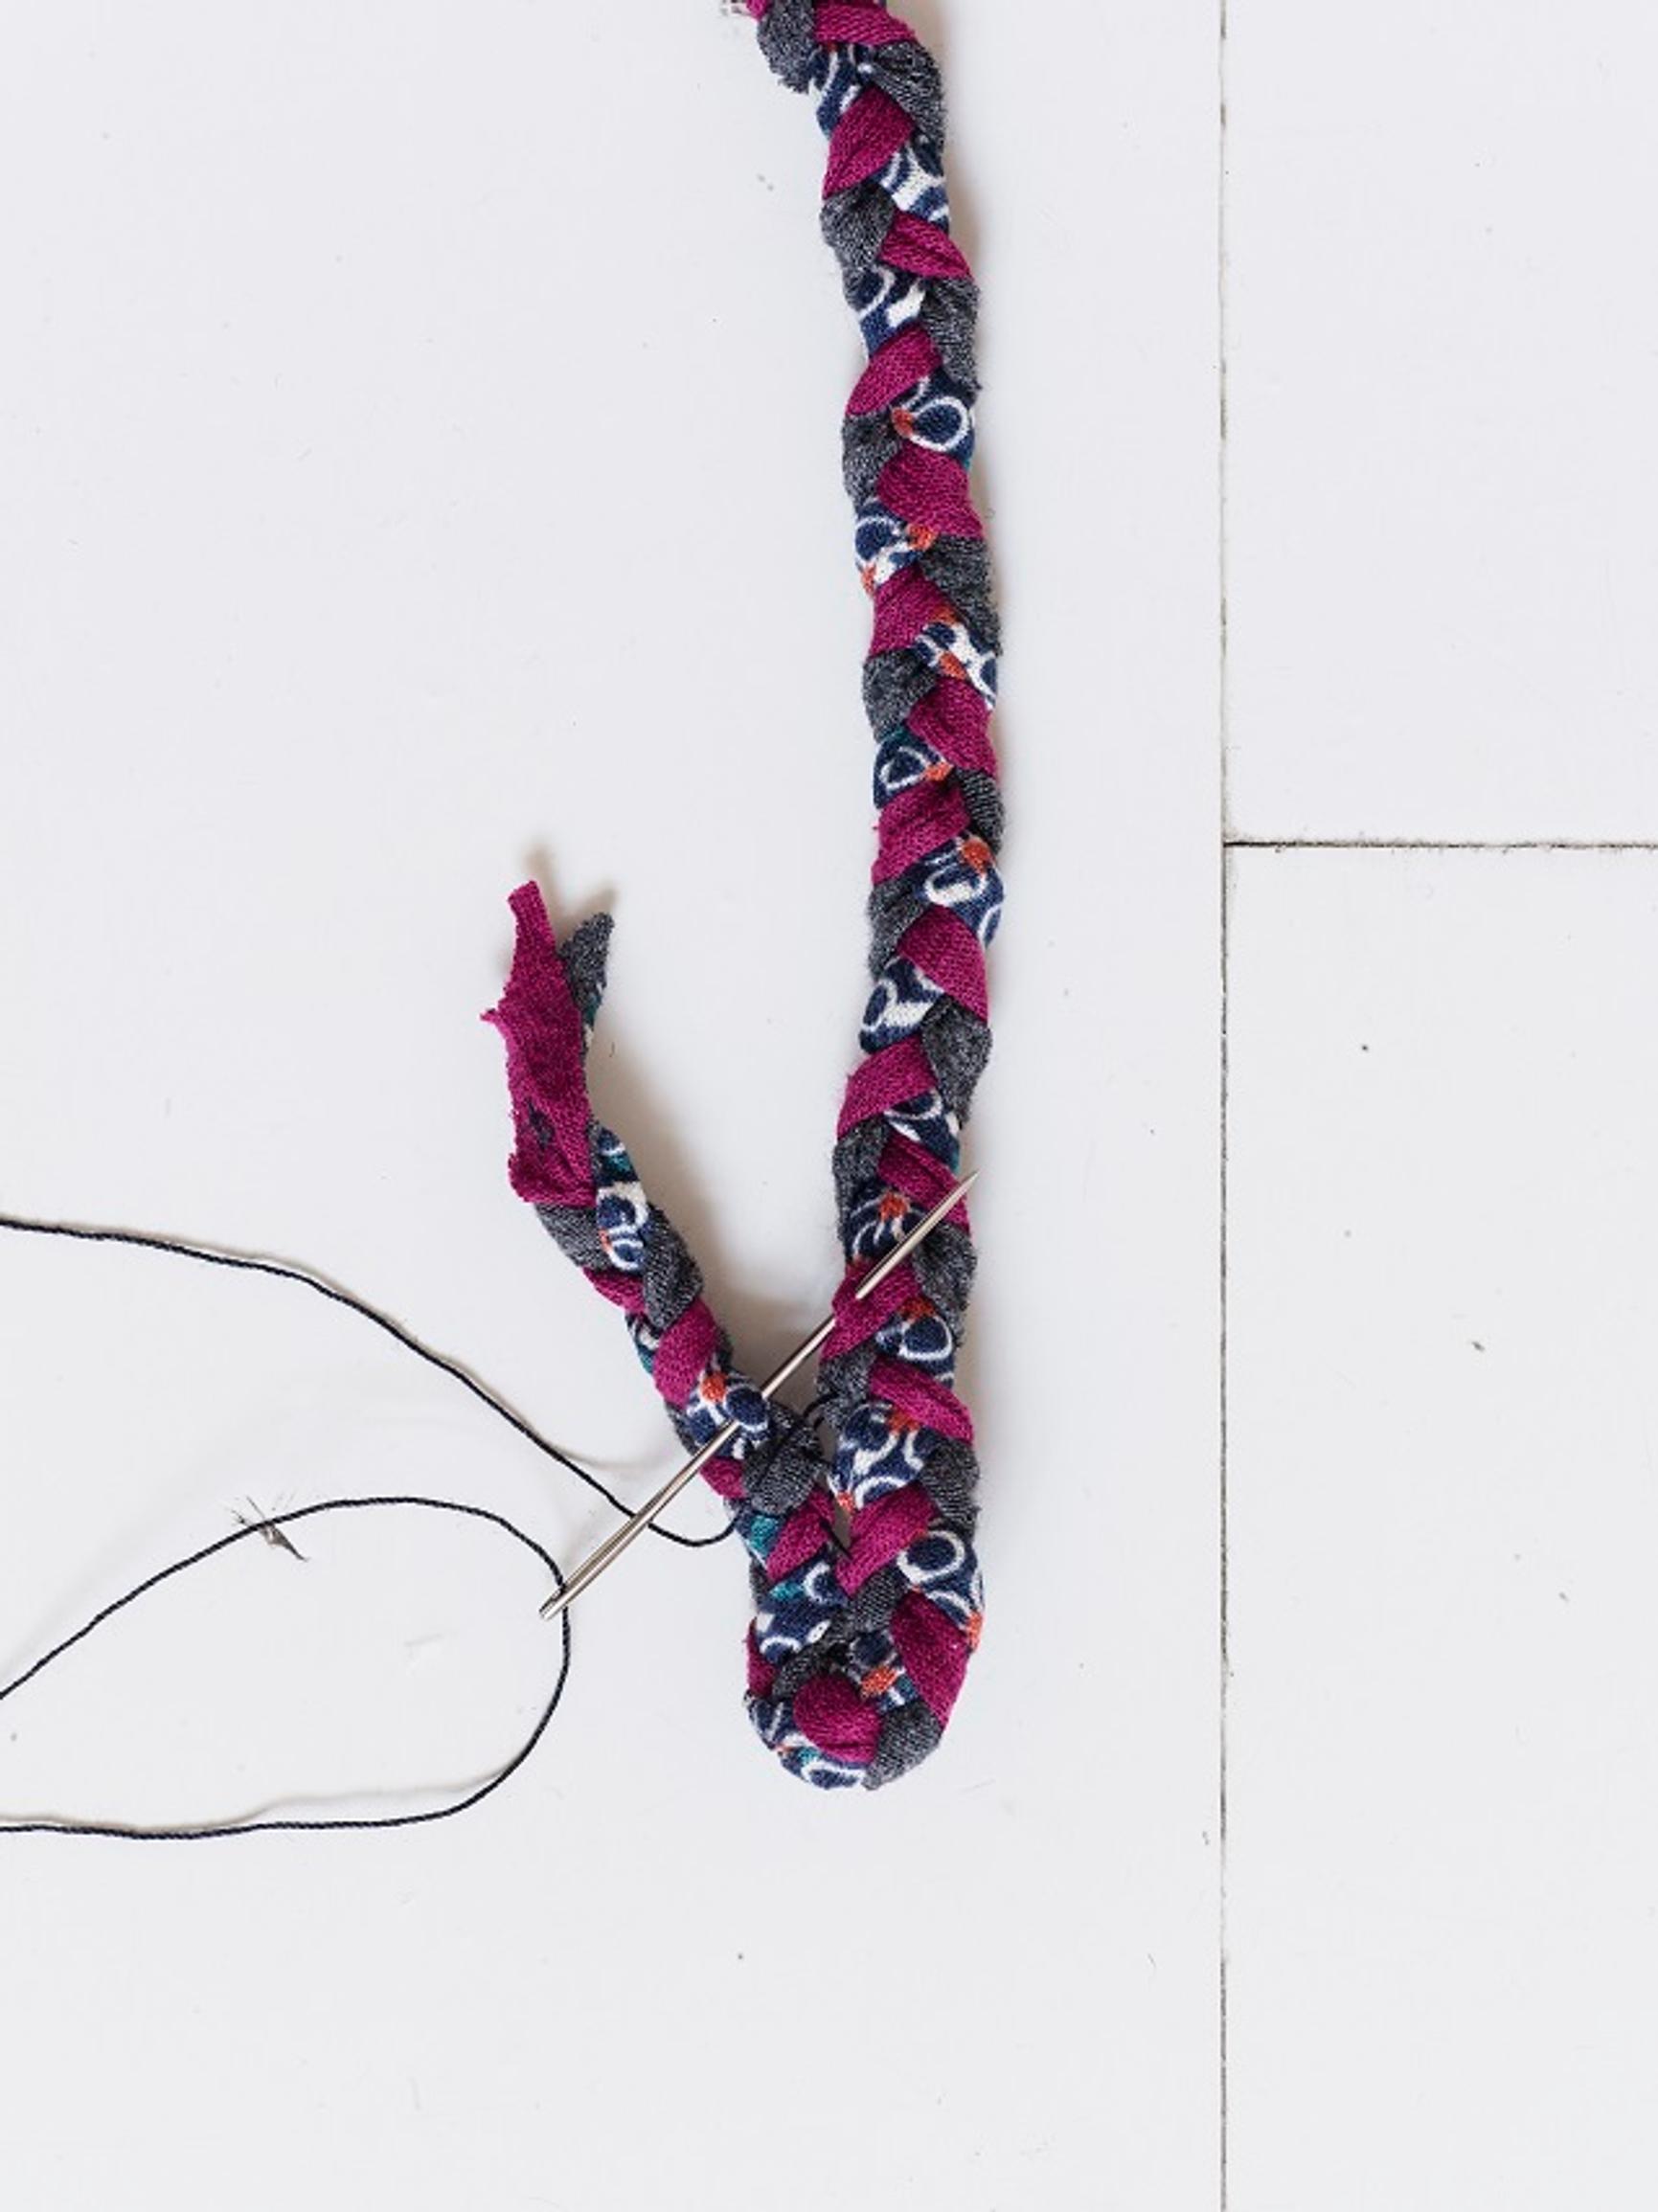
- First, sew the ends of three strips together with a few stitches. They can be different lengths. Then start braiding. It’s easier if you place the braid under a small, movable weight or attach it to something like a chair arm.
- Continue braiding. When one strip runs out, overlap a new one by around 2 cm and sew them together with a few stitches. If the strips are thinner, overlap the old and new strips by around 4 cm as you braid.
Tip!
You can start sewing the rug once you have braided a small ball of strips, and continue braiding in sections while sewing intermittently. This way, you will make exactly as much braid as you need for your rug. Secure the end of an unfinished braid with a safety pin or a clothespin so that it won't unravel.

Sewing the rug
- Start sewing the rug at the center. Fold about 6 cm of the braid’s beginning and firmly stitch the adjacent braids along the sides with basting stitches.
- Gradually coil the braid around the 6 cm starter loop, stitching evenly to form an oval rug. It’s easier if you work on a flat surface. Make sure to feed in enough braid, especially on curved sections, to prevent the rug from curling.
- Remember to sew the braids with the right side facing up and to keep the rug flat. When you’re done, weave the strip ends onto the wrong side of the rug.
Tip!
If you have a sturdy sewing machine, you can also try sewing the rug with a zigzag stitch. Remember to use a heavy-duty needle.
Which materials?
- If you don’t want to stick to just one material, like in the sample rug made from jersey shirts, almost any fabric or garment will work for a braided rug. You can combine jersey strips cut from T-shirts with cotton, denim, satin sheets, or even tracksuit pants.
- The size of the fabric or garment doesn’t matter—even the tiniest baby hat will do. Small scraps create a cheerful array of colors, while a large sheet provides plenty of material. The more different materials you combine, the more vibrant the result becomes. You can also mix homemade strips with store-bought fabric strips.
- Keep in mind that all textiles you plan to cut into strips should be pre-washed, so they won’t shrink later and cause the rug to pucker.