Make botanical prints with gelli printing—try an easy technique for creating unique art
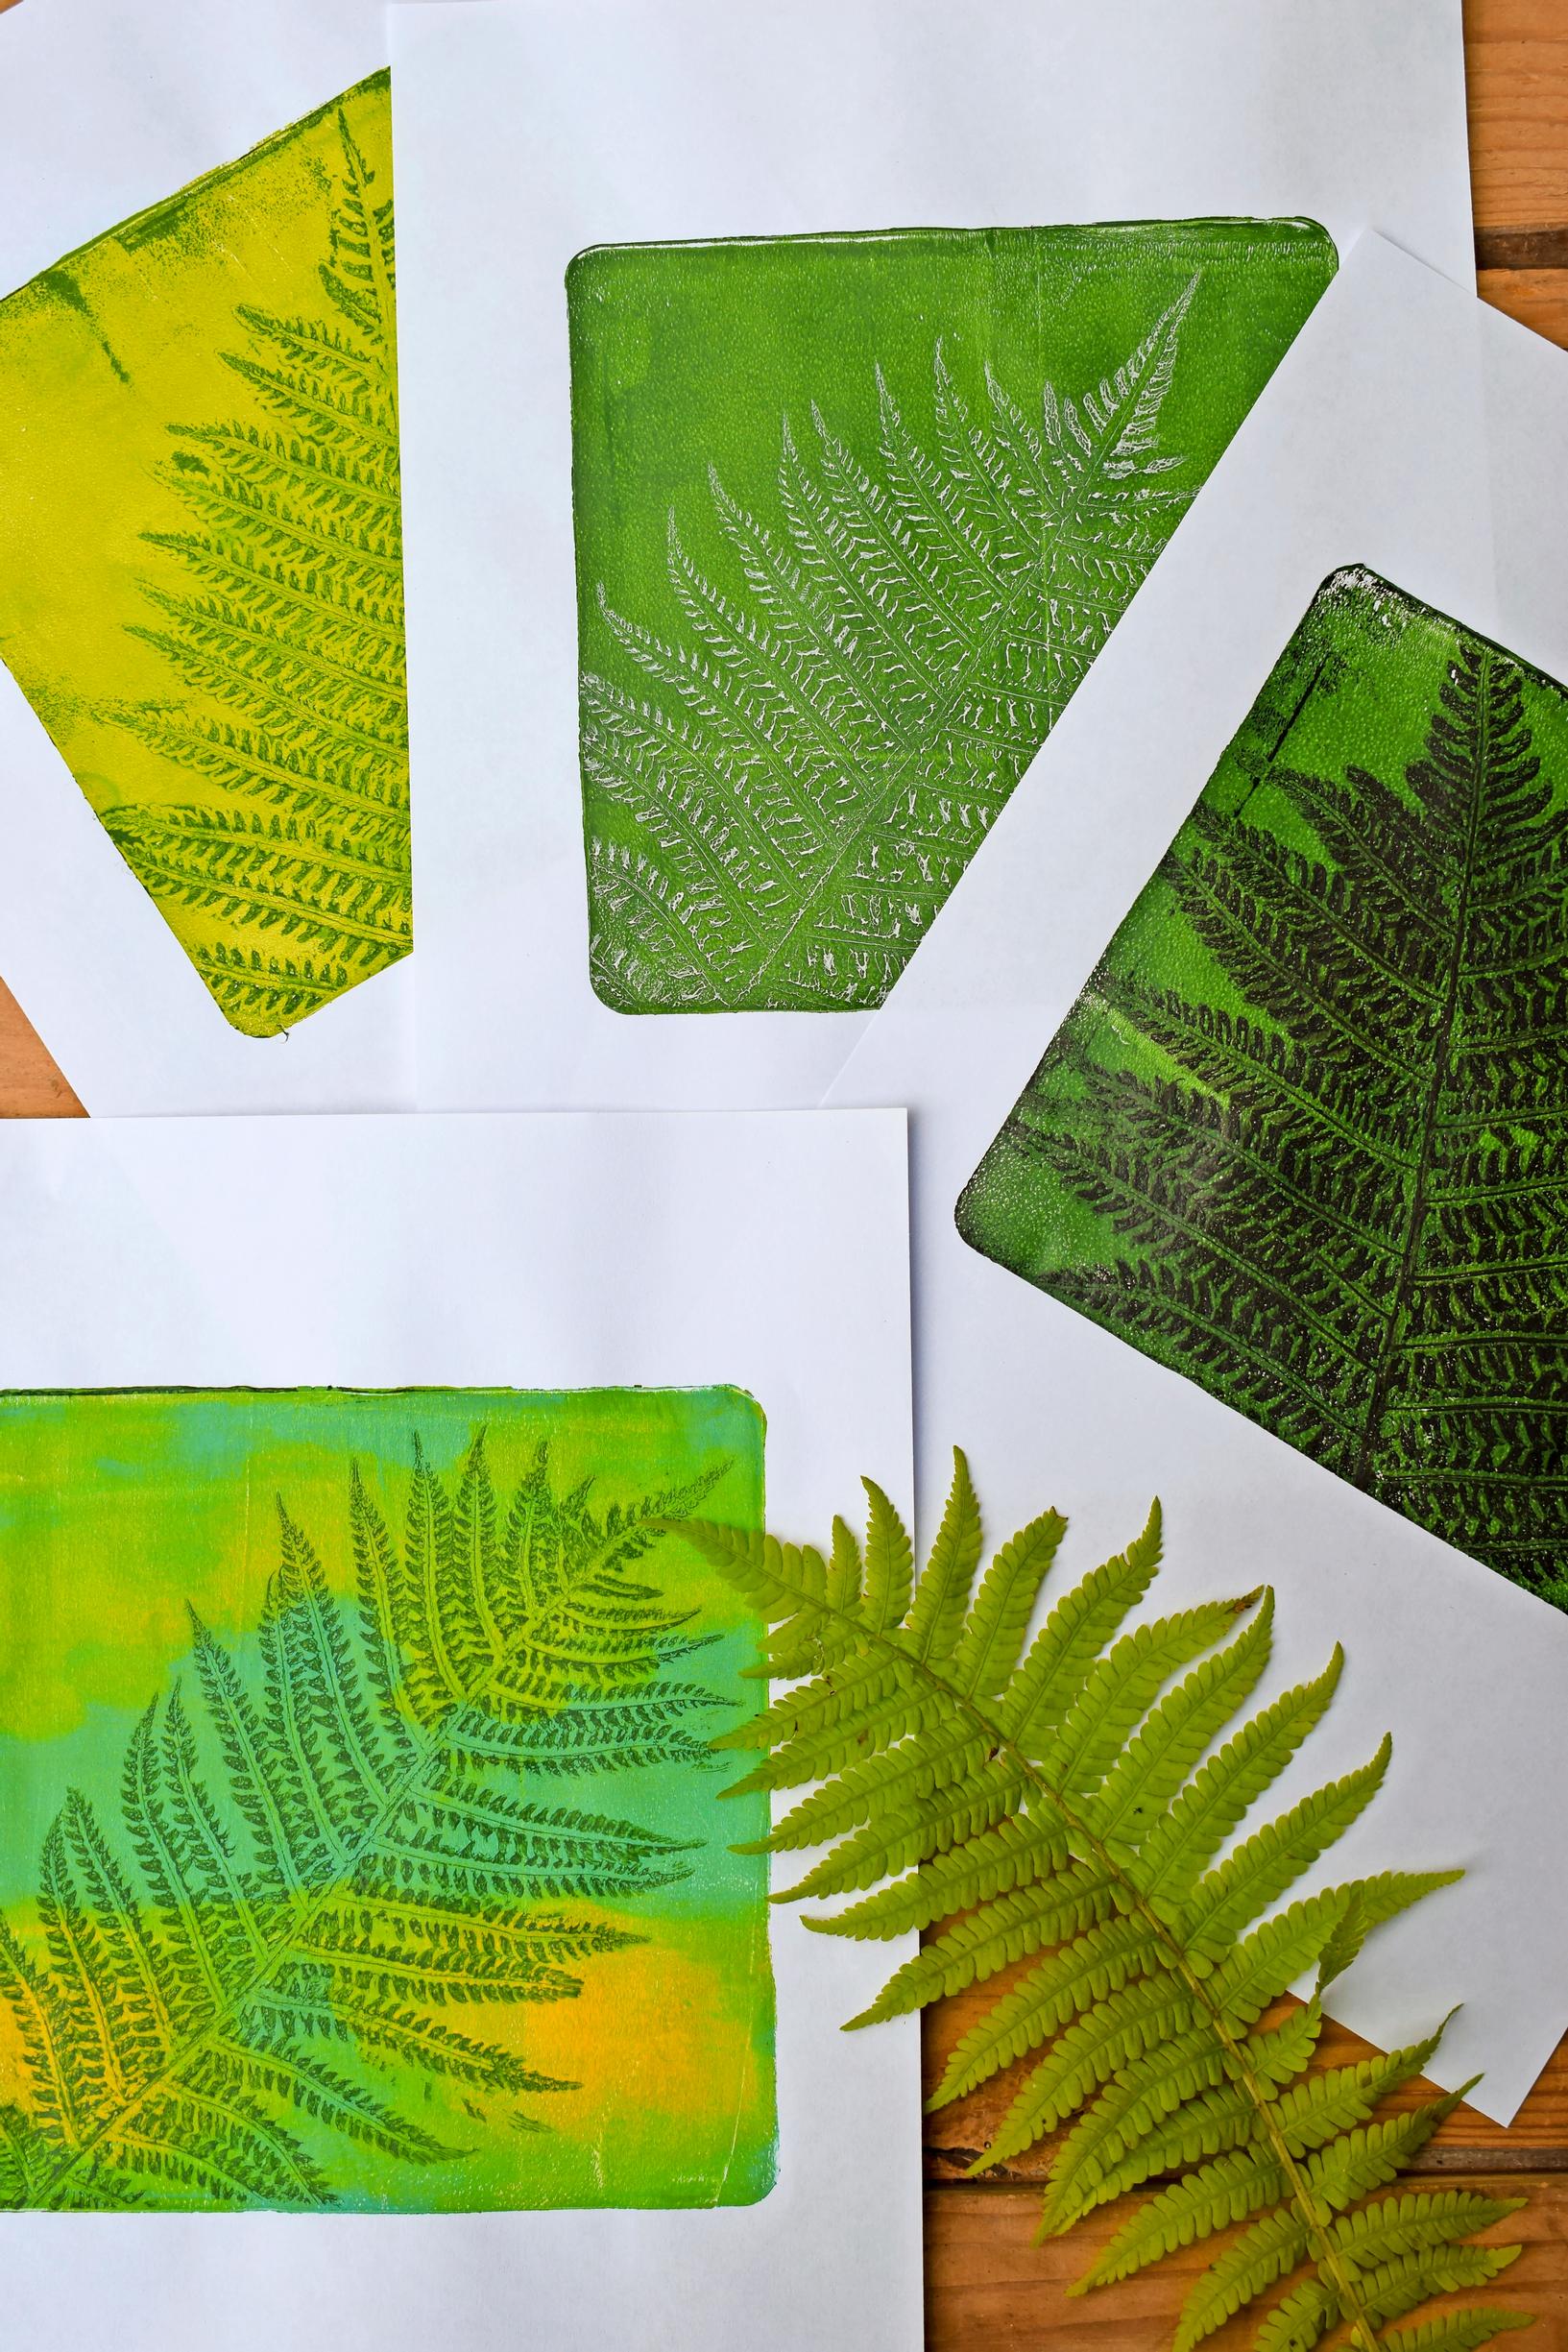
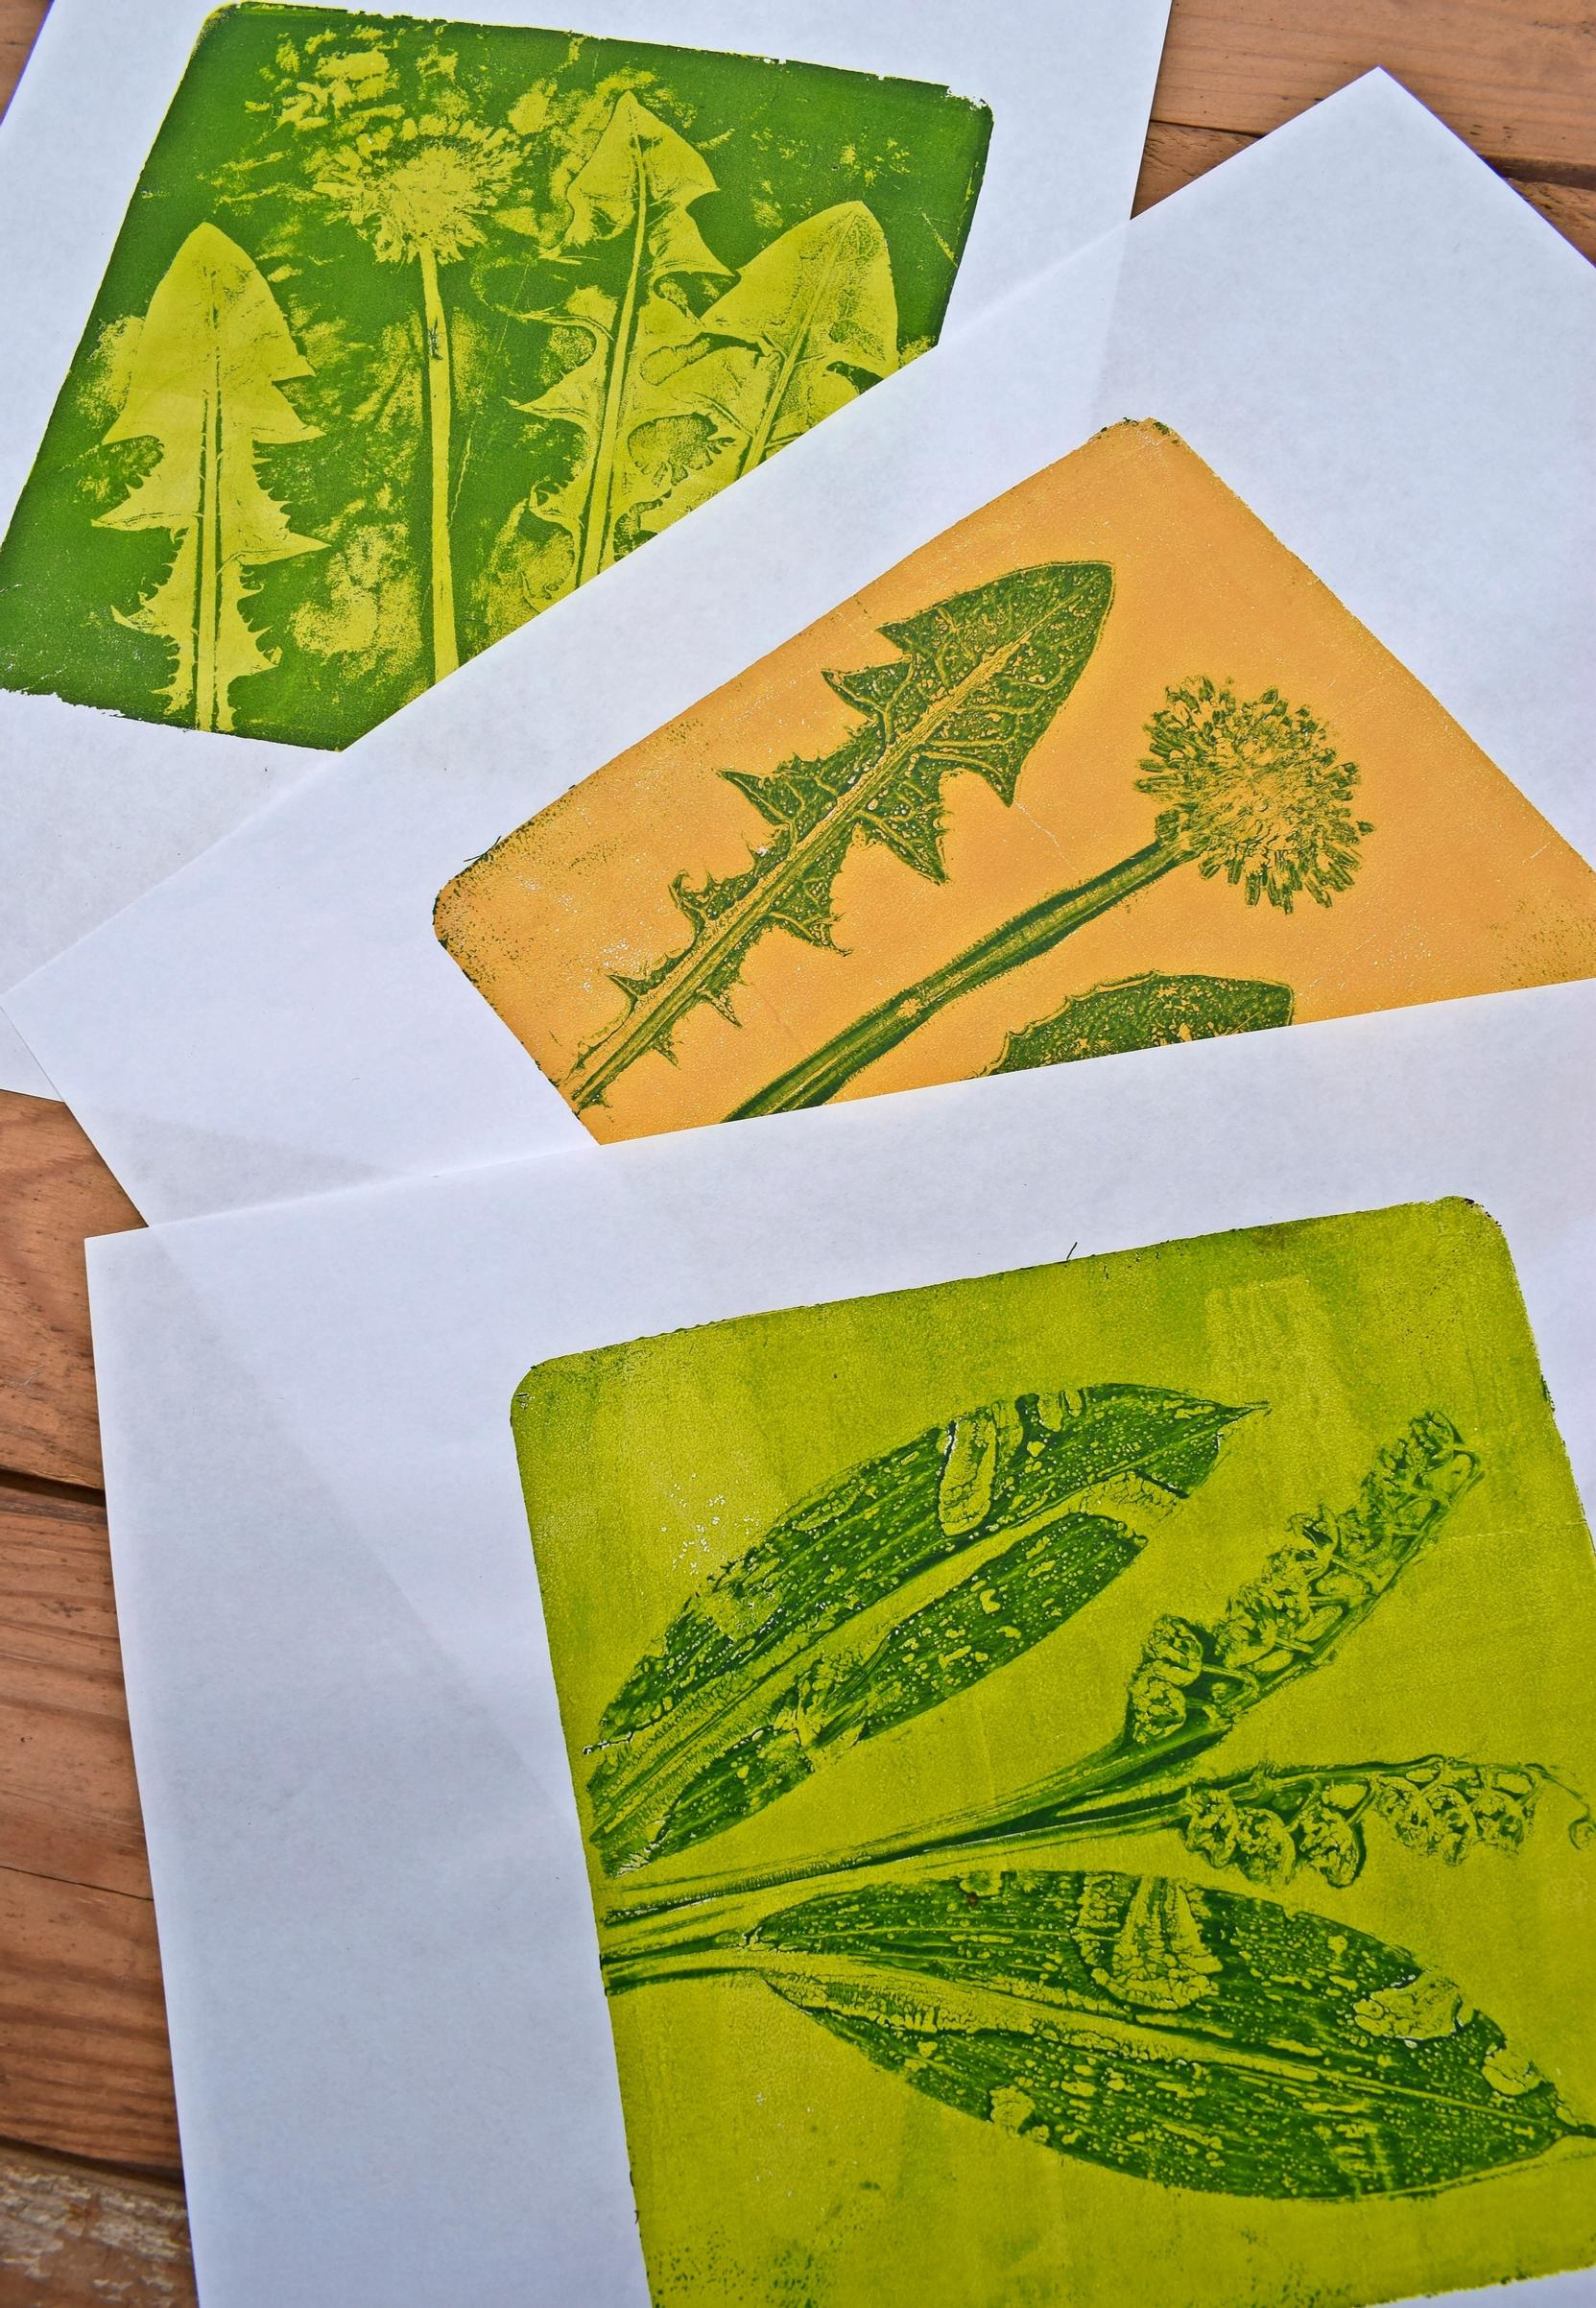
Gelli printing is a creative way to make botanical prints from the plants in your garden. Every pull is one of a kind—no two prints are ever identical. Turn the lovely images into wall art or greeting cards.
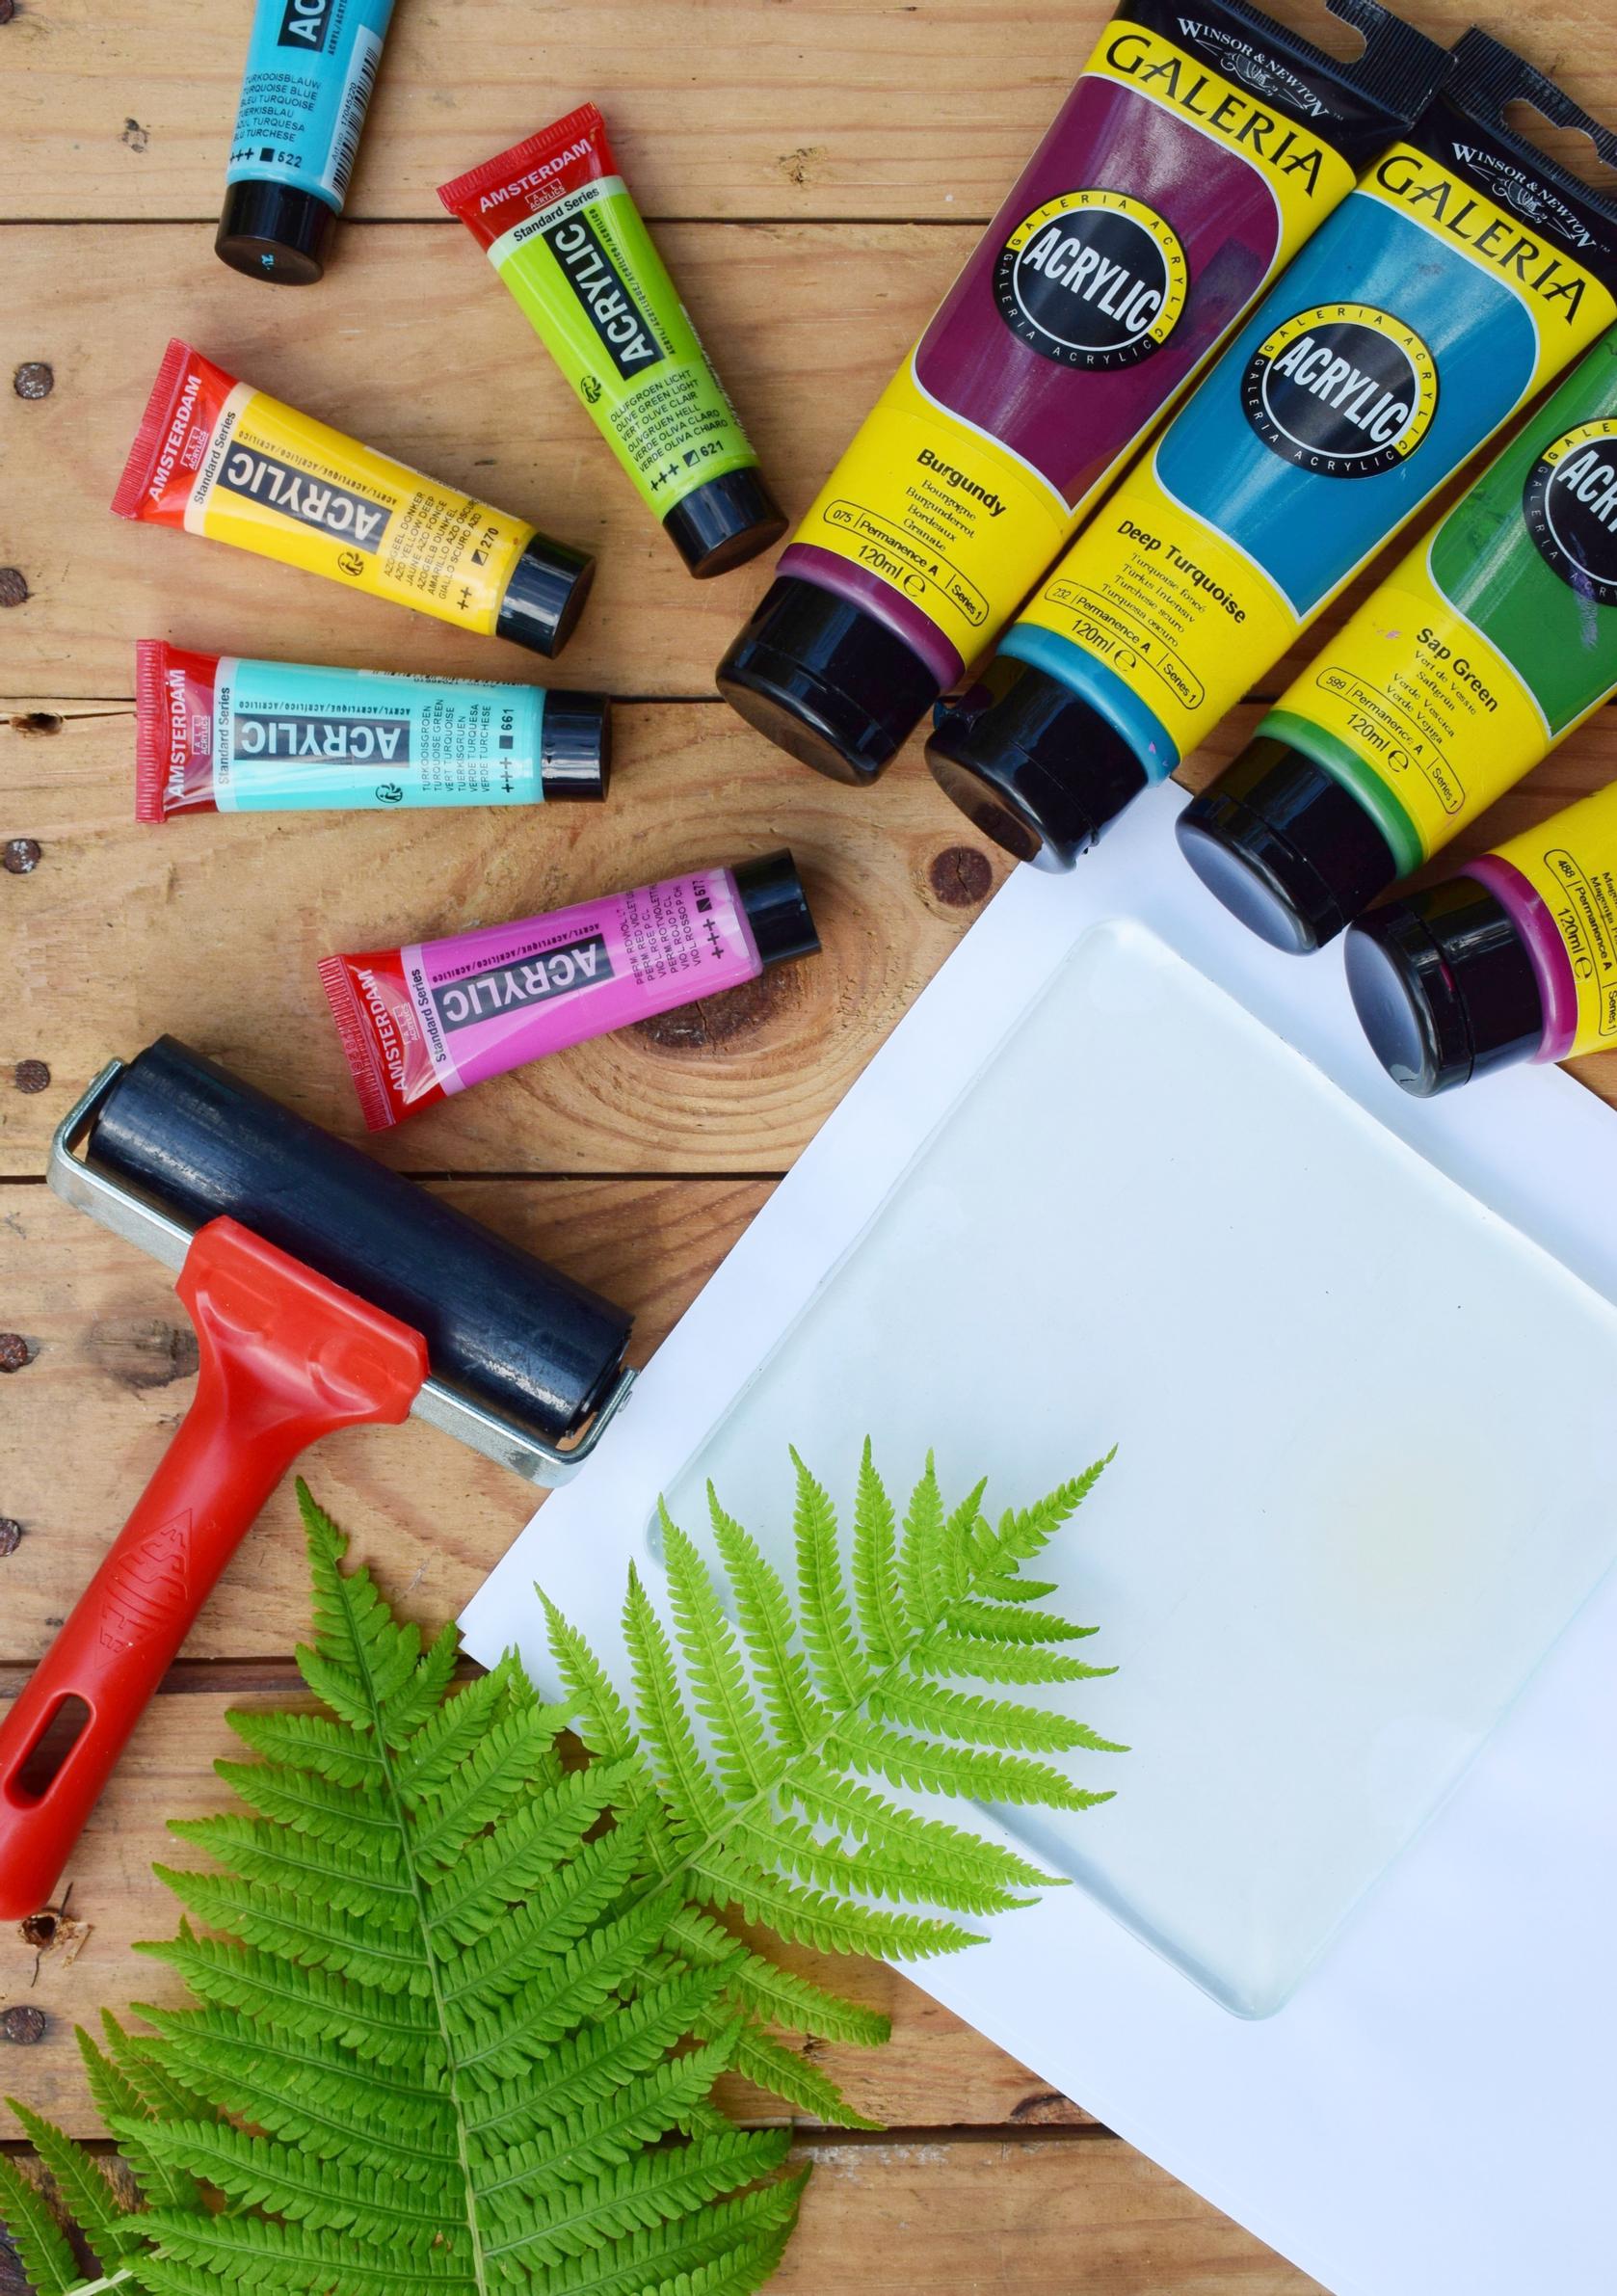
Gelli printing—supplies:
gelli plate
acrylic paints
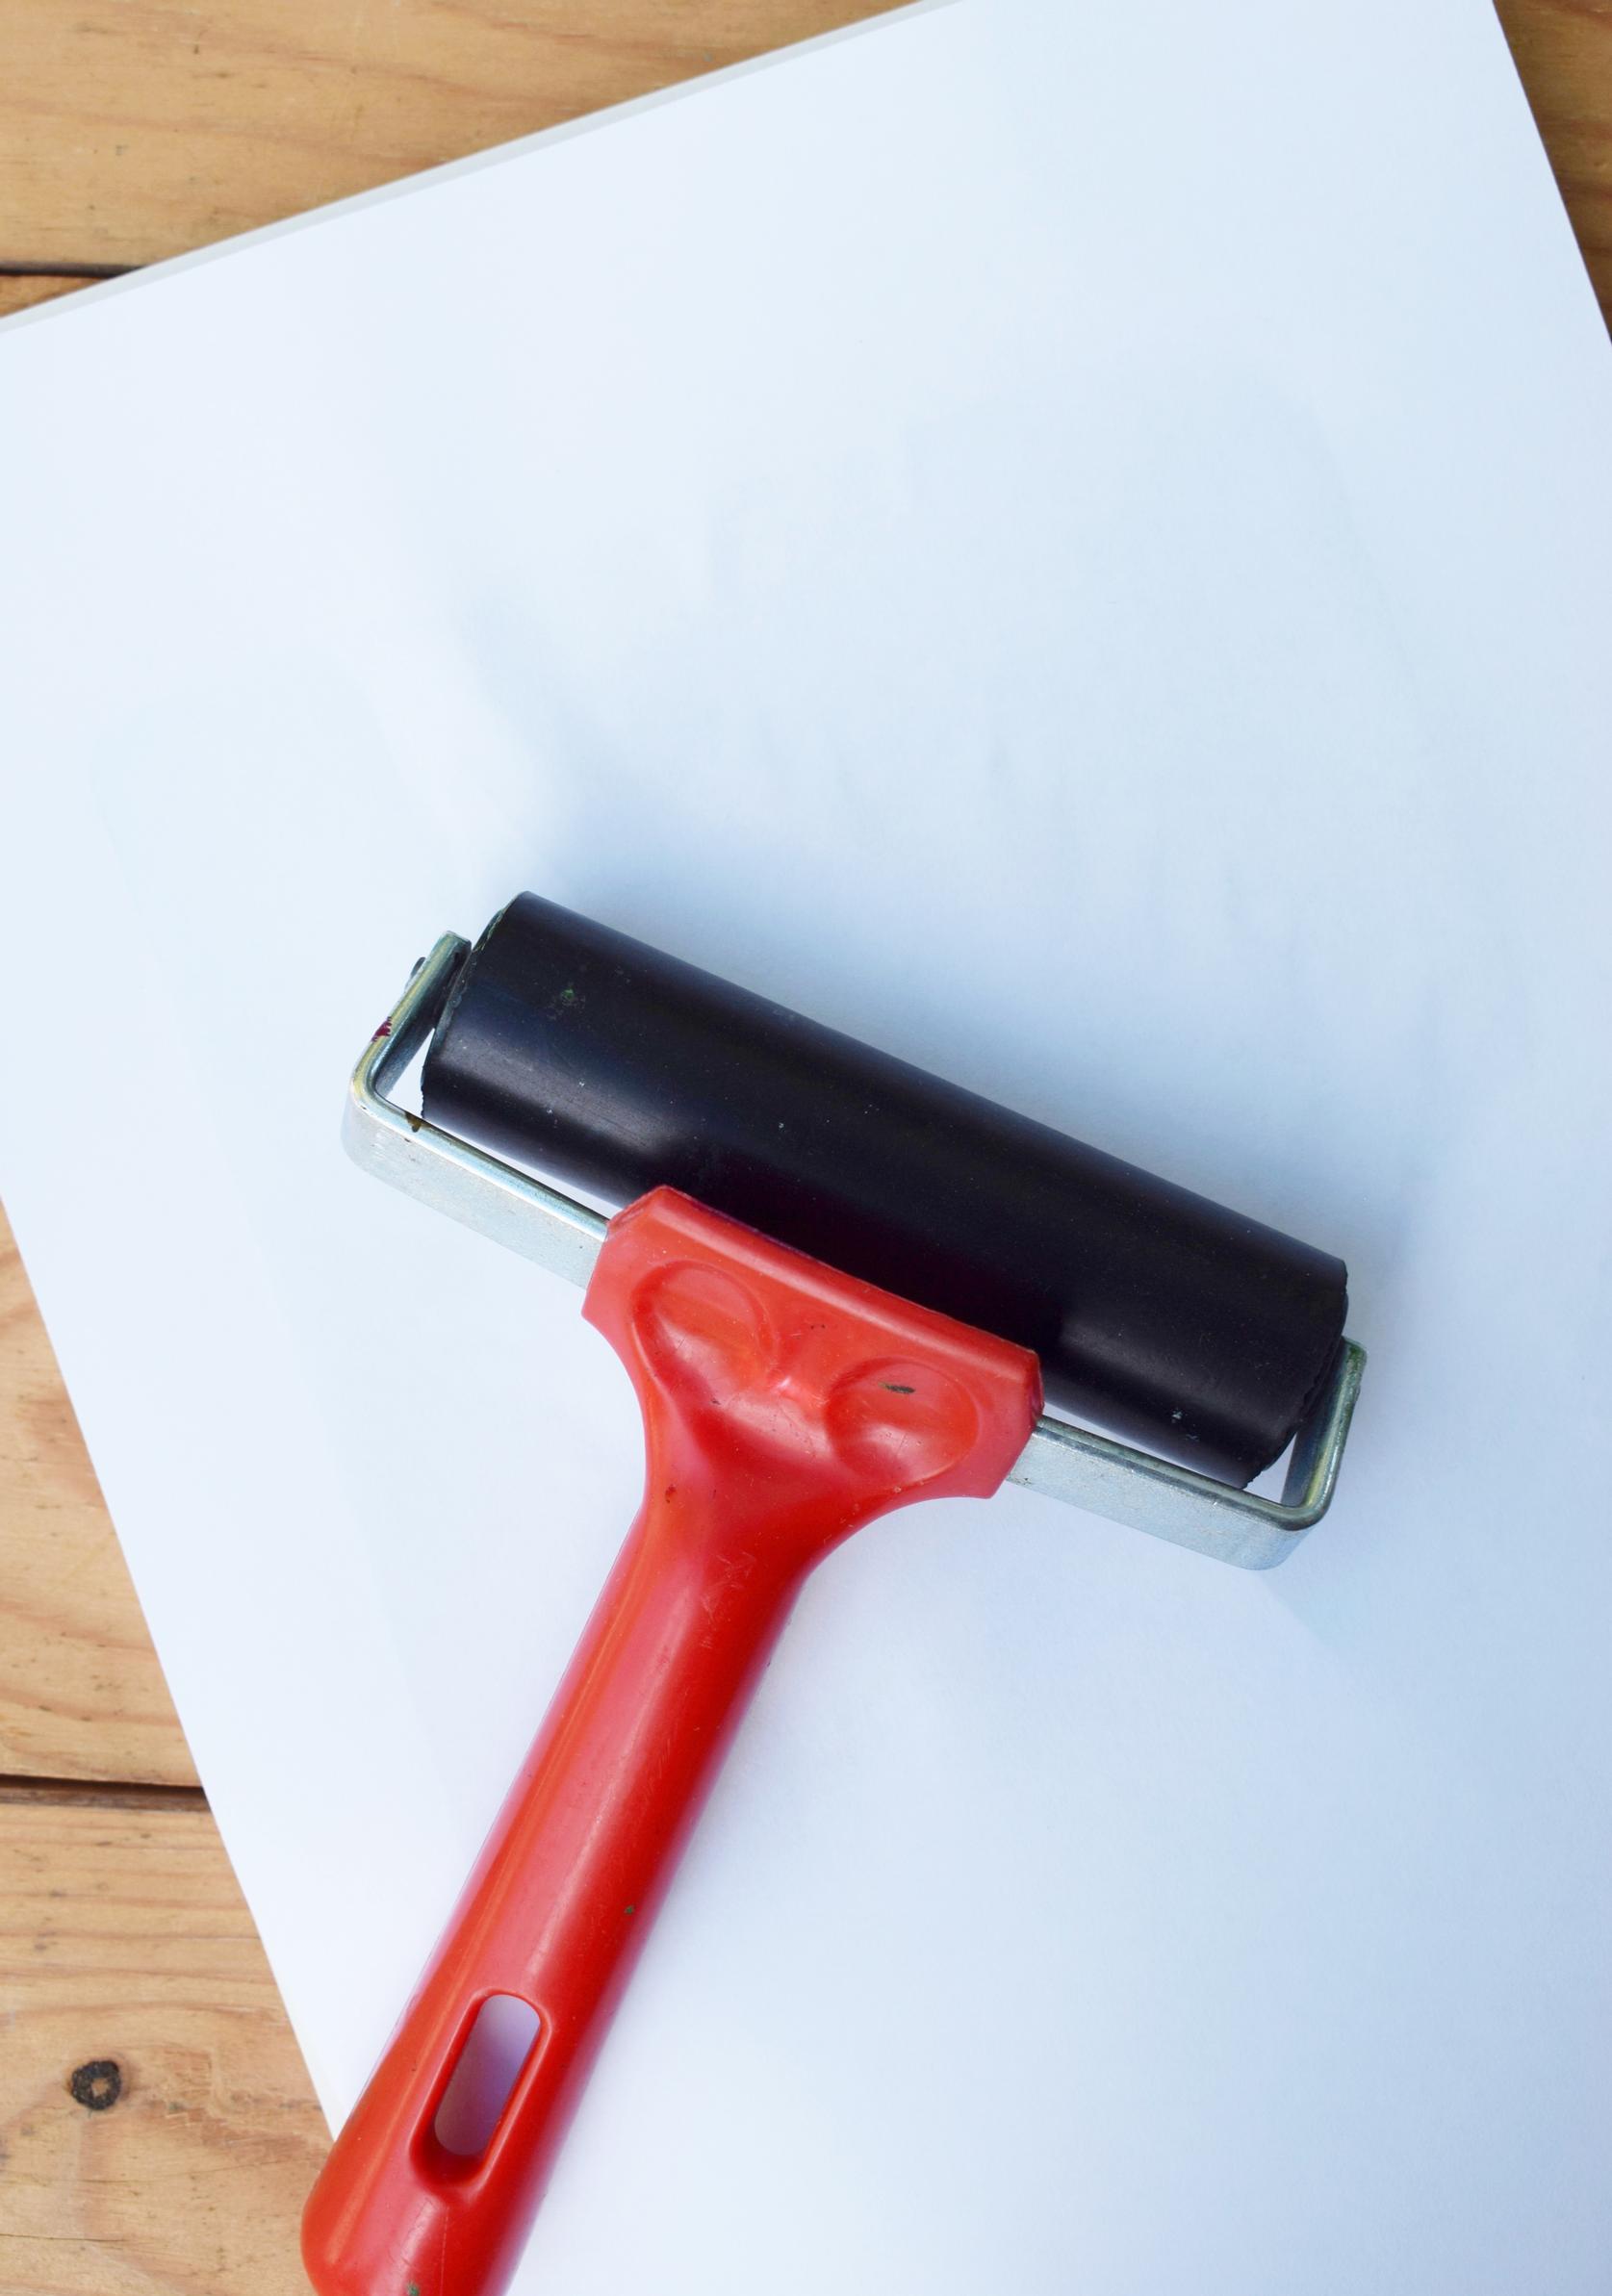
rubber brayer for applying paint
fresh flowers, leaves, and other plants
paper for the prints (e.g., copy paper)
newspaper for protection and scrap paper

Gelli printing—instructions:
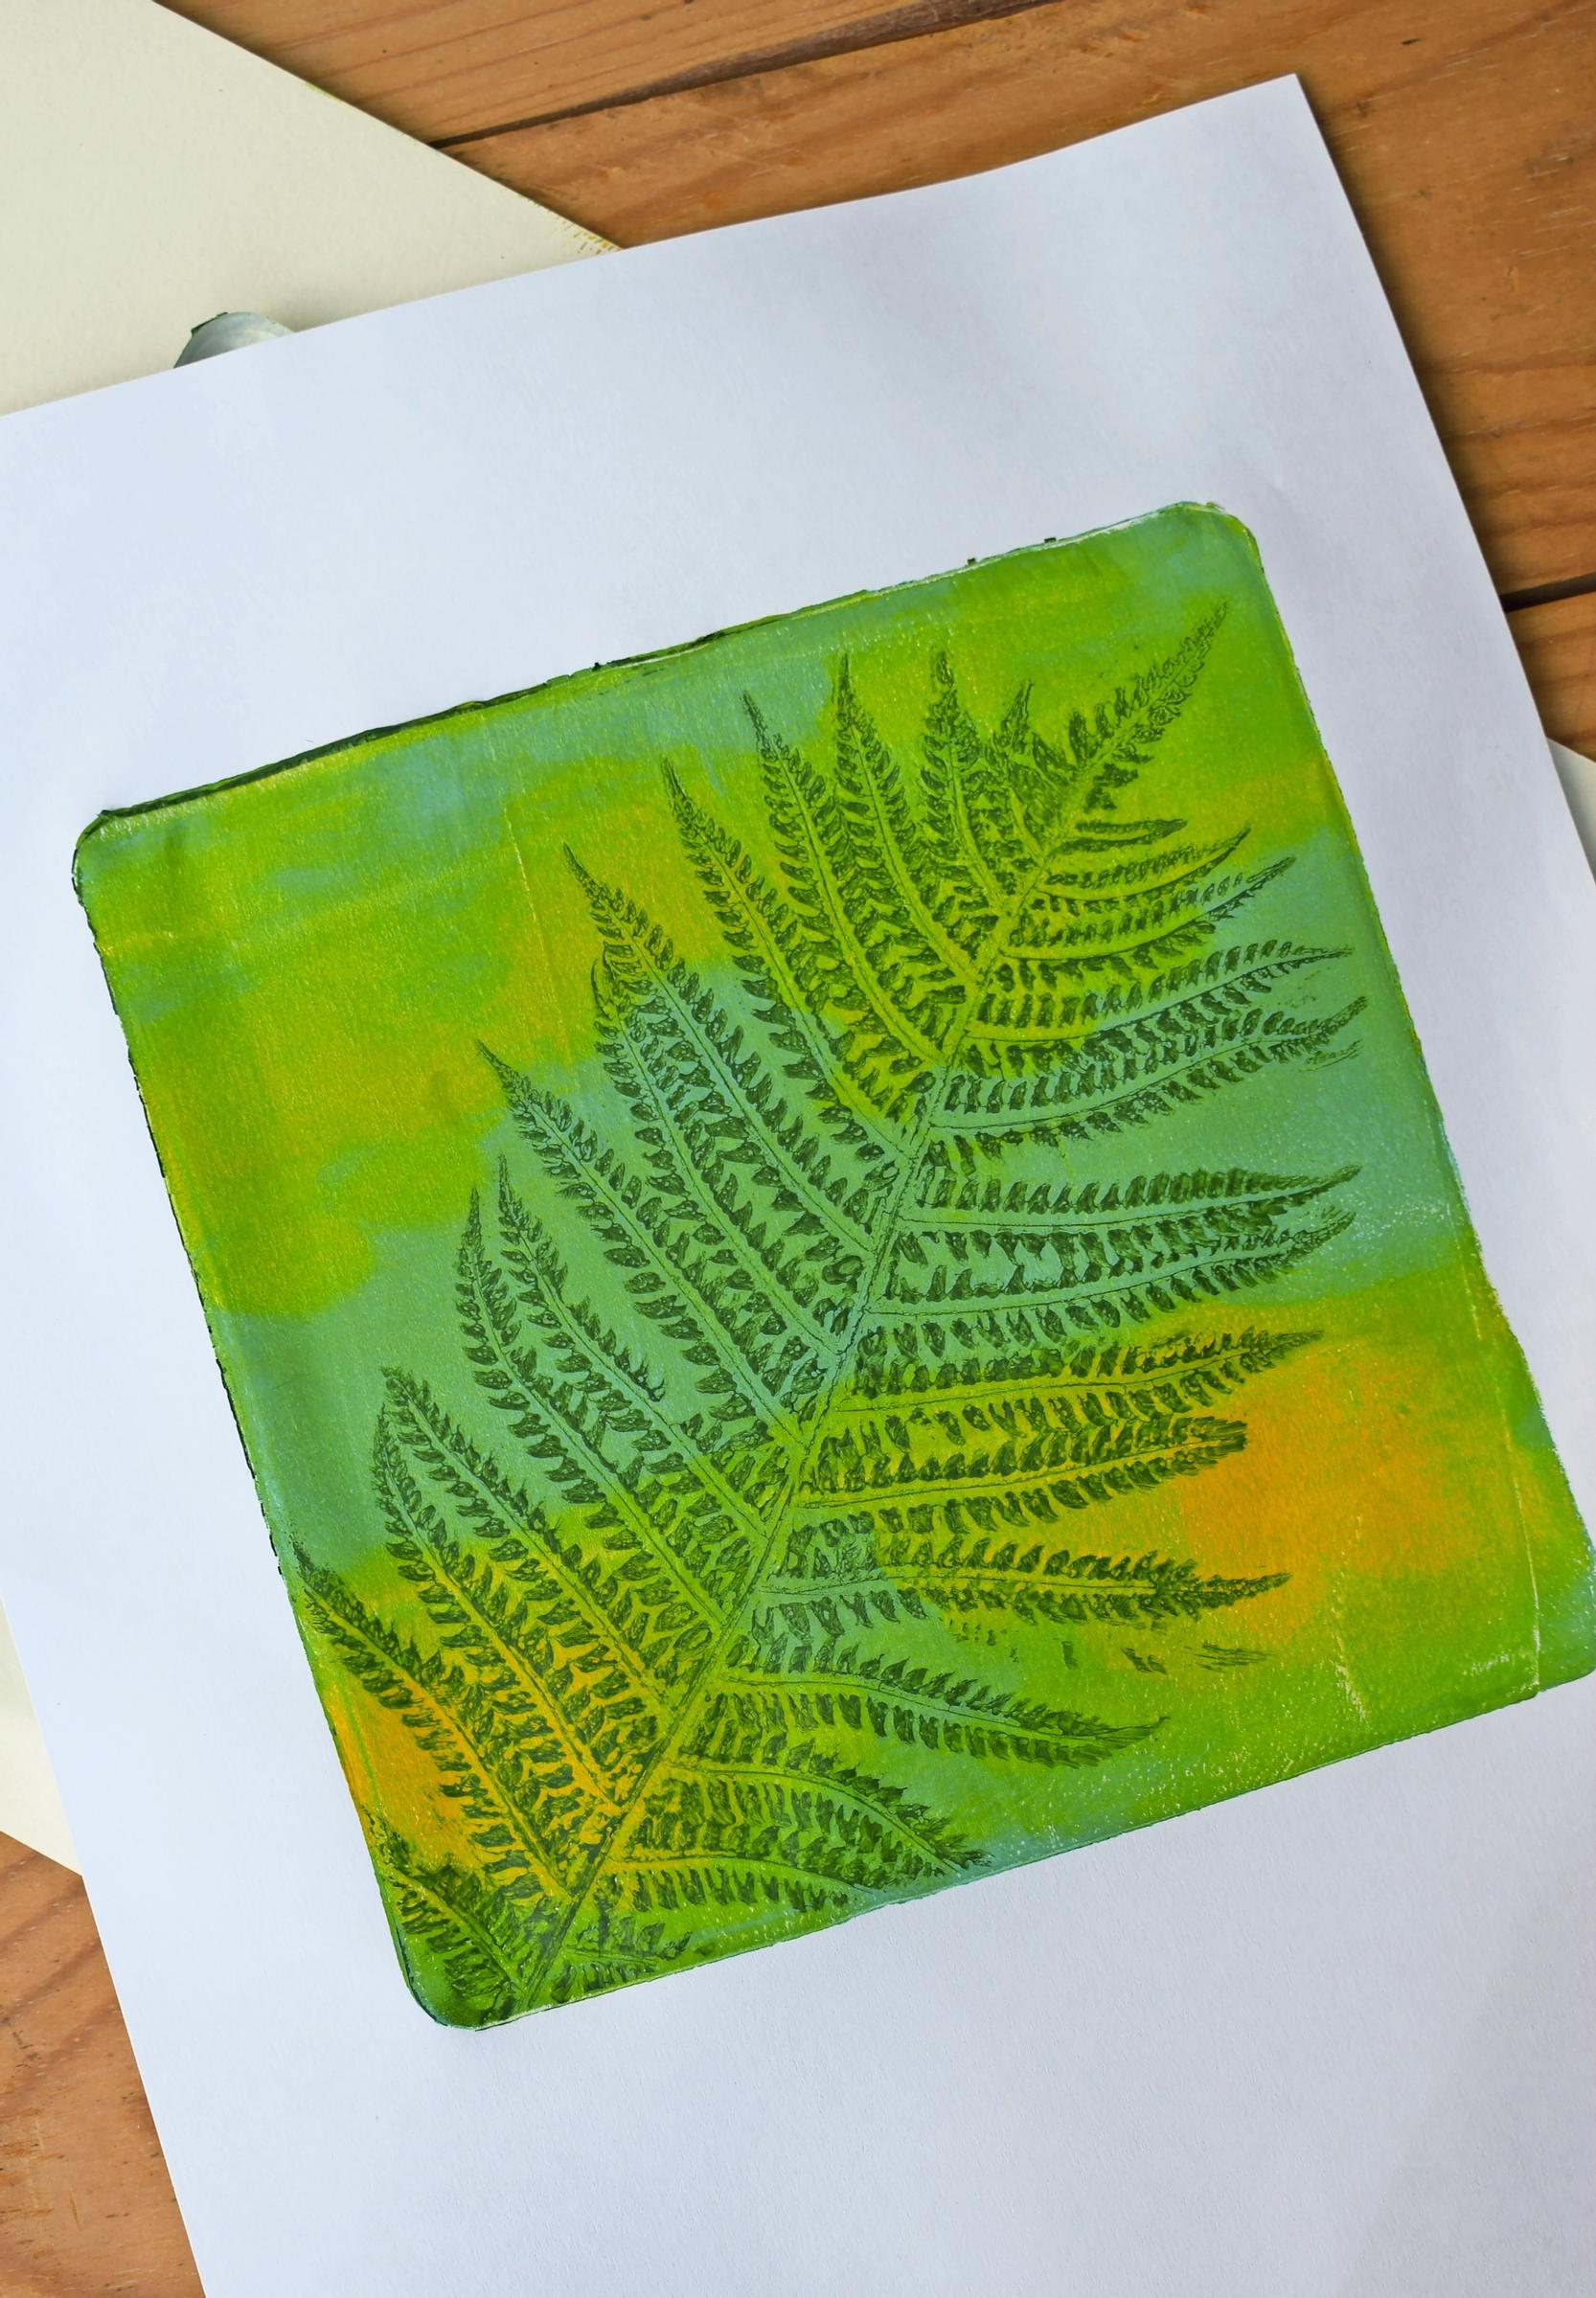
1. Protect your work surface with newspaper. Place the gelli plate on top of a sheet of copy paper. Add a few drops of acrylic paint to the plate. In the prints shown, a darker shade was used for the plant motif and a lighter shade for the background.

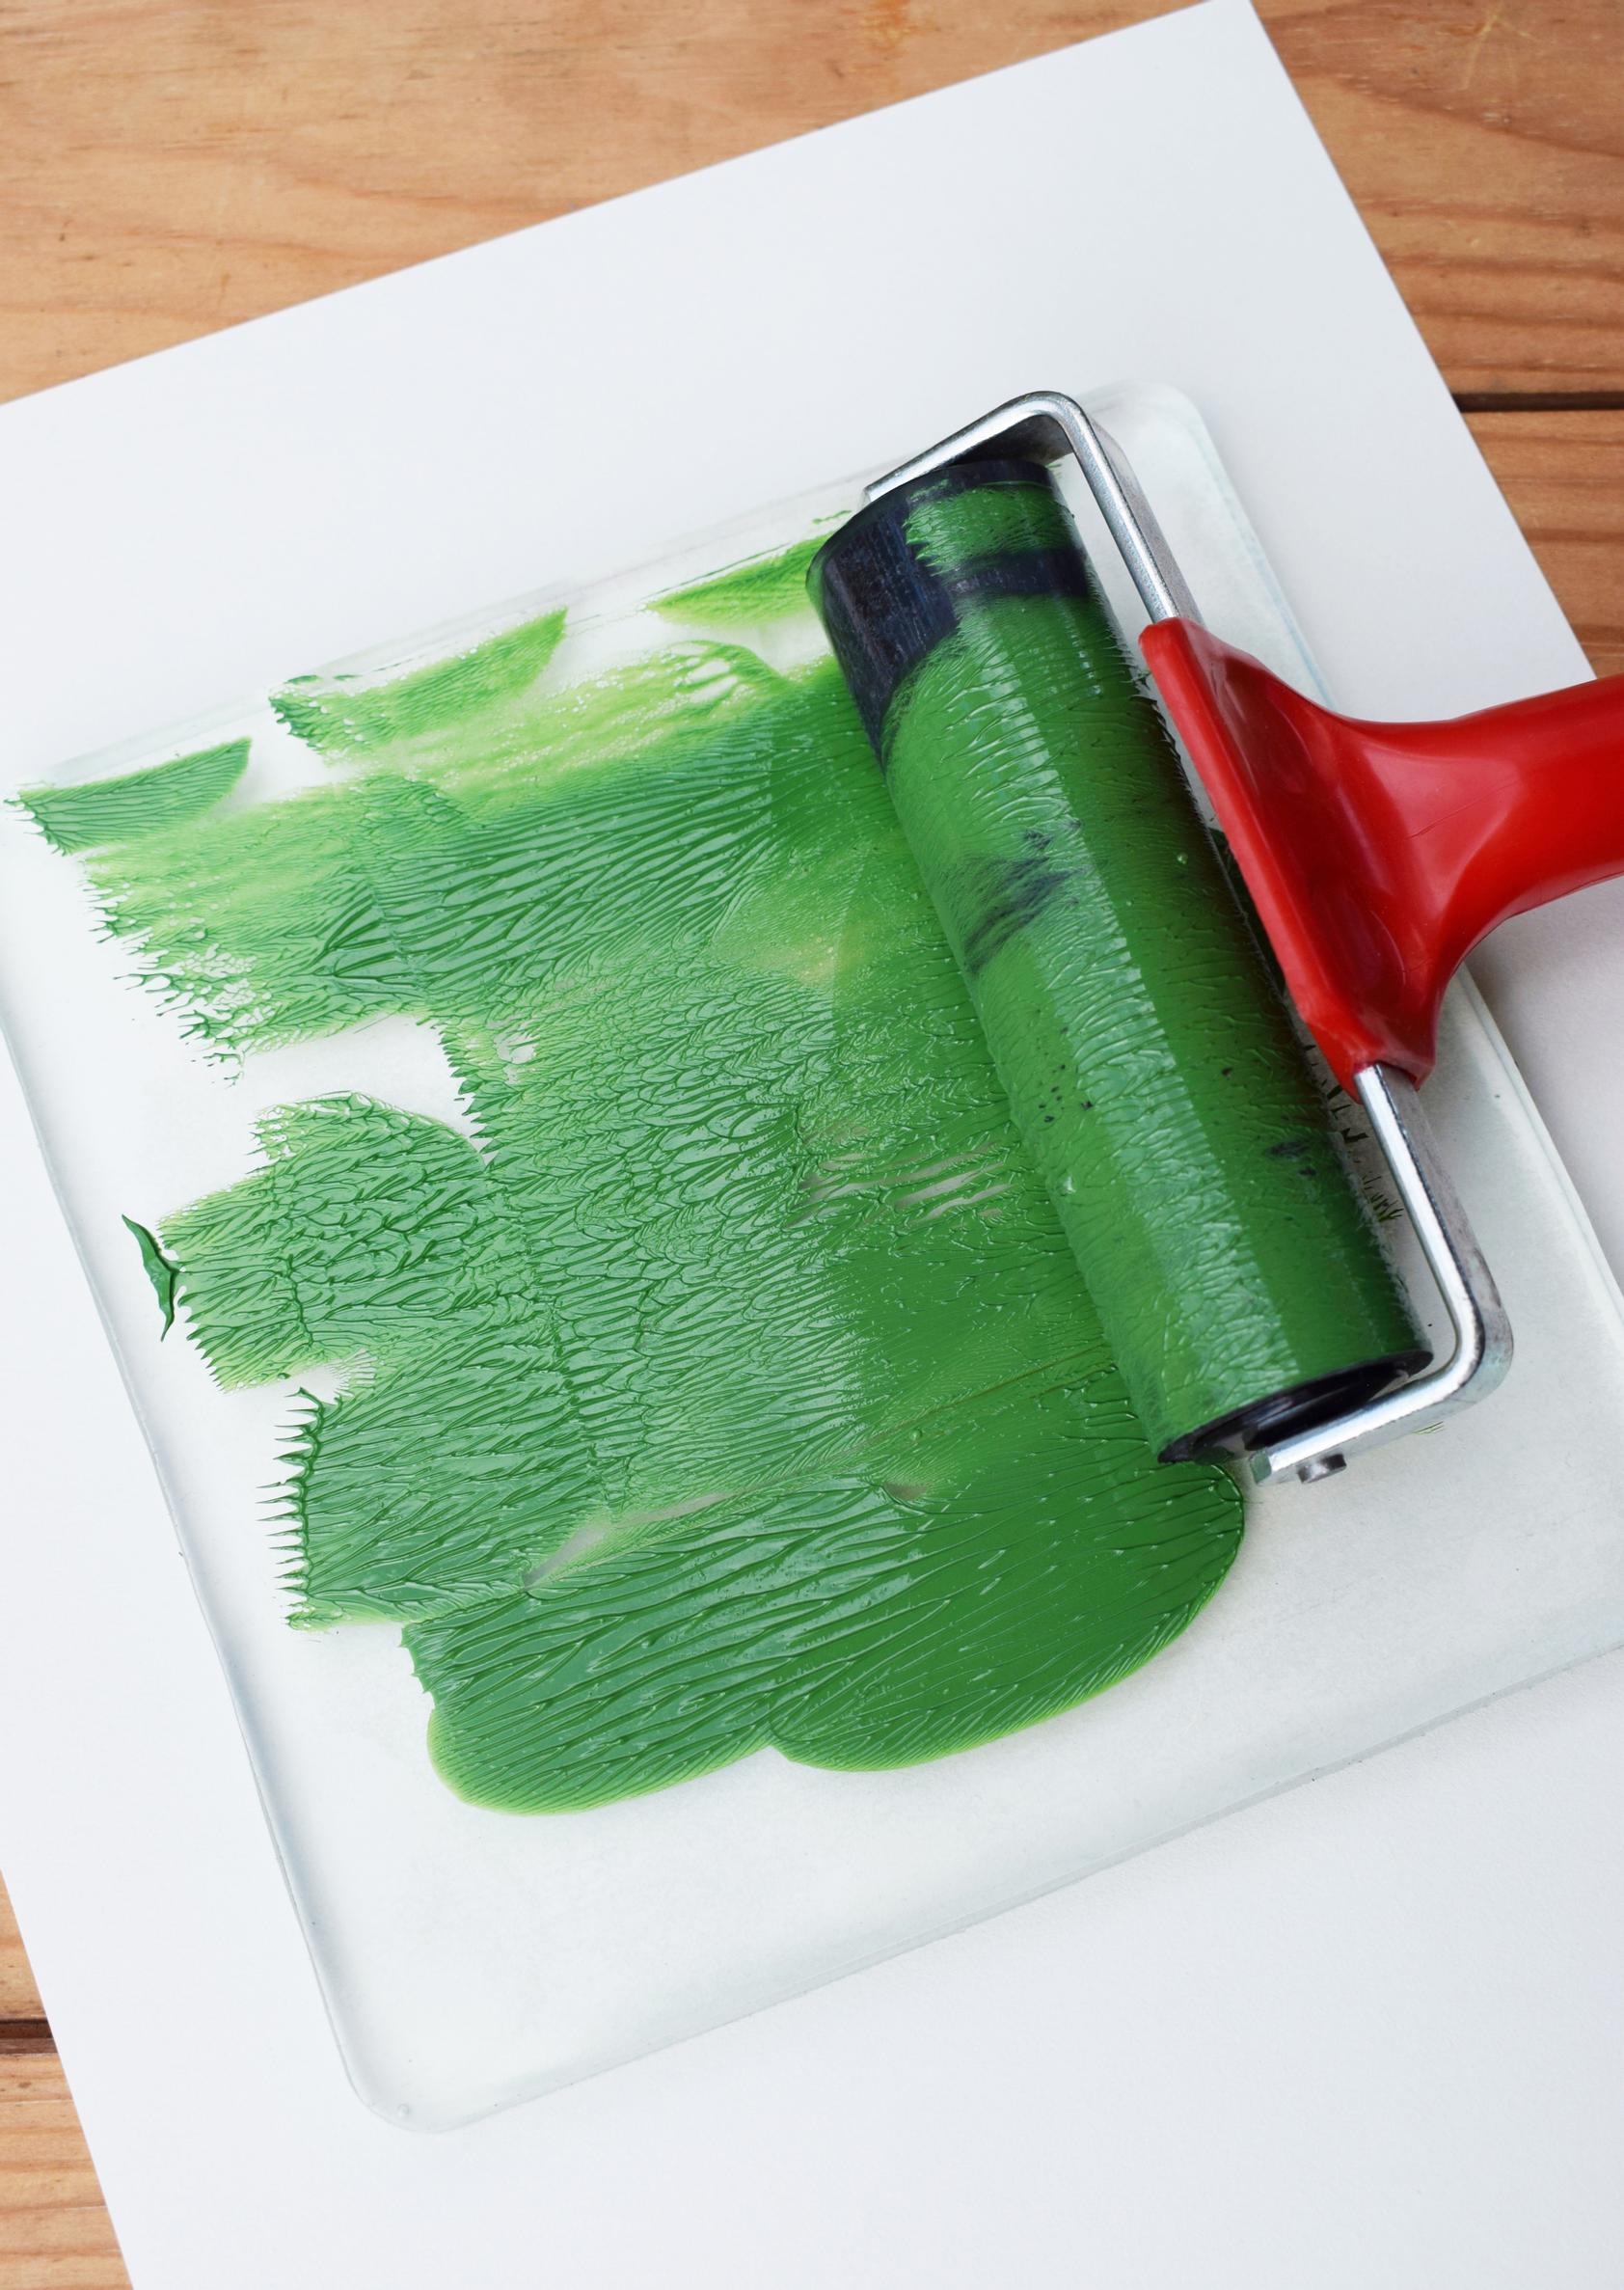
2. Roll the paint into a thin layer over the plate using the brayer. Roll with light, lively strokes both horizontally and vertically. Don’t press too hard, or the paint will start to slide. If the brayer gets overloaded, roll off the excess onto scrap paper.

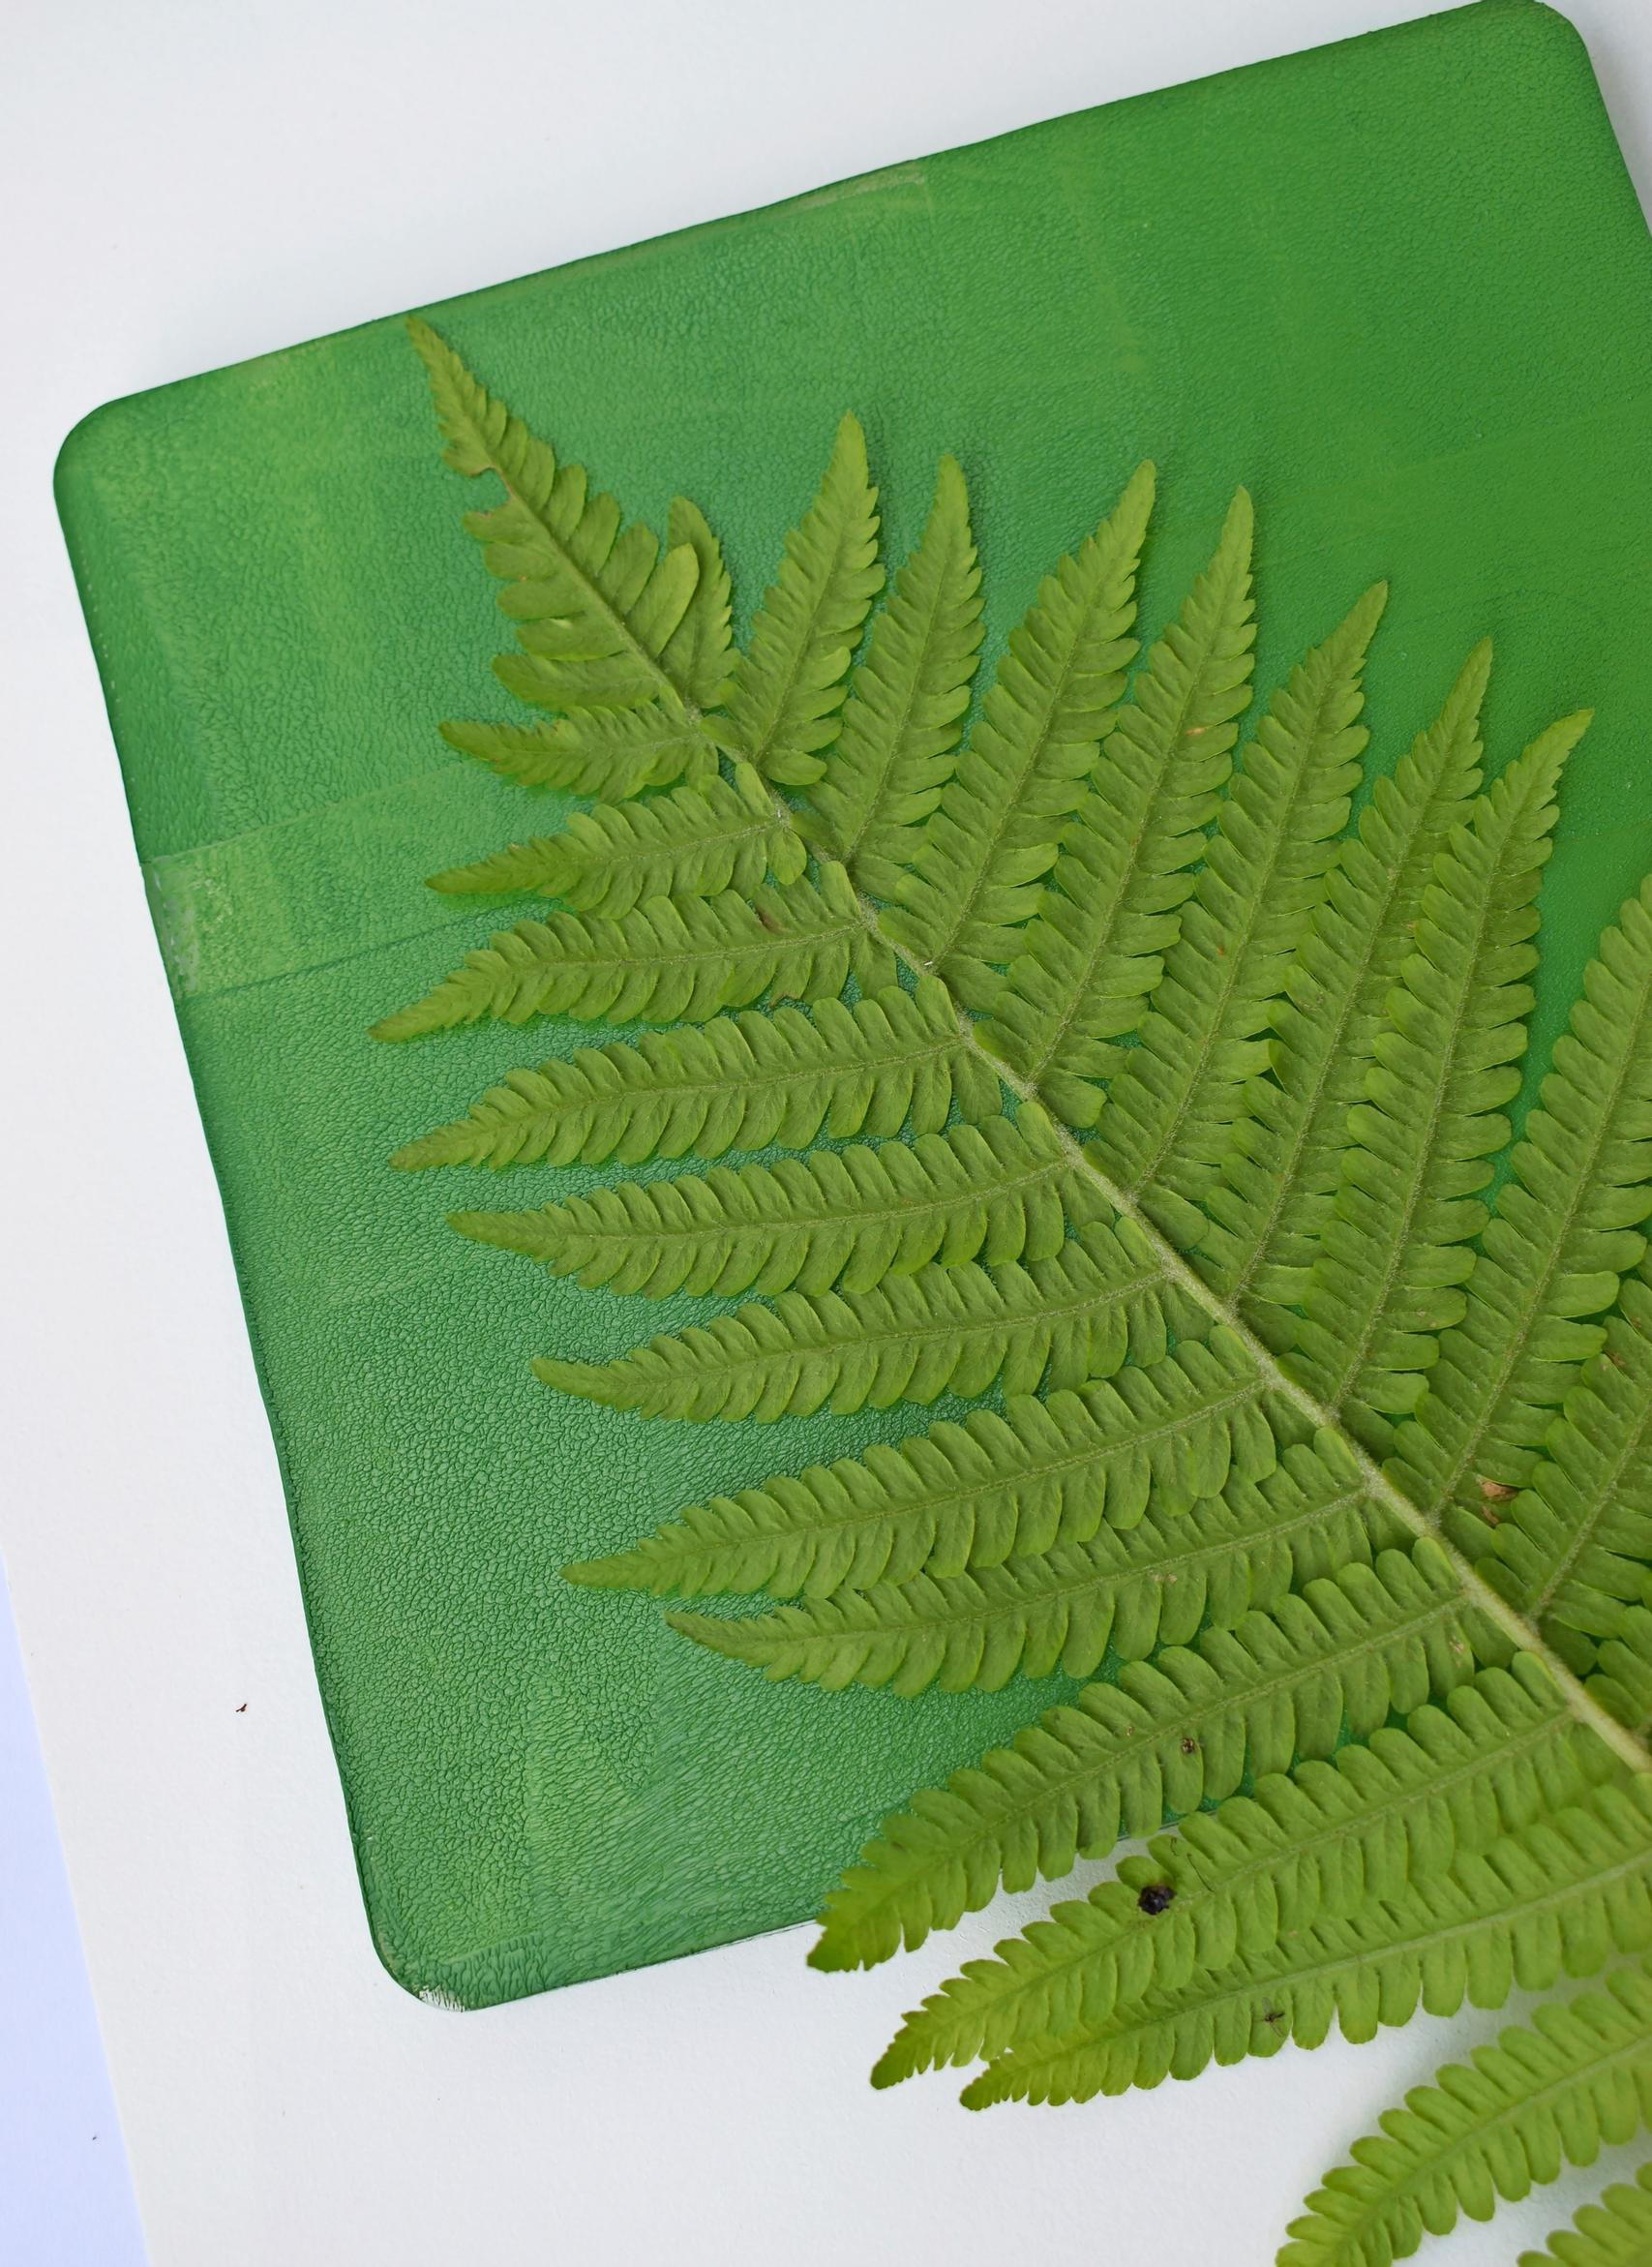

3. Arrange the plant on the painted surface. Remember that the side touching the plate is the one that will appear in the final print. Place a sheet of copy paper over the plant and plate. Rub and smooth the paper with your hand or a clean brayer so the plant presses evenly into the plate and the pattern is transferred sharply.

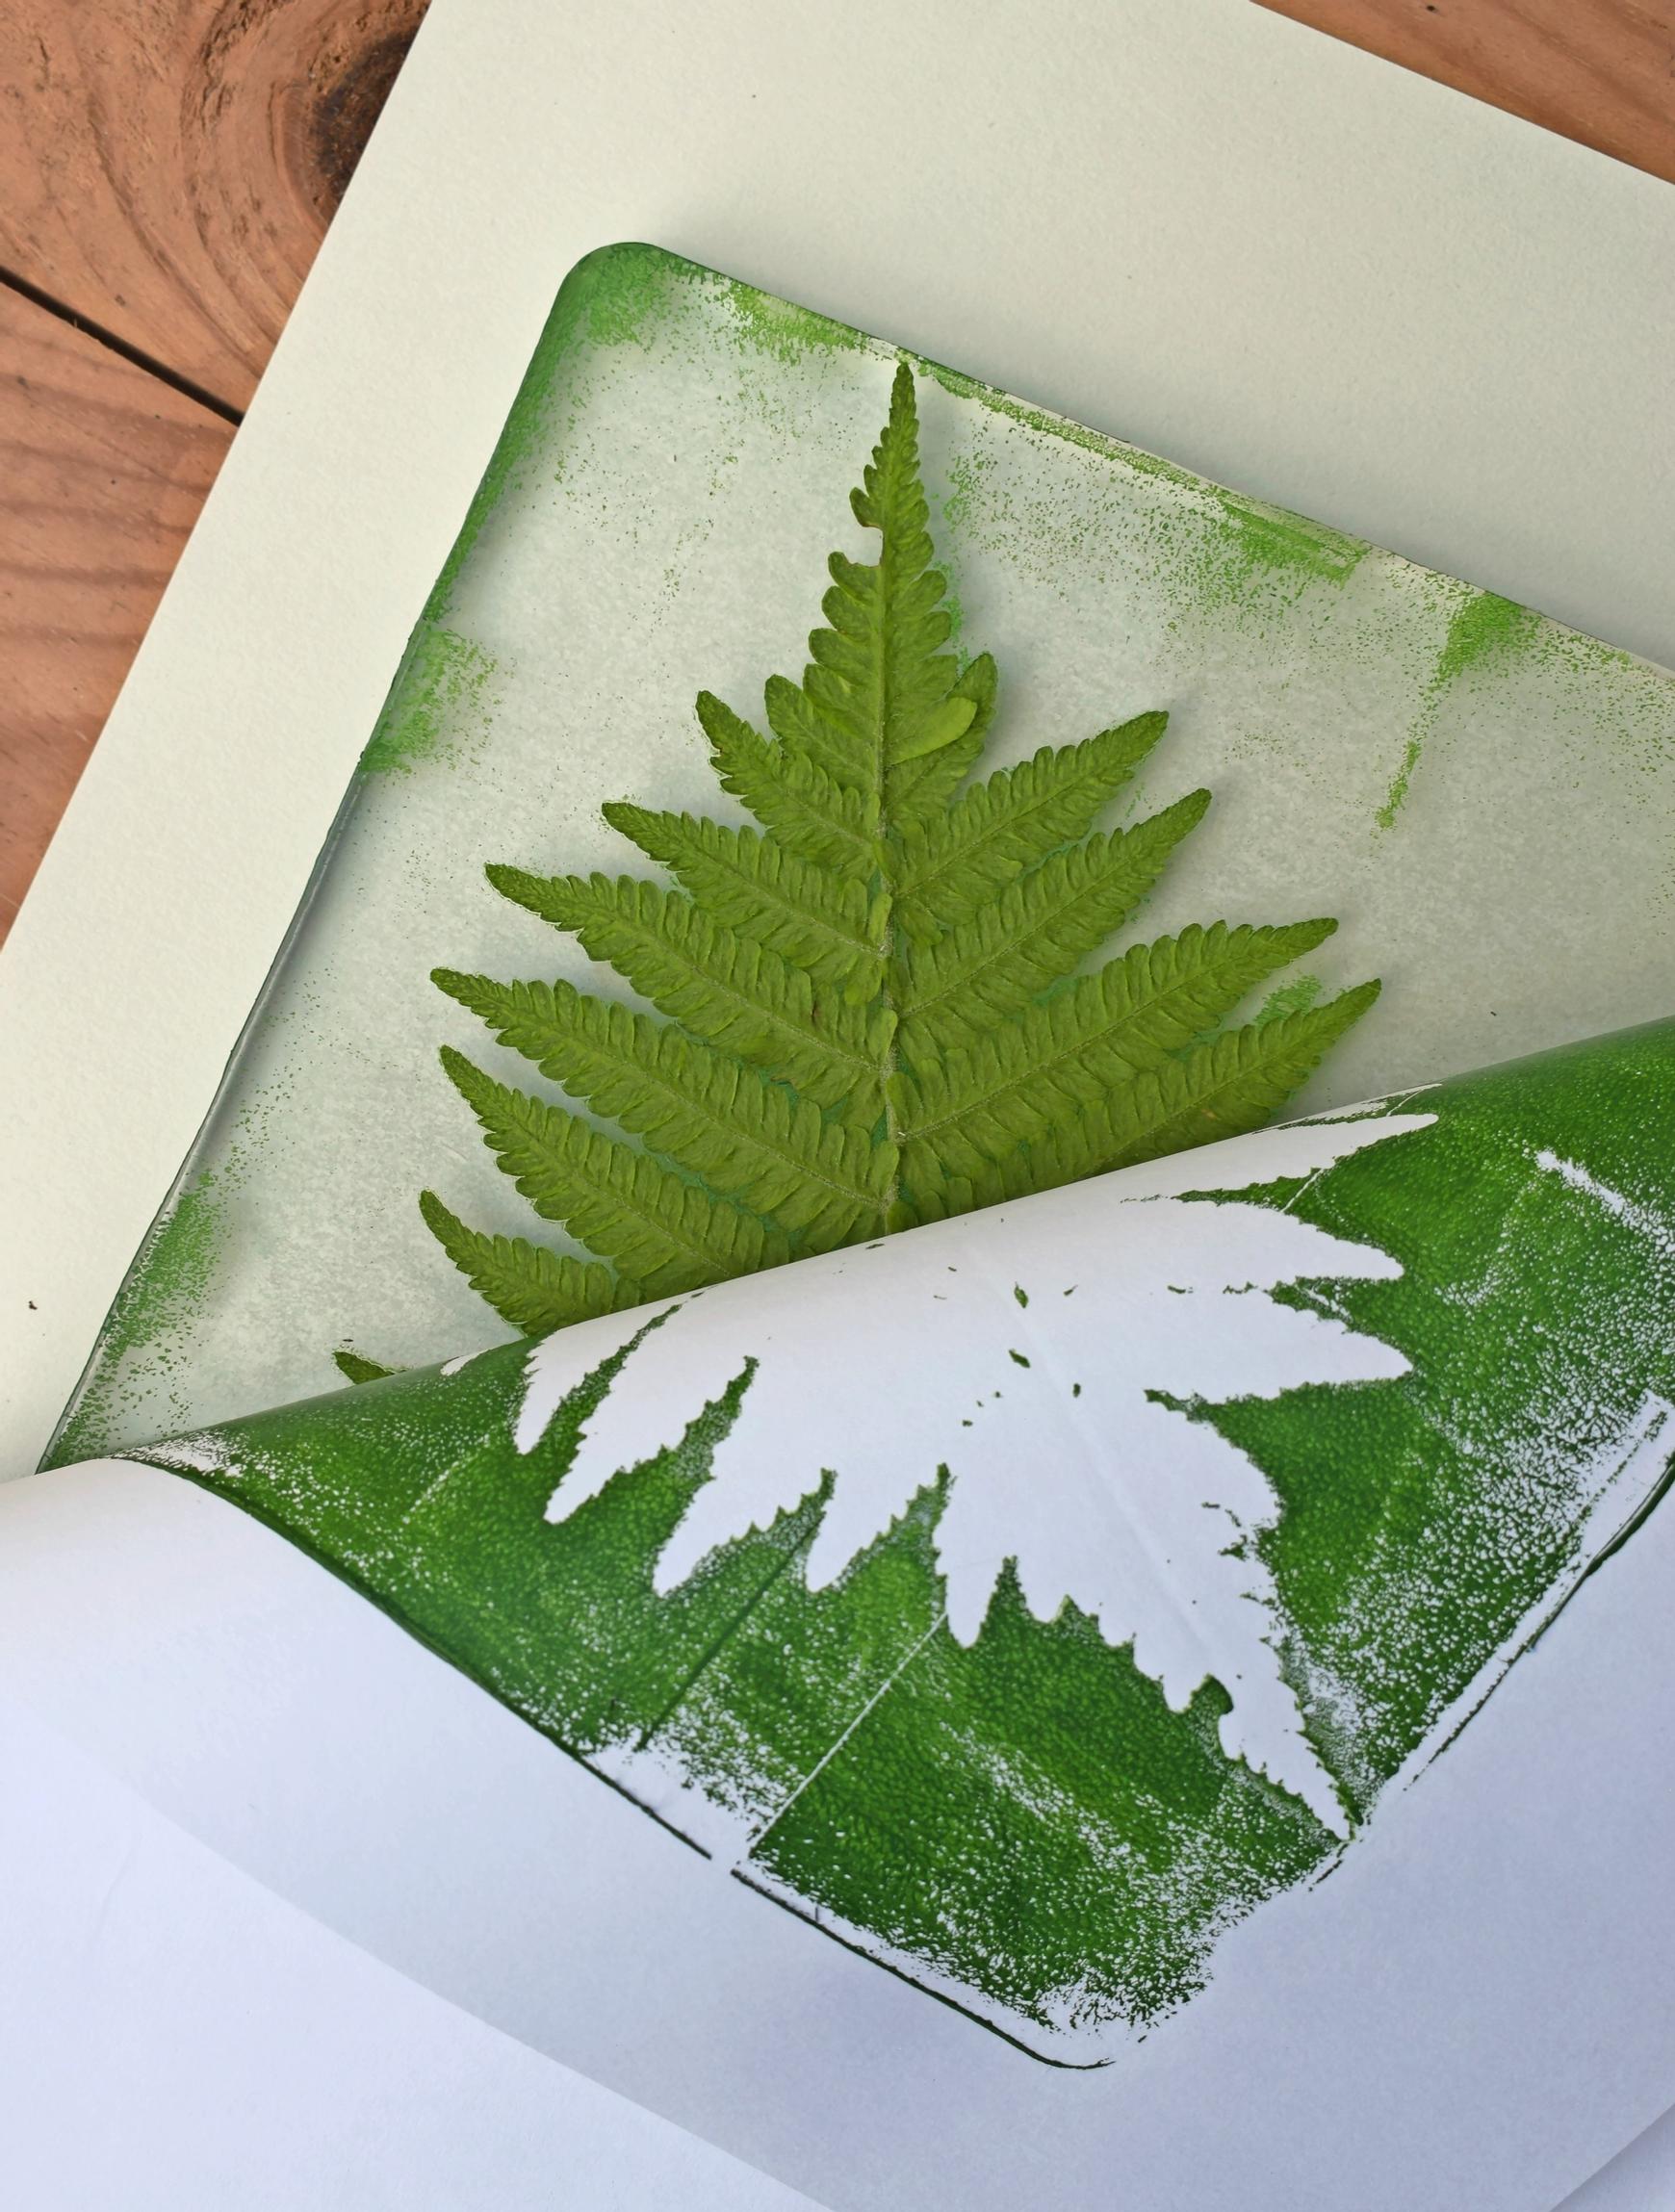
4. Lift the paper carefully off the plate. The copy paper is just a tool for the process, but the print on it can still be useful and interesting.

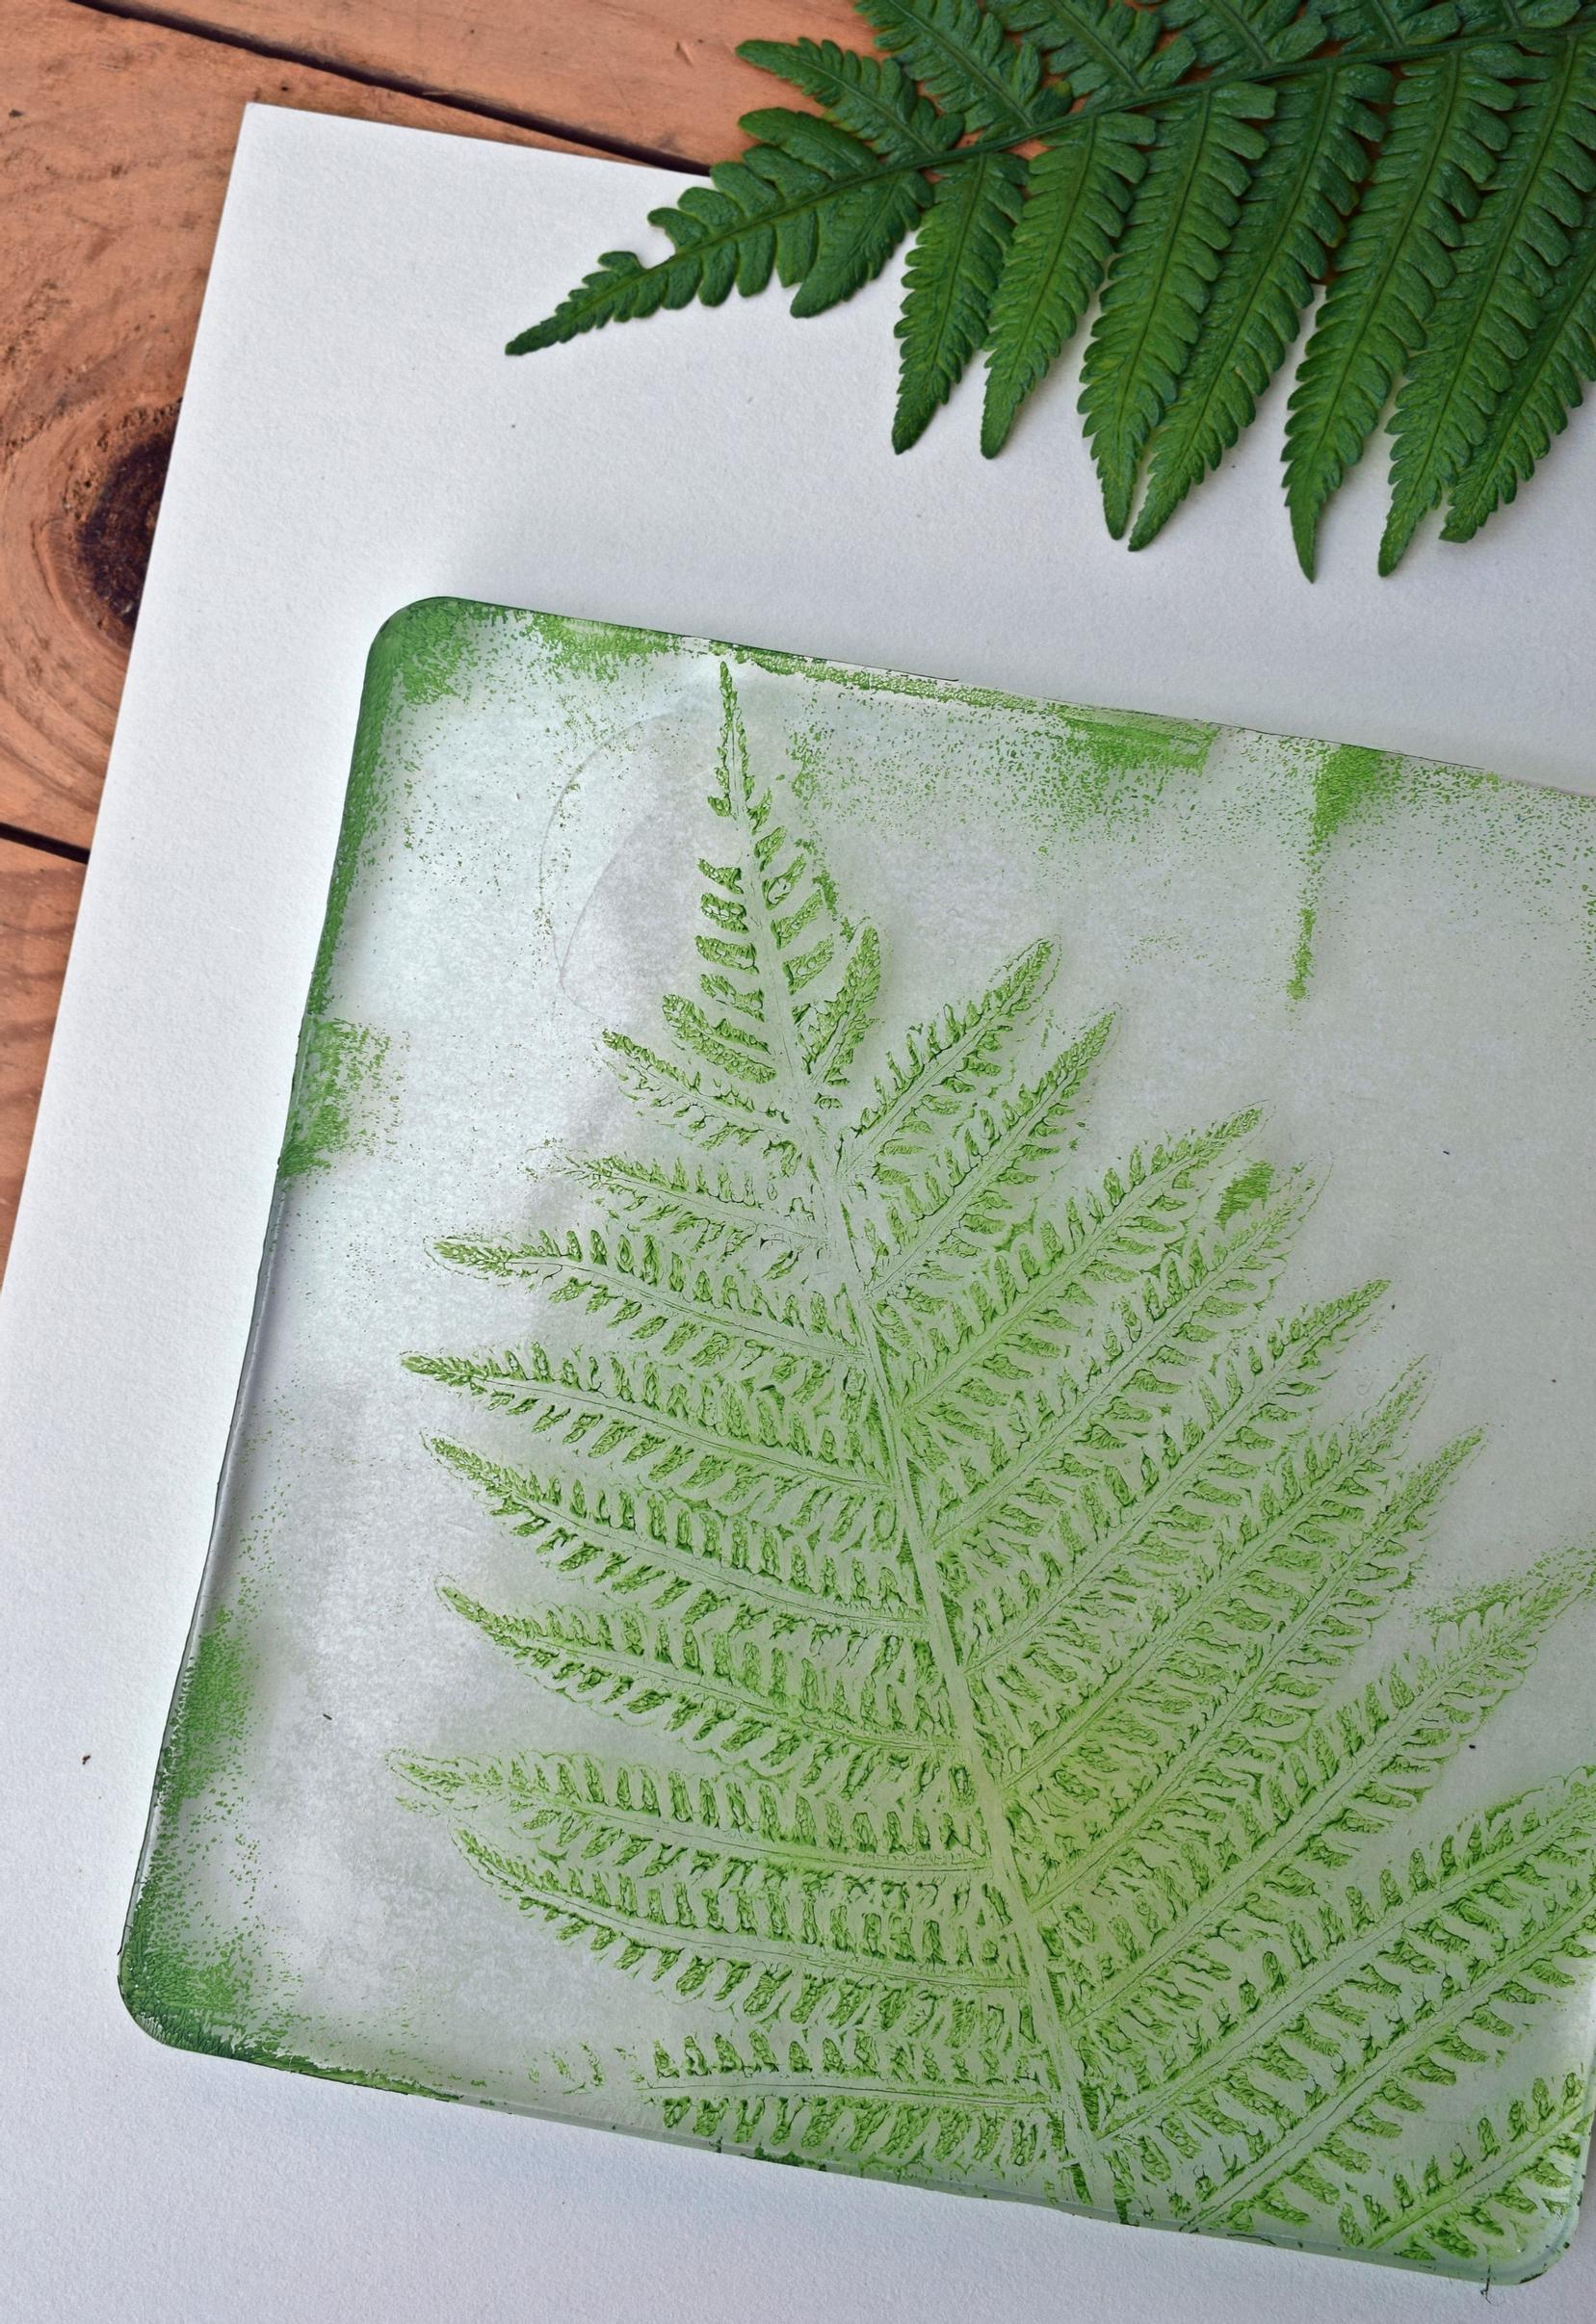
5. Gently remove the plant from the plate. You now have the first layer of the design on the plate. Let the paint dry until it is dry to the touch.


6. Once the paint is dry, add a few more drops of acrylic paint to the plate and roll it into a thin layer. You can use just one color here or several hues that blend slightly as you roll.
Plant motif in a single color
You can also create a plant motif with just one layer of paint. Follow steps 1–3 above, then lift the paper off the plate without removing it completely and carefully take the plant out from between the plate and the paper. Press the paper back onto the plate as in step 3, then continue from step 7. In the monochrome version, the plant’s outline and the surrounding painted area merge into one graceful surface.

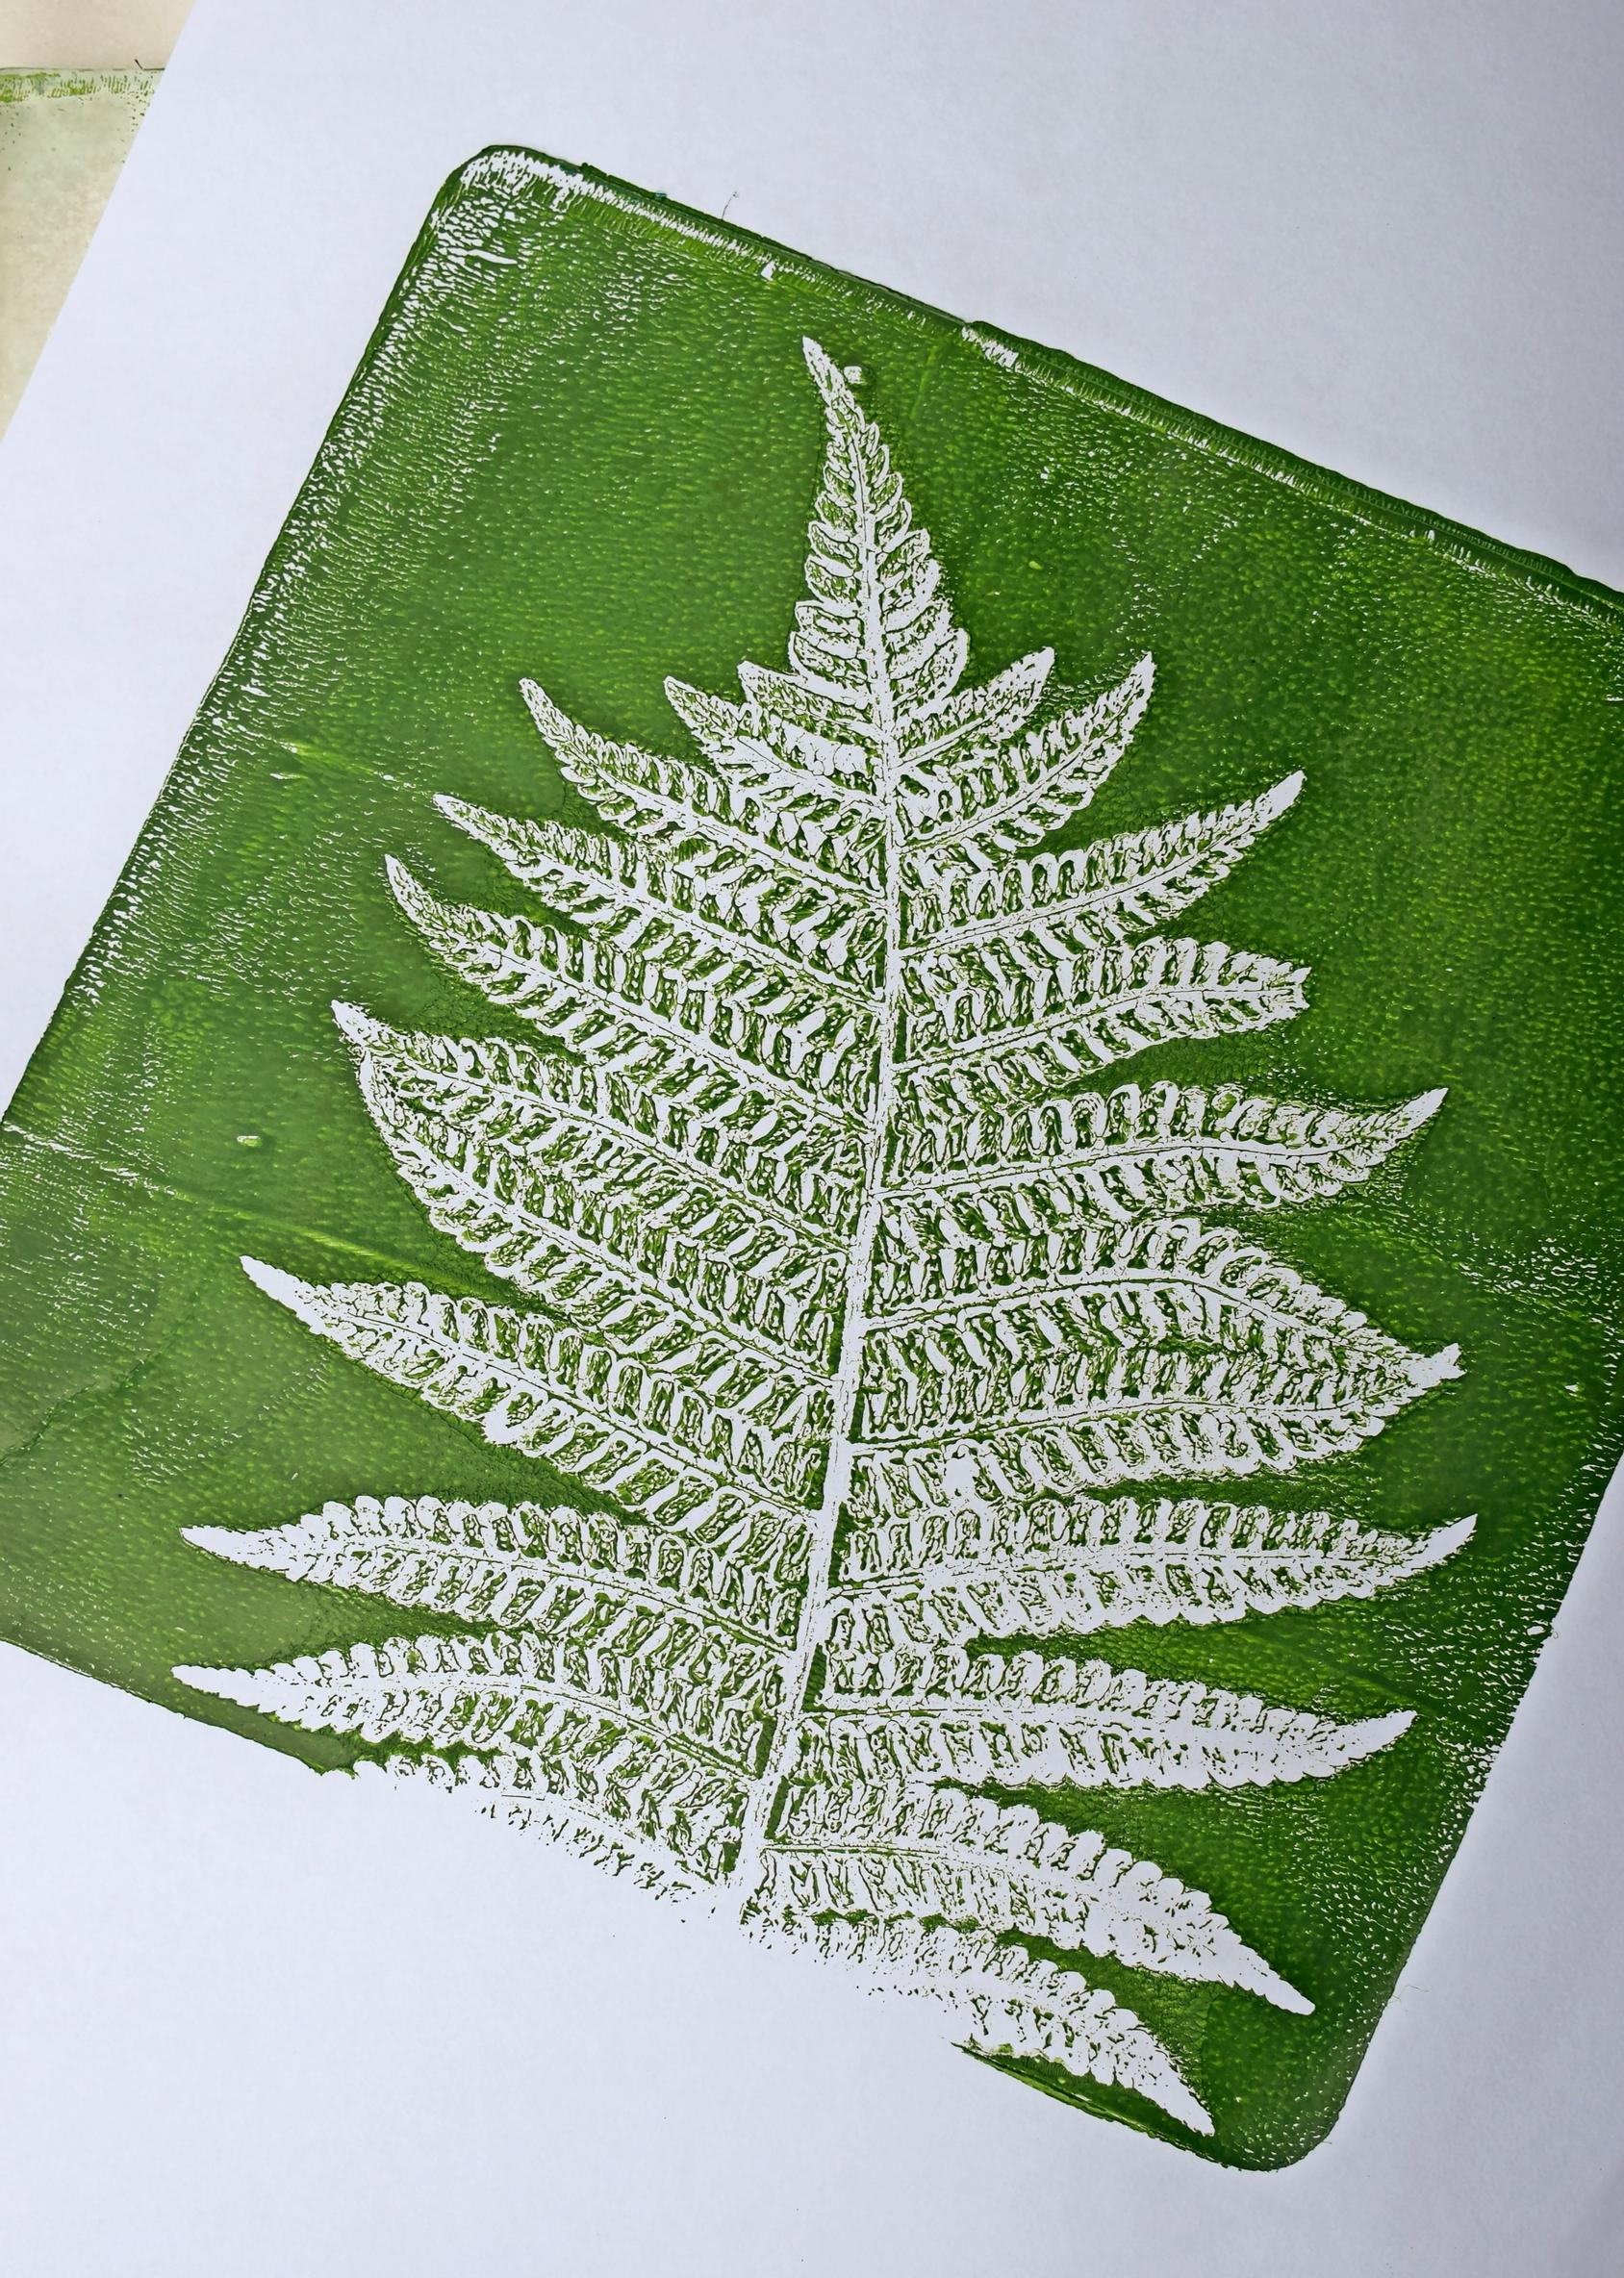
7. Place the copy paper on the plate again. Rub and smooth the surface back and forth and in circles with your hands. You can also press with a clean brayer. Work over the edges as well. This helps the paint on the plate dry and fuse into a single film that will transfer in one piece onto the paper. Let the paint dry patiently so the print lifts off intact. You can peek under a corner of the paper to check—if the print still sticks to the plate, give it more time.

8. When the paint is dry, peel off the paper, starting carefully from one corner. Your artwork is finished the moment it comes off the plate. Frame the print or use it in crafts, for example as greeting-card material.
Tip!
Clean the gelli plate after use with lukewarm water and mild soap. Store it in a dry place between the original protective plastic sheets.

What is gelli printing?
Gelli printing is a way to create monotype prints—one-of-a-kind printed images. Roll water-based acrylic paint onto the soft gelli plate, add texture with plants or other objects, and transfer the design to paper, cardboard, or fabric. Build up patterns and paint layers on the plate in the reverse order of the final print: the first layer you add becomes the top layer on the paper. The plate is made of a nontoxic mineral-oil blend and contains no latex or animal products. Gelli plates come in various sizes and shapes and are available at craft stores.