Un-bee-lievable!
Say goodbye to plastic wrap: how to make a beeswax wrap from old fabrics and reuse them
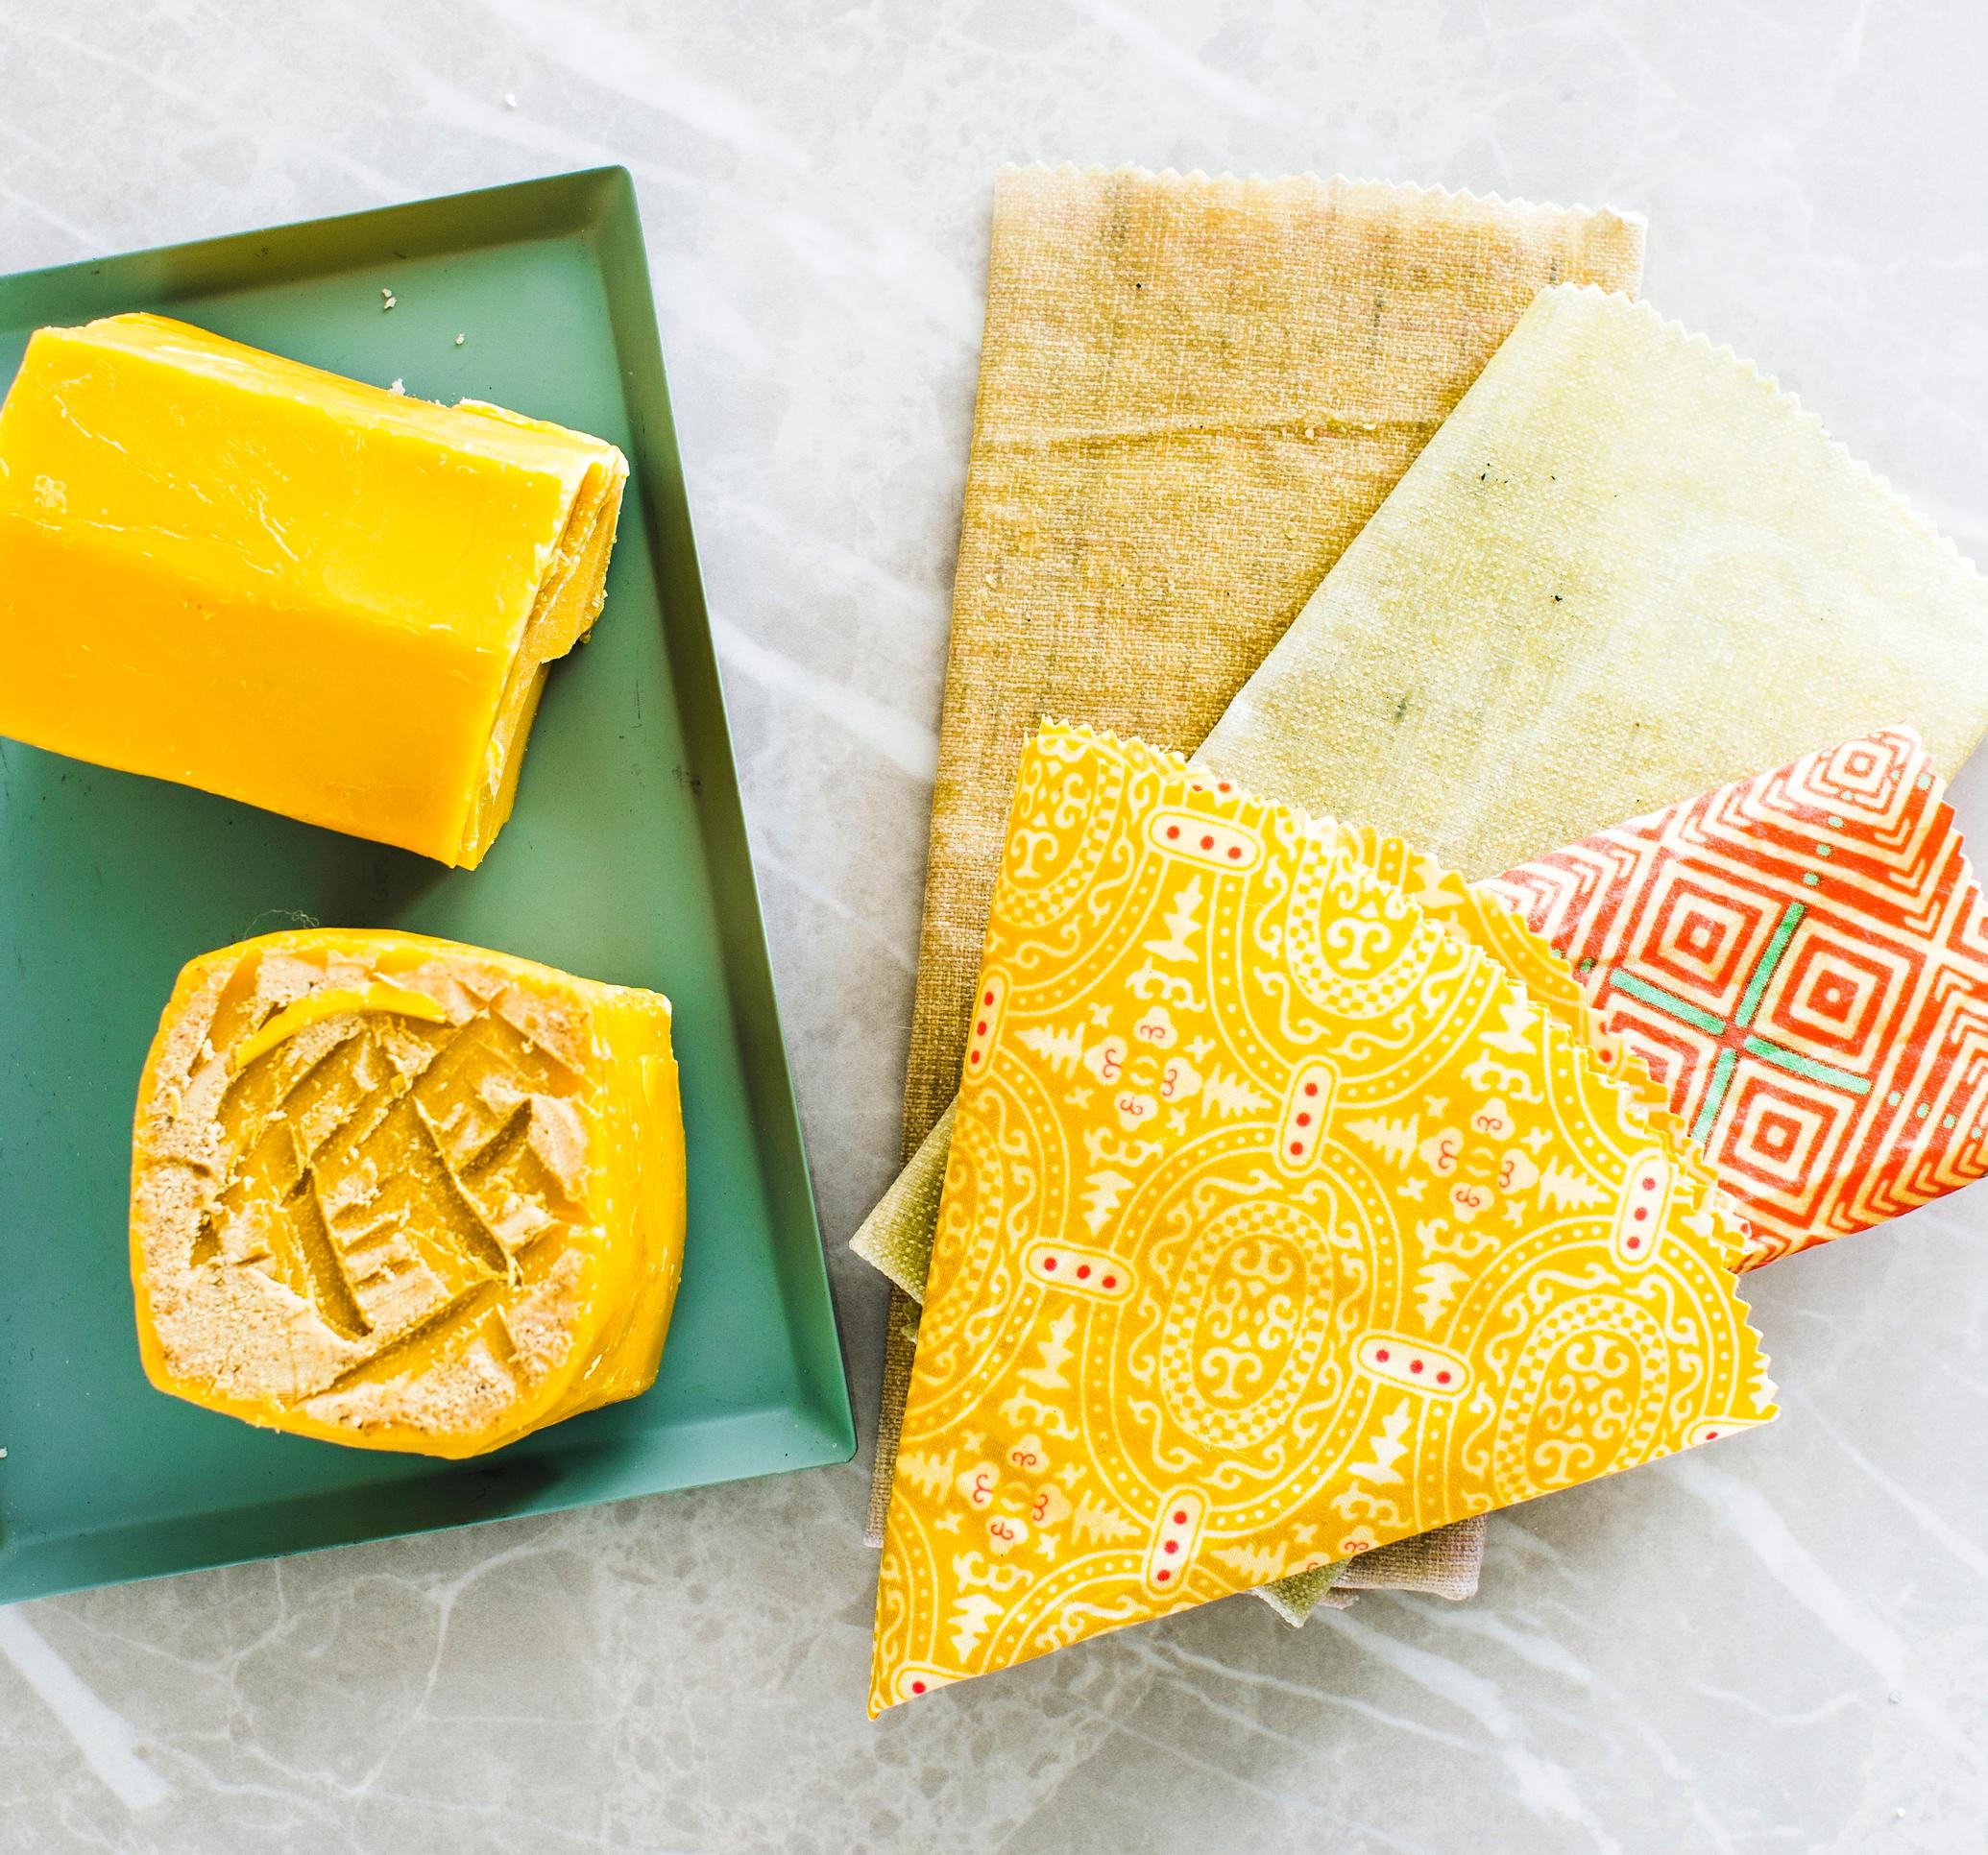
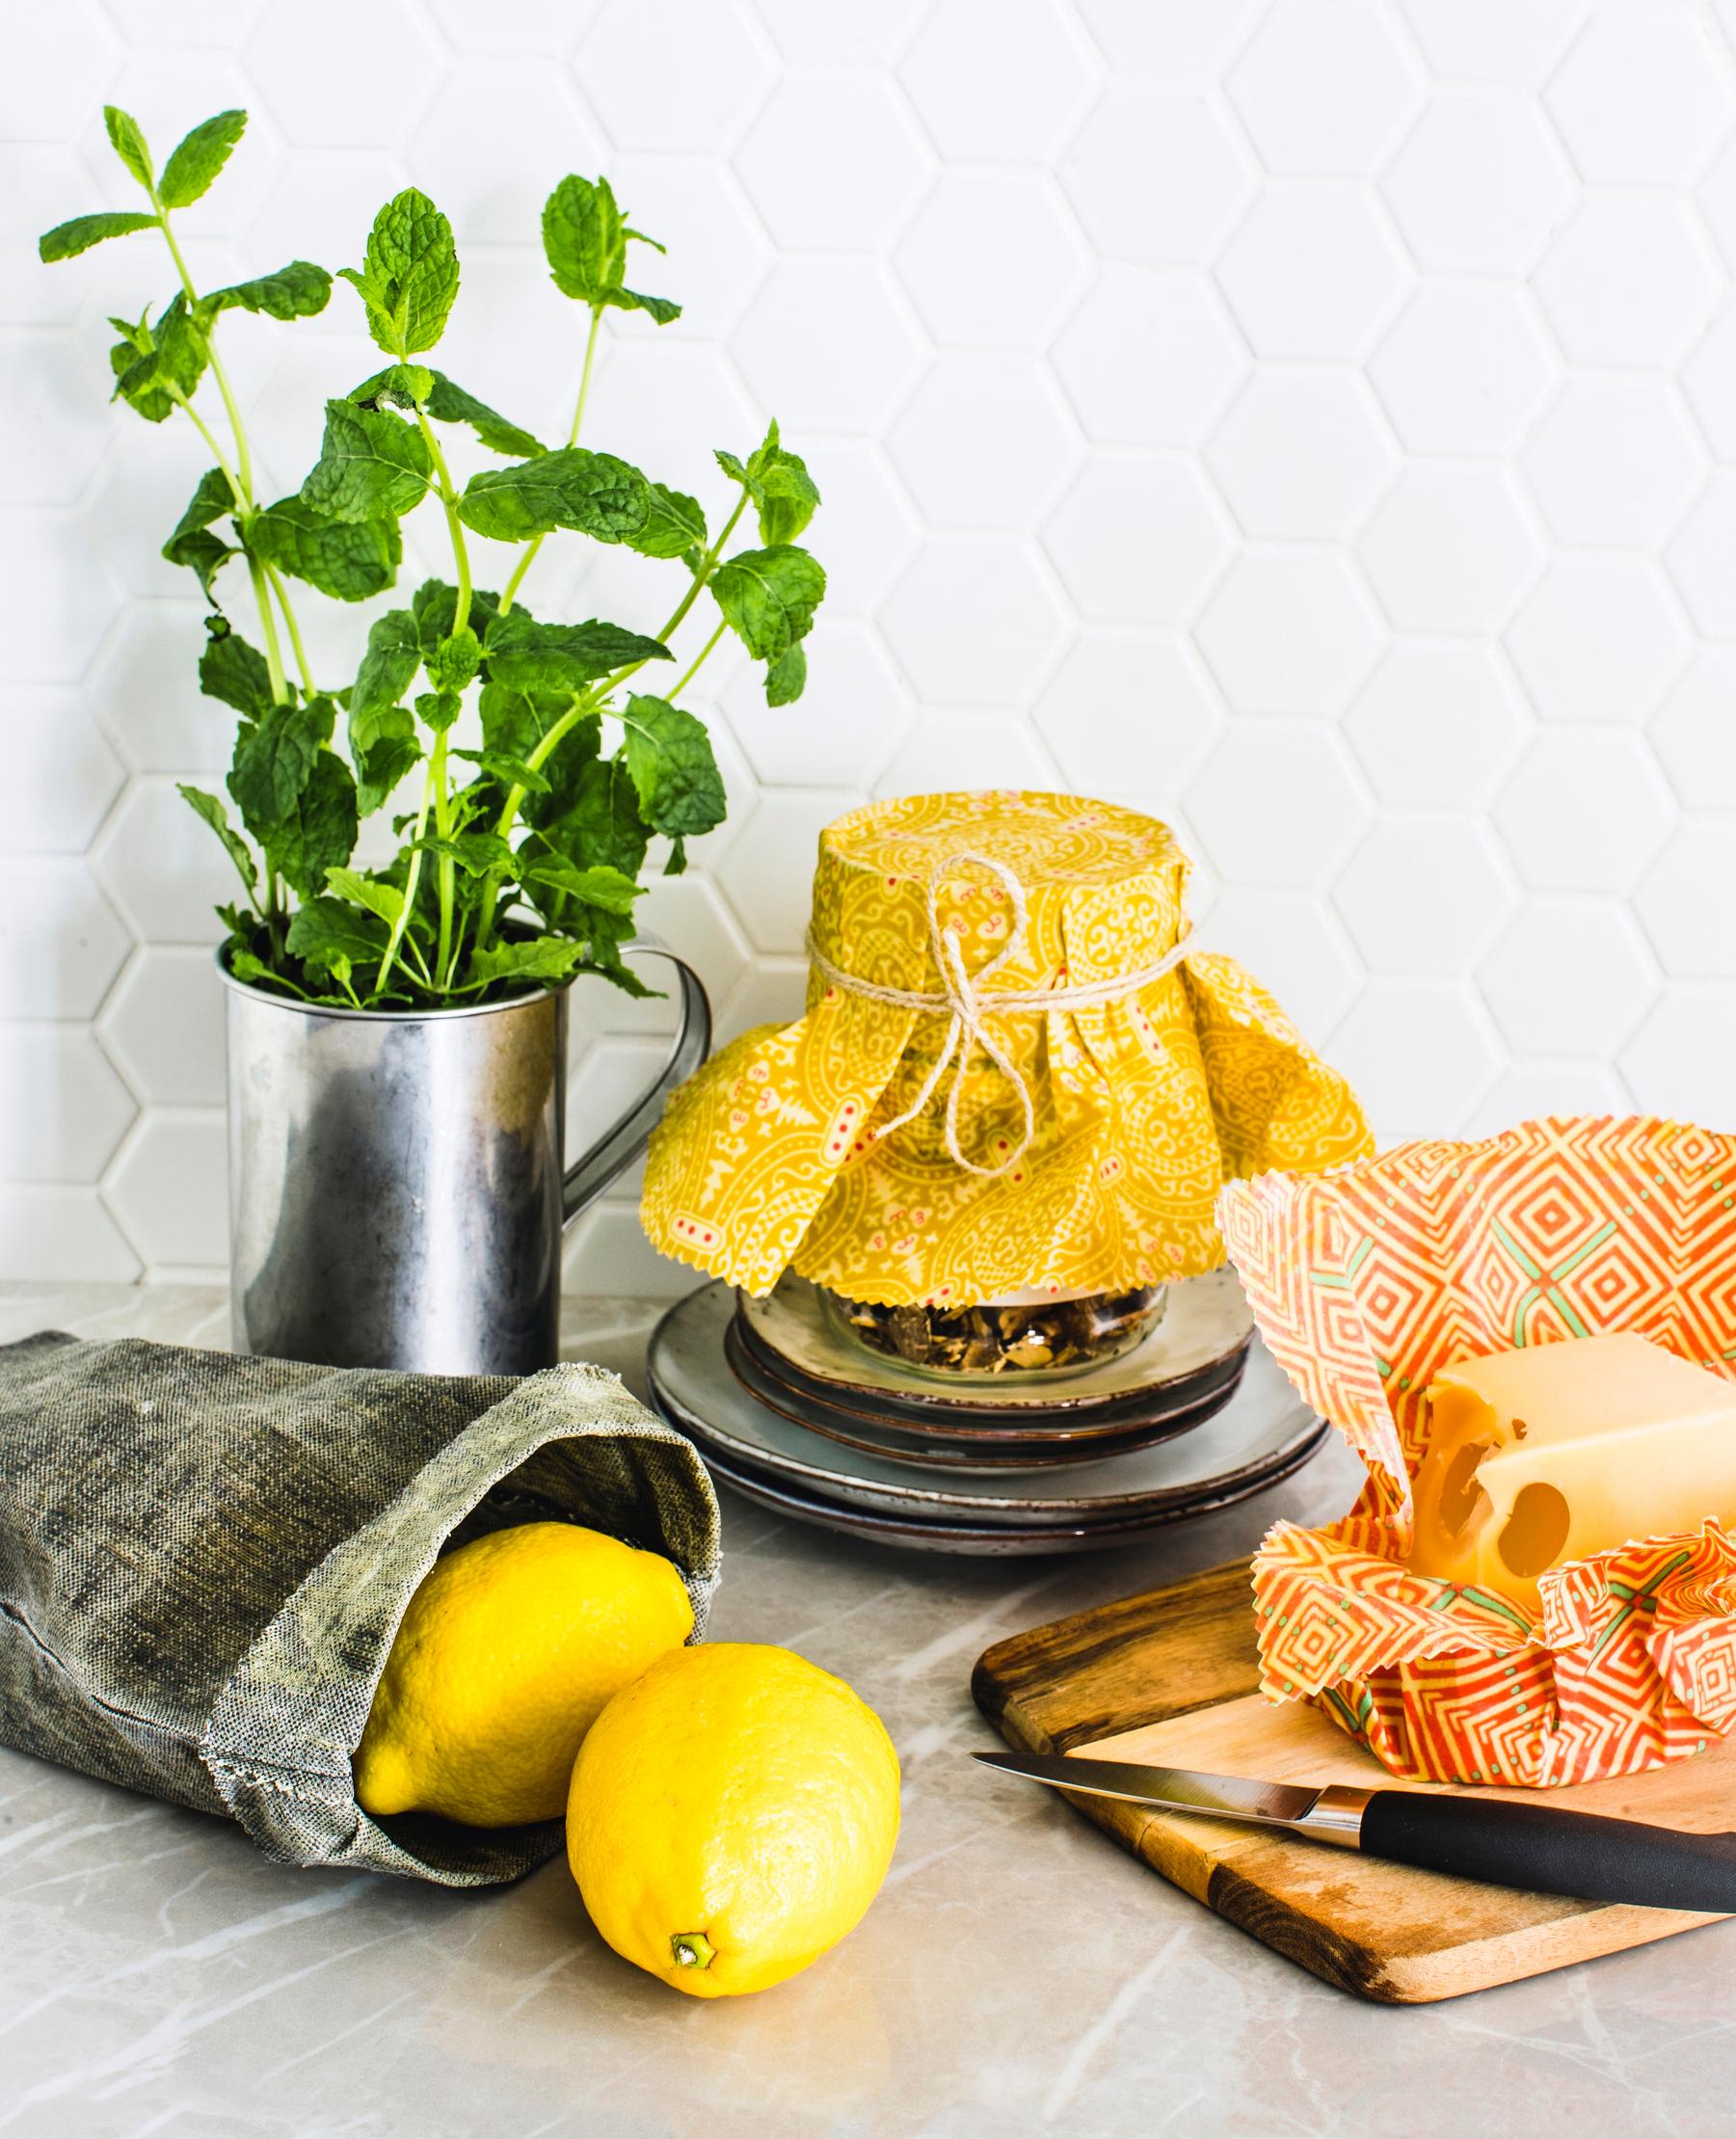
You can turn an old pillowcase or kitchen towel into a beeswax wrap. Previously used textiles are excellent, as any dyeing chemicals have already been washed out. You can stretch this eco-friendly wrap over a bowl. A pouch is great for storing cheese, sandwiches, and more.
How to make a beeswax wrap—supplies:
- Cotton or linen fabric. A thin fabric is ideal because thicker fabric may crack. Remember that beeswax can stain, particularly light-colored fabrics.
- Beeswax, either in a block or pre-grated (available at craft stores)
- A grater
- Pinking shears
- A towel and baking paper to protect the iron
Beeswax wrap—instructions:
- Wash the fabric thoroughly, preferably multiple times, to remove any dyeing chemicals. Cut the dry fabric into pieces of different sizes and shapes. Use your own dishes as a guide.
- Use pinking shears to give the edges a serrated finish so they won’t fray.
- Grate the beeswax if you’re not using pre-grated wax.
- Lay a towel on the ironing board for protection so the beeswax won’t transfer. Place baking paper on top of the towel, and then the piece of fabric on top of the baking paper. It’s also a good idea to protect the floor around the ironing board.
- Scatter a few handfuls of grated beeswax on the fabric. Make sure it’s fairly dense but not too thick. Put baking paper over the wax, and iron on the hottest setting. Move the iron around on the paper—the wax will melt quickly. Lift the baking paper occasionally to check for unwaxed spots. If there are any, add more wax and iron again. Avoid multiple layers, as too much wax can make the wrap less flexible.
- Finally, lift the beeswax wrap onto another sheet of baking paper to cool. Be careful—it's very hot! Once it’s cool, it’s ready to use.

Tip!
A beeswax wrap will last for about a year. Clean it with cool water and avoid using detergent.
Storage pouch from beeswax-treated fabric
- Don’t sew beeswax-treated fabric. Instead, sew the pouch first and then wax it. Any wax on the machine needle can affect its performance.
- Cut a 22×66-centimeter piece of fabric. It’s best to cut it in one piece so there’s no seam at the bottom.
- Use pinking shears to trim the edges of the pouch.
- Stitch the side seams with a straight stitch, then turn the pouch right side out.
- Apply the wax just as you would for a beeswax wrap, but slide baking paper inside the pouch so it doesn’t stick. Iron both the front and back of the pouch through the baking paper. Gently pull out the paper while it’s still slightly warm so it doesn’t stick to the seams.