Knit a cozy balaclava with leftover mohair yarn
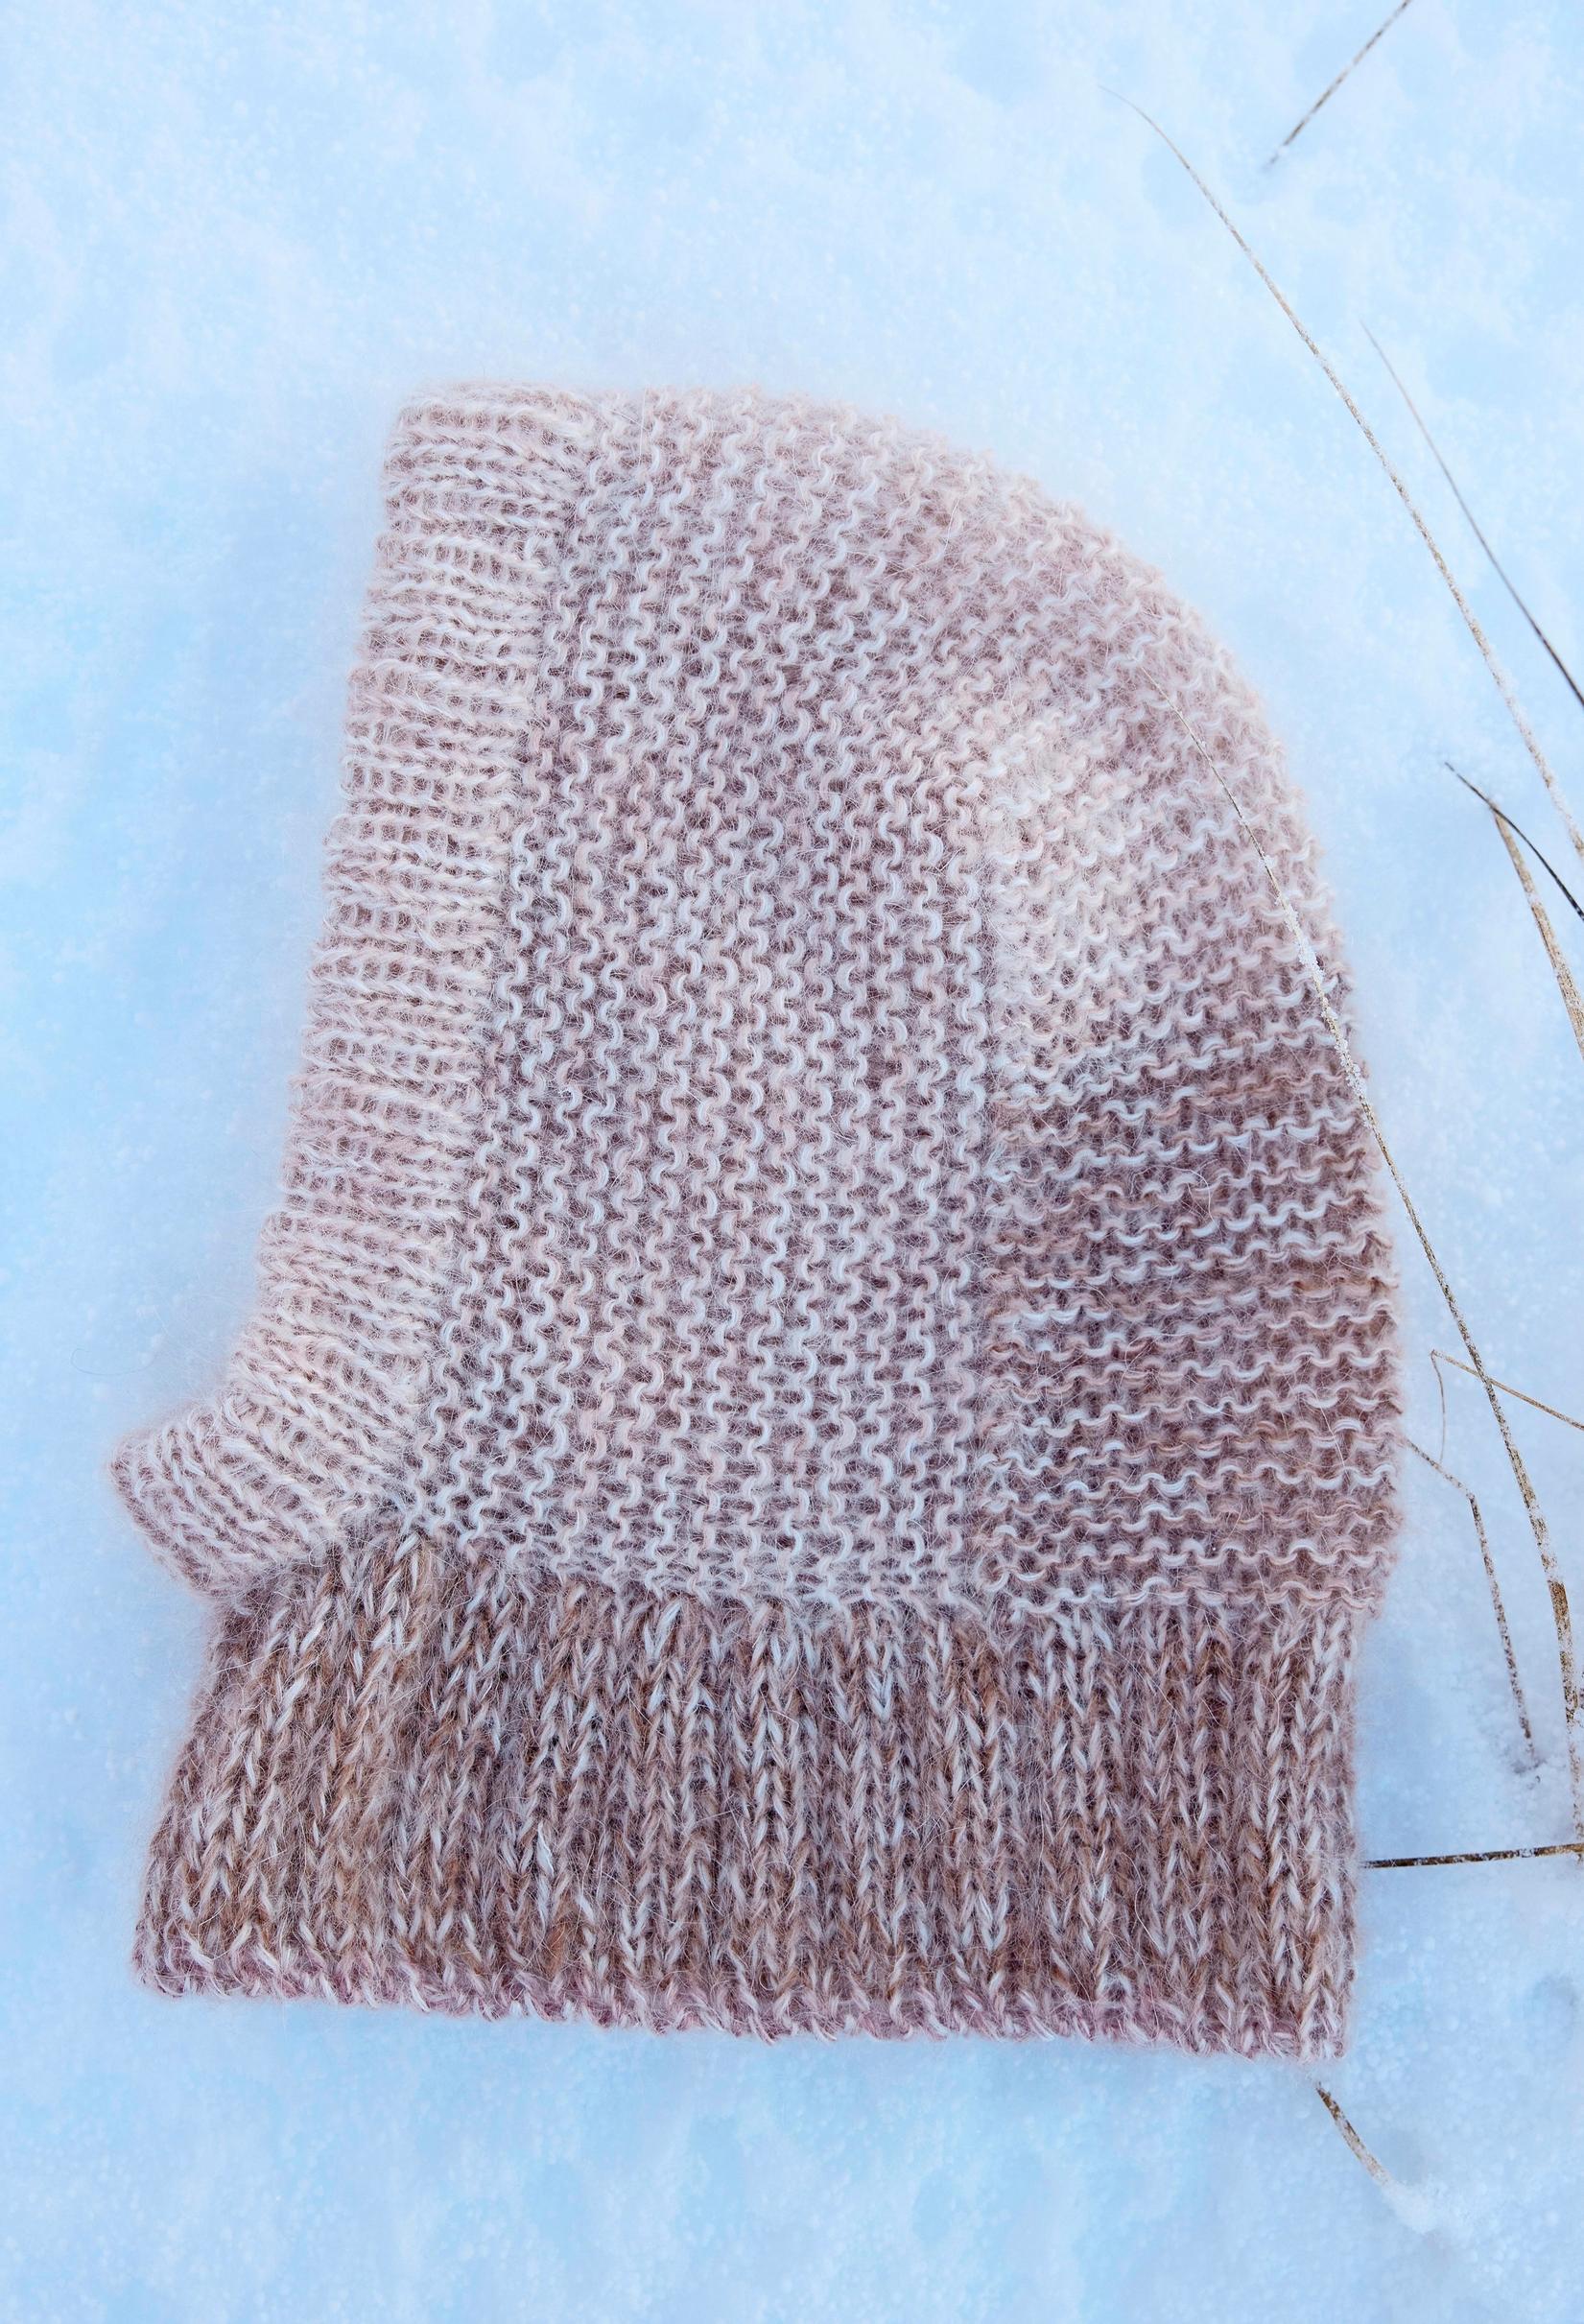
This warm and lightweight balaclava is easy to knit with garter stitch. It's a fantastic scrap yarn project that lets you use up any leftover bits of mohair yarn you have at home. The changing yarn gives the hat a lively texture.
Size: One size. Head circumference approximately 56 cm.
Pilvi balaclava: materials
5 skeins of Novita Tuuli mohair yarn or 125 g of any other mohair yarn. The balaclava is knitted with five strands of mohair yarn held together. You can use leftover yarn and add your favorite shades as you go, whenever a strand runs out. For the sample knit, we used mainly three strands of Novita Tuuli yarn in the shade 'Säde' and two strands in the shade 'Heijastus'.
5.5 (US 9) mm and 6 mm (US 10) circular needles with a 40 cm cable.
Abbreviations:
- st, sts = stitch, stitches
- k = knit
- p = purl
- rnd = round
- k2tog = knit two stitches together
- WS = wrong side
- RS = right side
- sm = stitch marker


Knitted balaclava: instructions
1.Using five strands of yarn held together, cast on 80 sts onto 5.5 mm (US 9) needles and join to knit in the round. Place a sm to mark the beginning of the round.
2. Knit *k3, p1* ribbing until the work measures 8 cm.
3. Make the folded edge: Fold the cast-on edge over to the inside of the work. Align the first stitch of the cast-on edge with the first stitch of the round and knit them together. Continue this way to the end of the round. The folded edge is now complete.
4. Transfer the first 11 sts of the next round onto a scrap yarn holder.
5. Turn the work and continue knitting flat in garter stitch for a total of 27 rows. Knit one more row and begin shaping the balaclava from the wrong side as follows:
- Row 1 (WS): K45. K2tog. Turn work.
- Row 2 (RS): Slip 1 st purlwise with yarn in back, k21, k2tog. Turn work.
- Row 3 (WS): Slip 1 st purlwise with yarn in back, knit until 1 st before the gap, k2tog. Turn work.
- Row 4 (RS): Slip 1 st purlwise with yarn in back, knit until 1 st before the gap, k2tog. Turn work.
Repeat Rows 3 and 4 until all side sts have been decreased and 23 center sts remain on the needle. Do not turn the work on the last RS row.
6. Continue by picking up 29 sts along the edge of the balaclava. Transfer the 11 sts from the scrap yarn onto the needle and knit them according to the pattern (k3, p1), pick up another 29 sts from the other edge. Place a sm here to mark the beginning of the round. Continue knitting *k3, p1* ribbing for 10 cm. Knit one rnd of *k1, p1* ribbing and bind off the work. You can use the Italian bind-off method here, for instance.
Finishing
Let the knitted hood soak for ten minutes in lukewarm wash water with a detergent suitable for wool. Rinse thoroughly. Gently squeeze out the excess water and lay the hood on a clean, dry towel. Roll the hood in the towel for a moment to absorb any extra moisture. Allow to dry flat.