Simple DIY
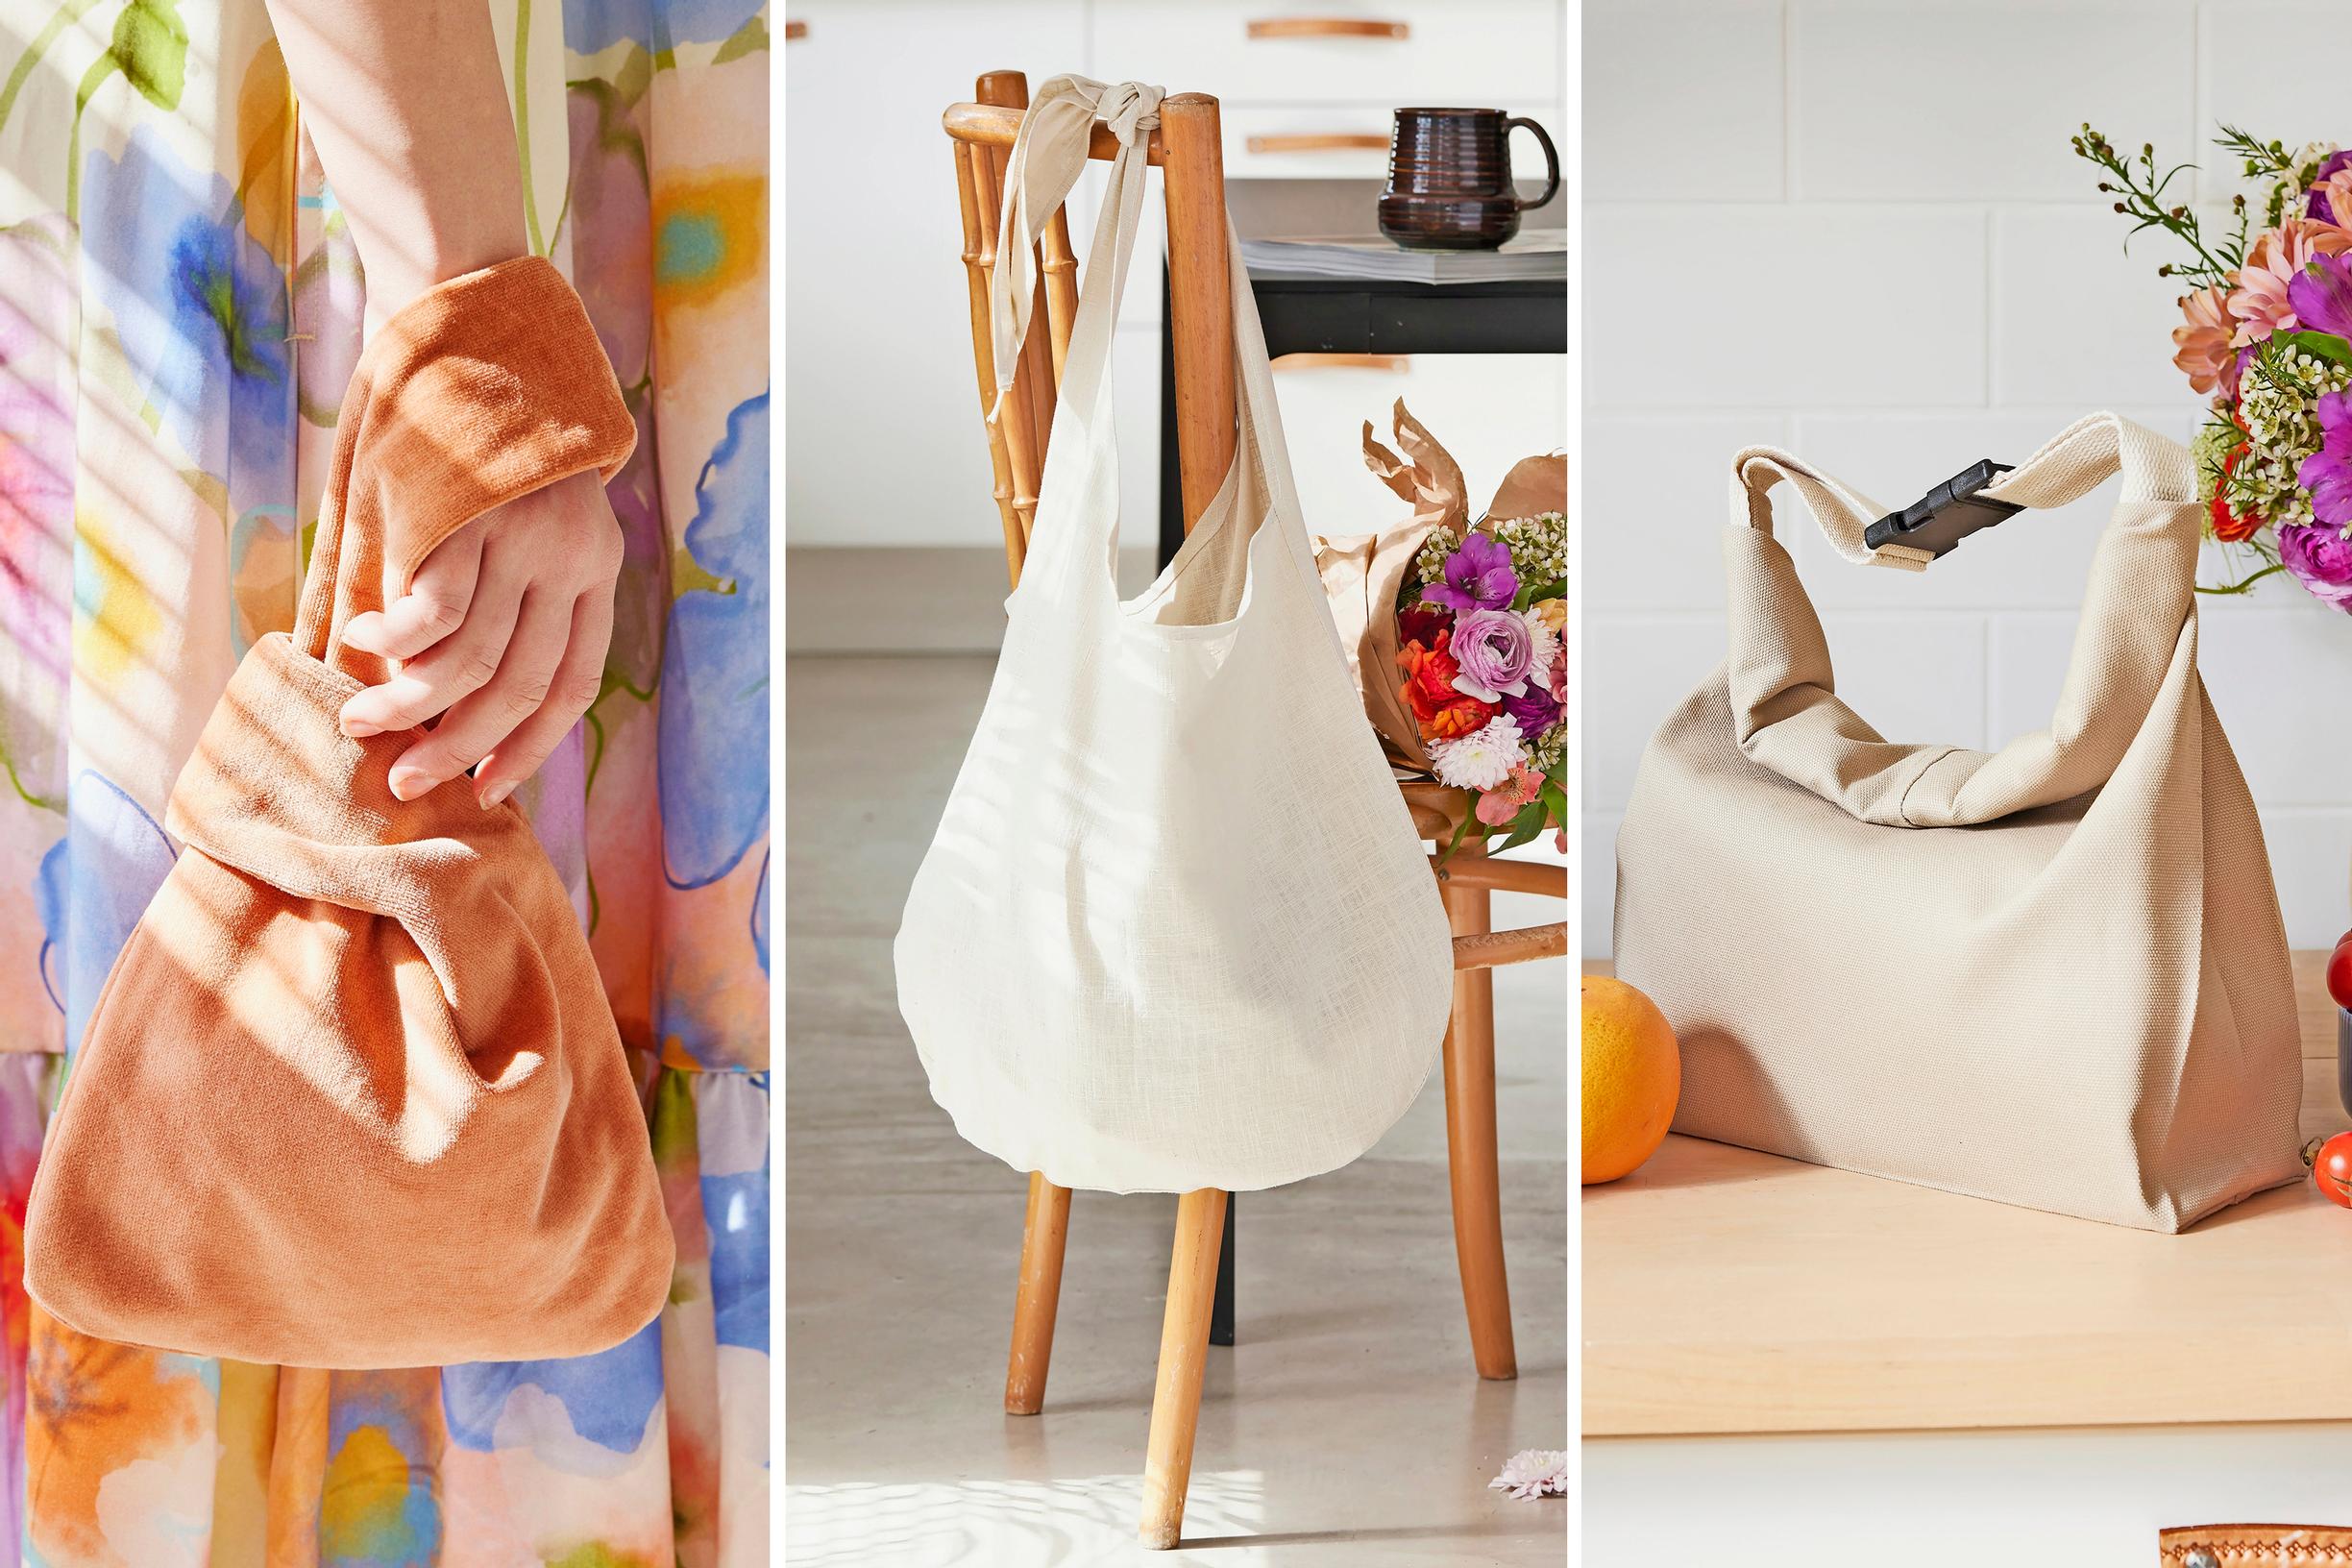
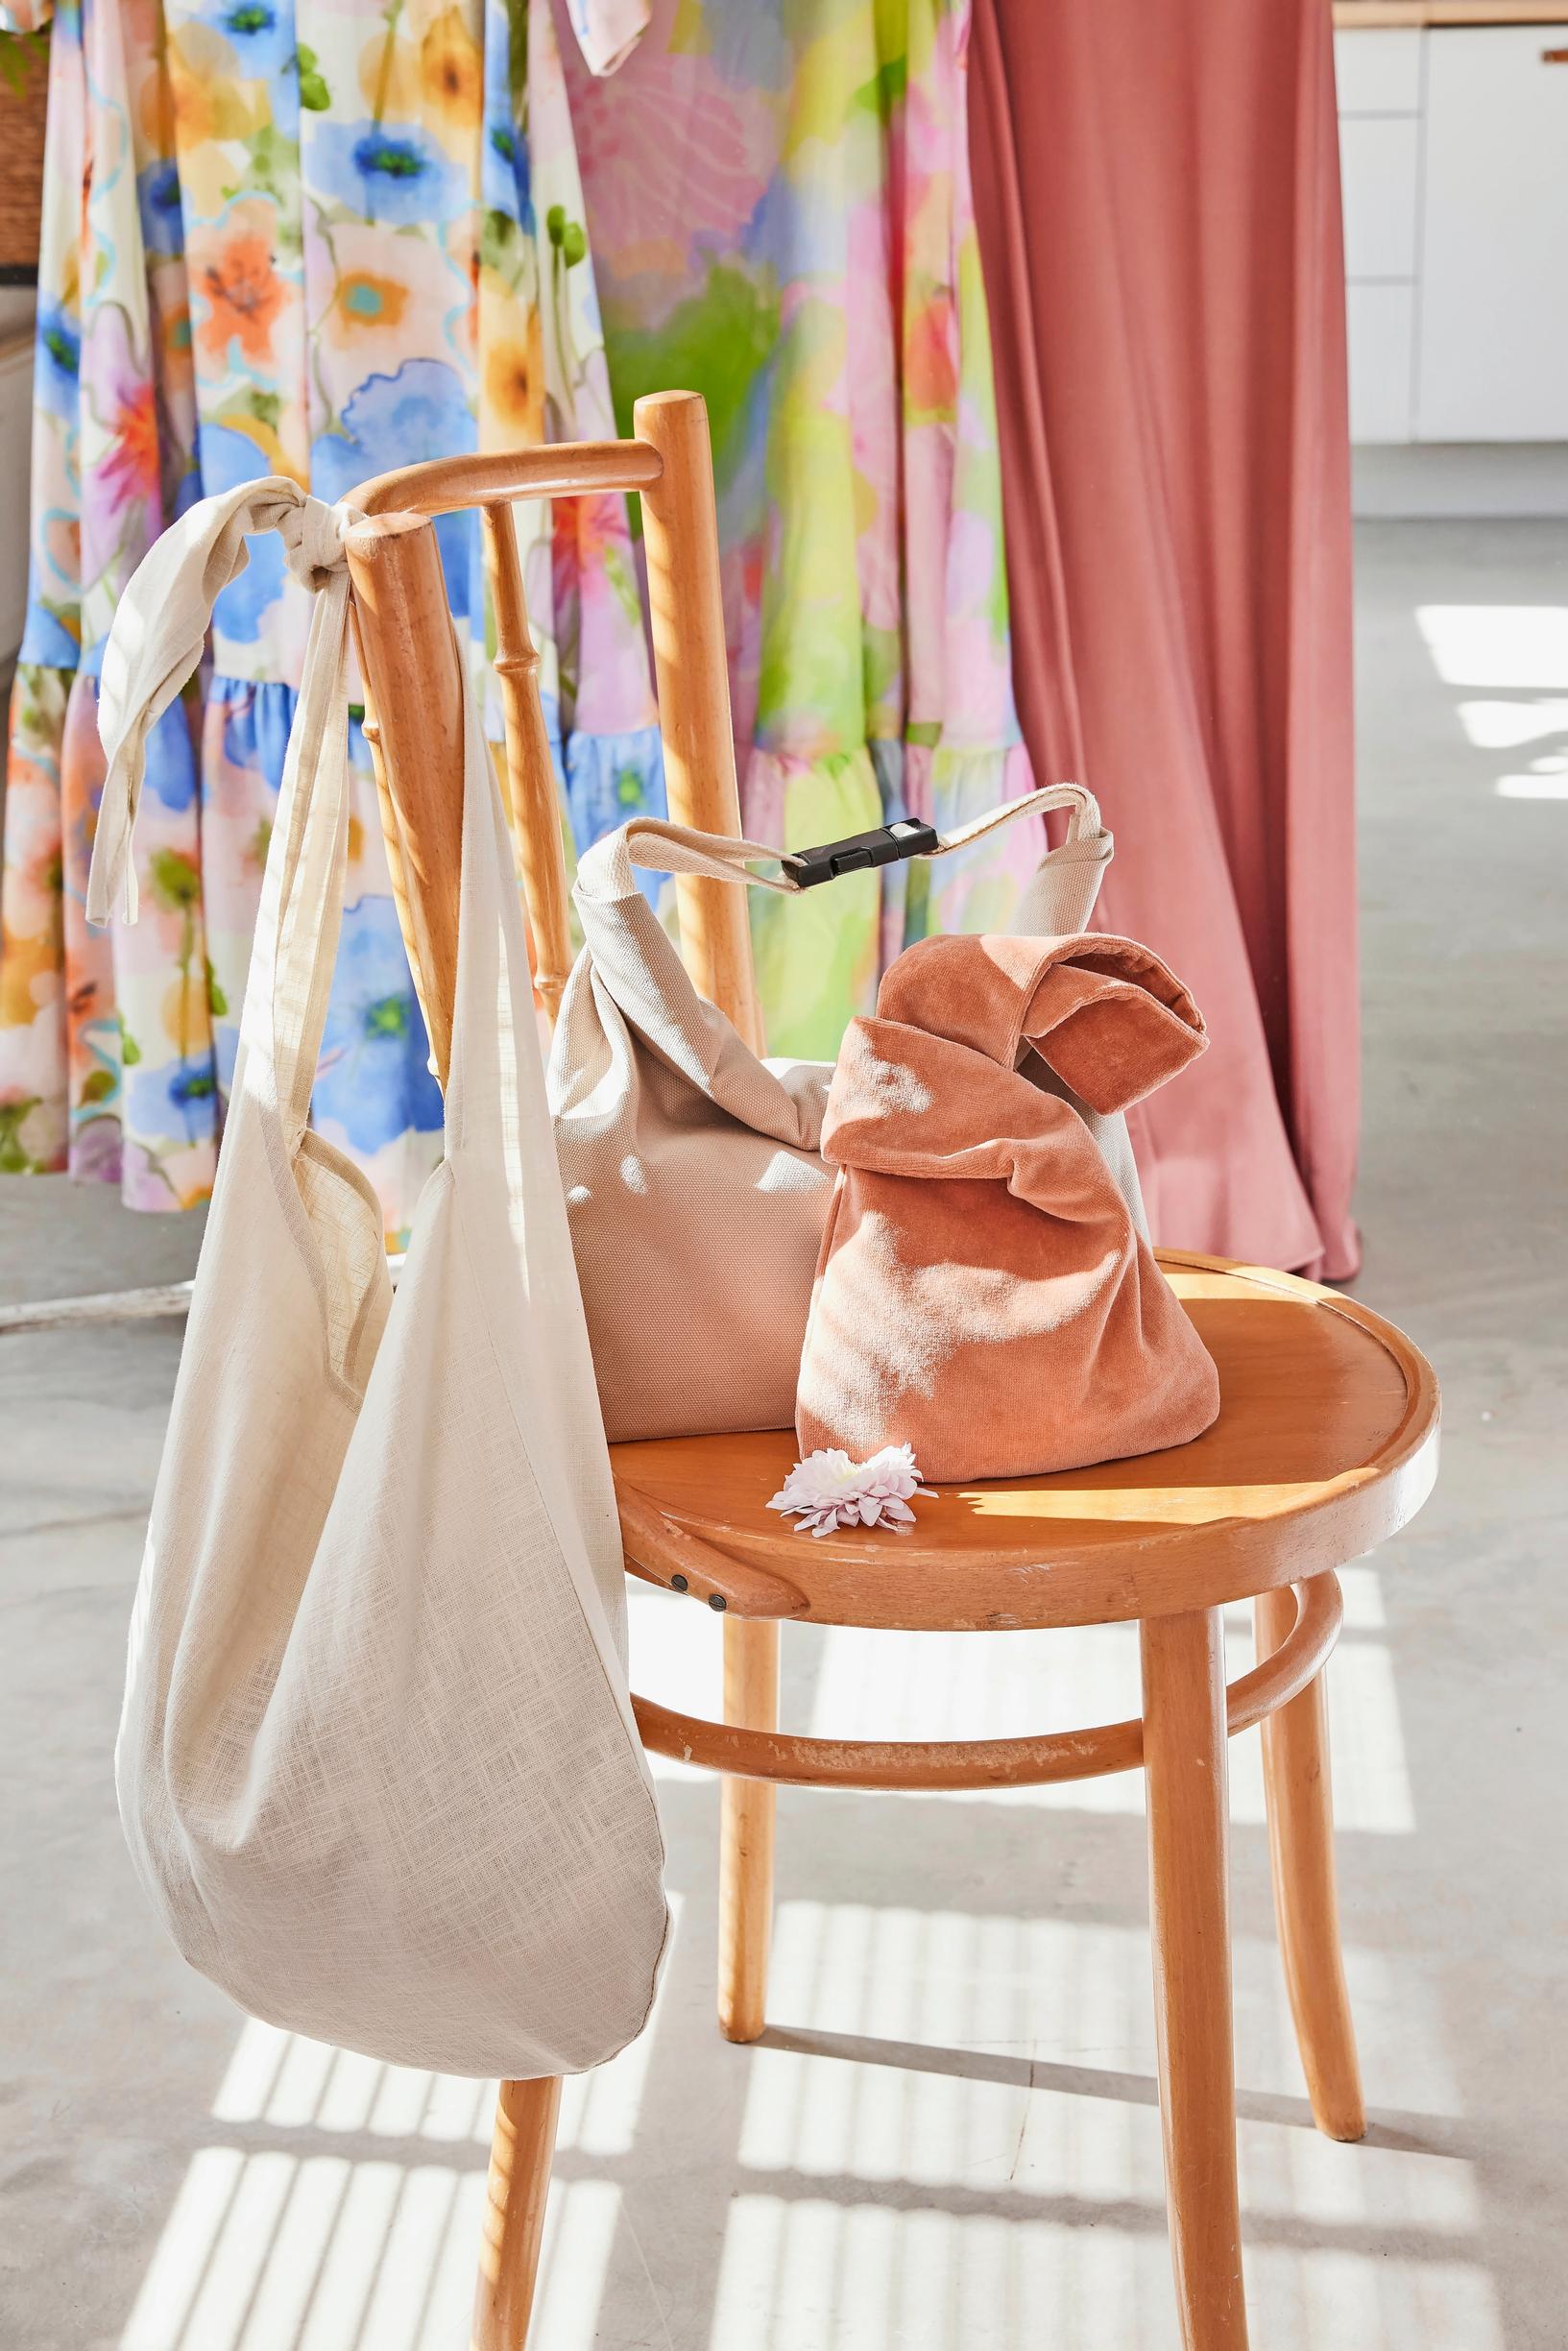
3 easy DIY everyday bags—sew from recycled fabrics!
These stylish bags are super easy to make and cost next to nothing when you sew them from recycled fabrics.
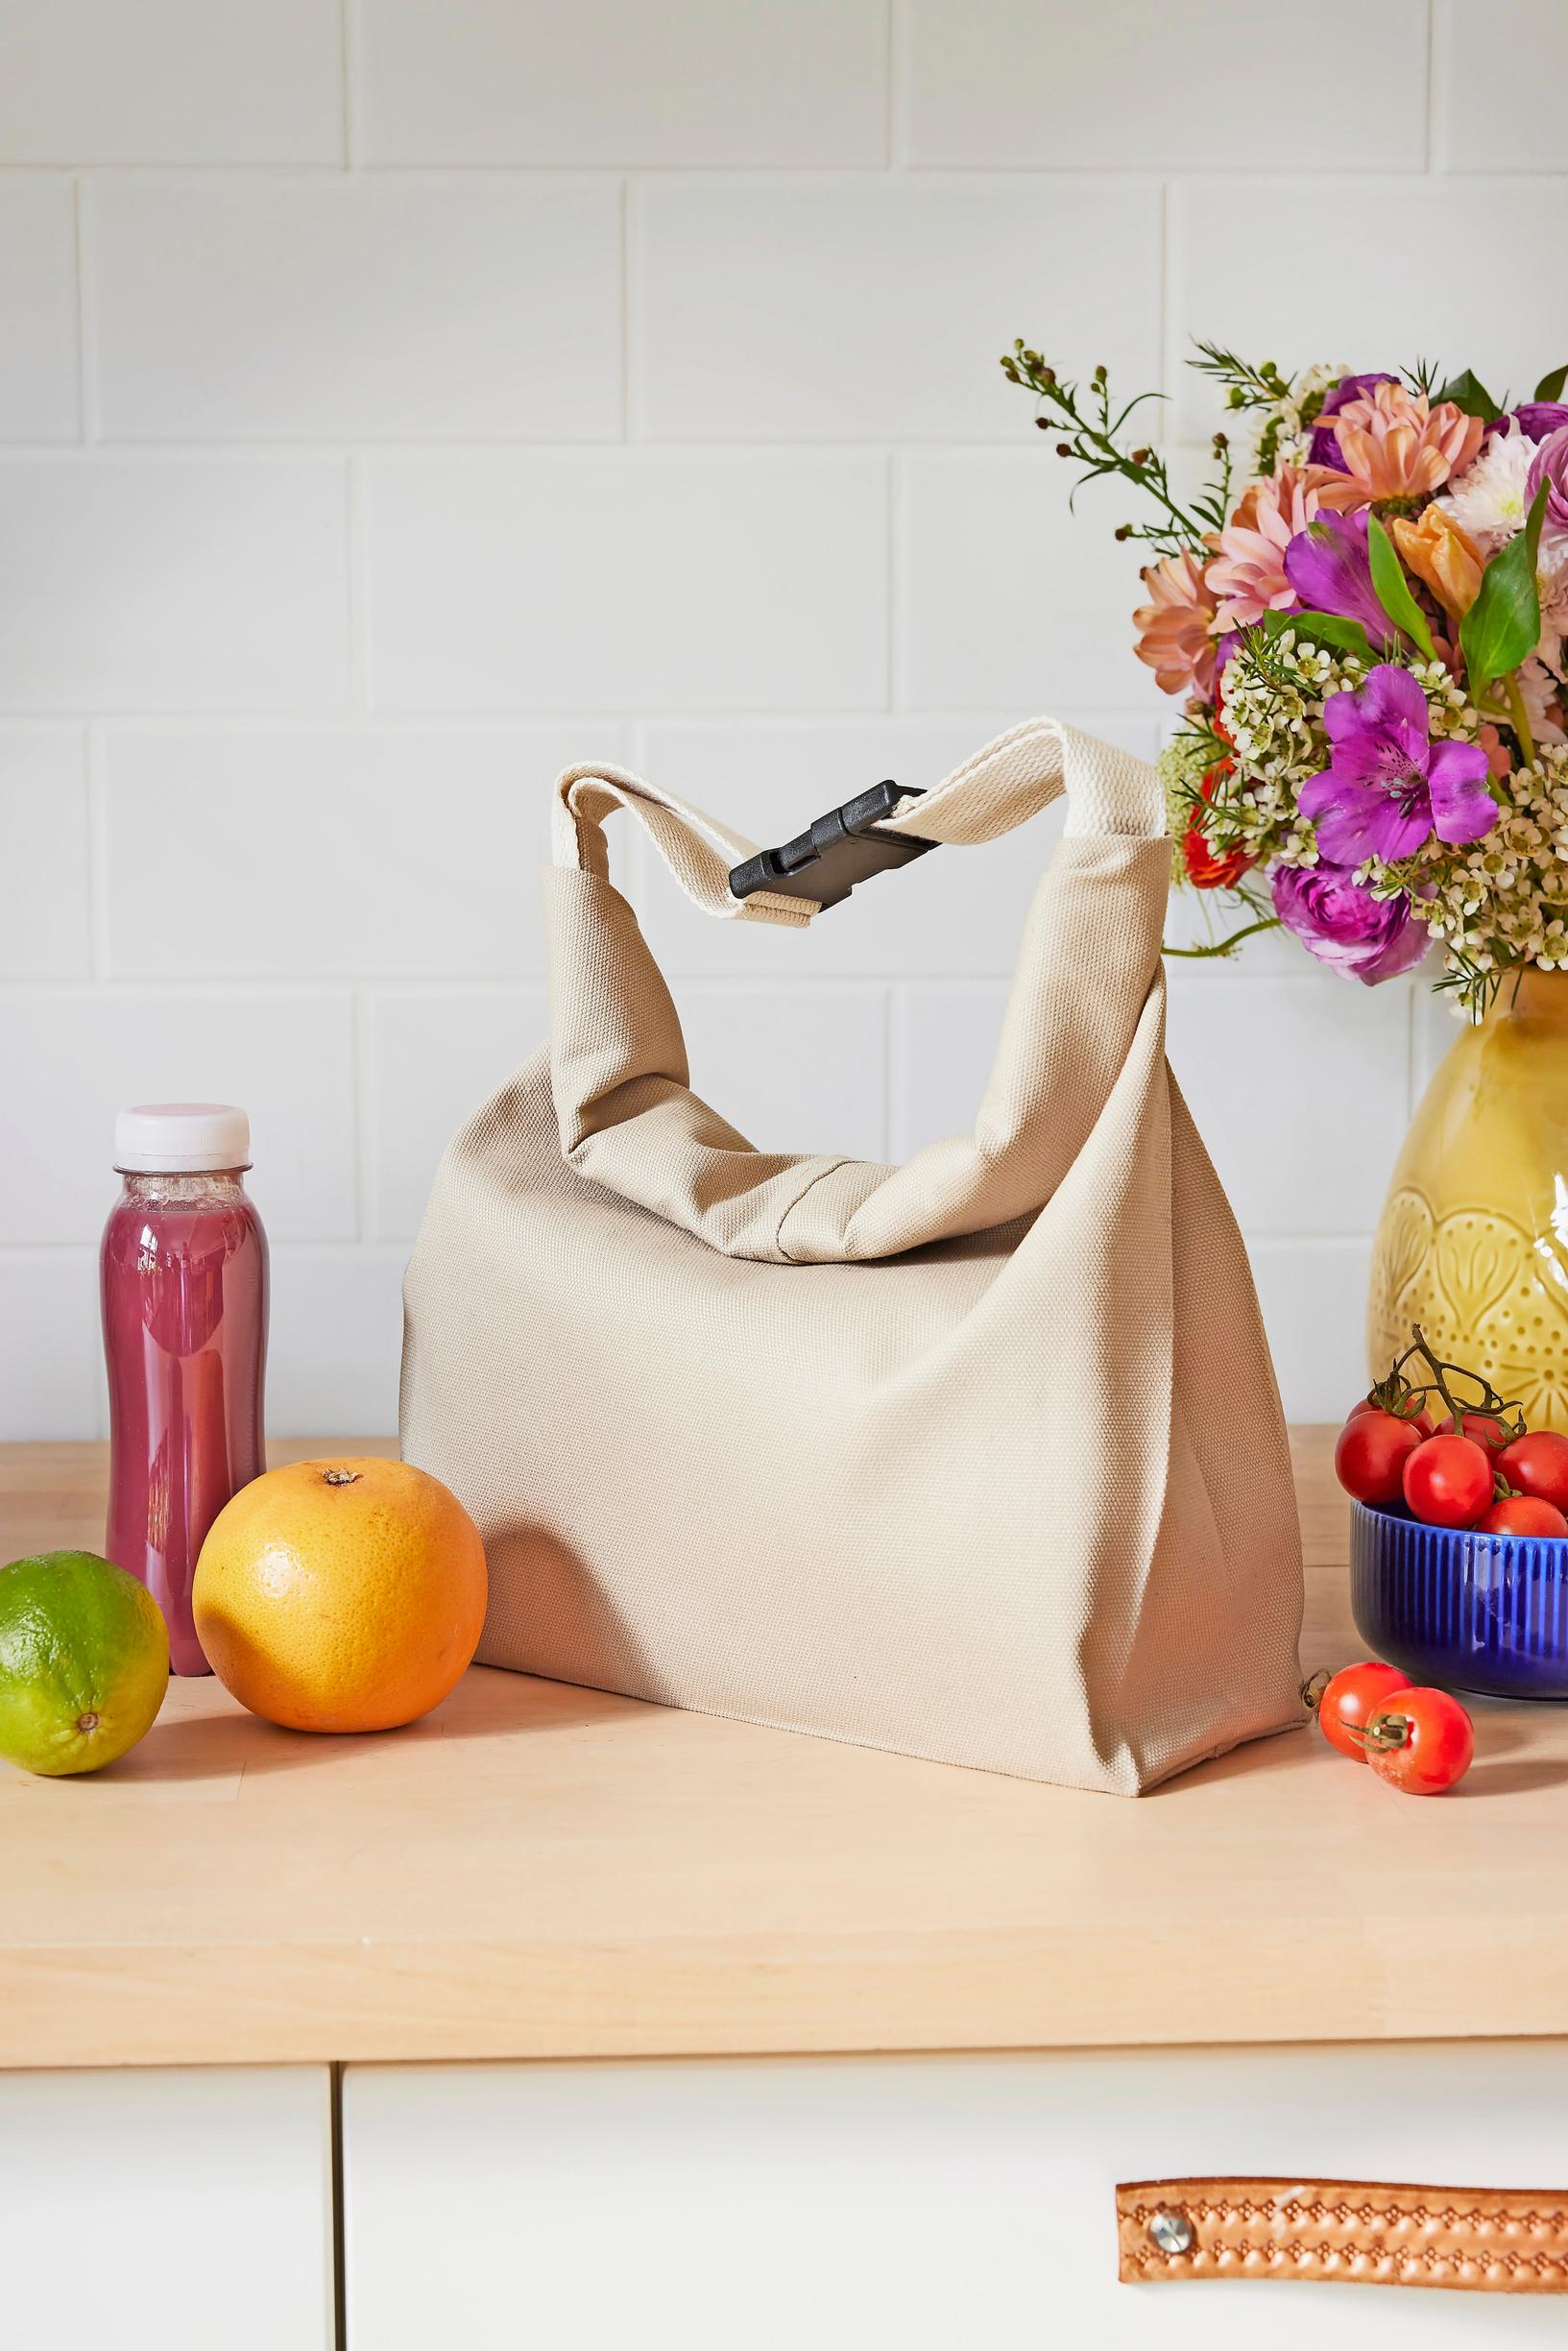
One-piece lunch bag

Materials:
Measuring tape, scissors, and a pen or chalk
35 × 75 cm of canvas, awning cotton, or similar fabric
Sewing machine, thread, and pins
Ironing board and iron
94 cm of cotton or polyester tape (3 cm wide) and a matching snap buckle
21 × 29.5 cm of interfacing and fabric for reinforcing the bag’s bottom

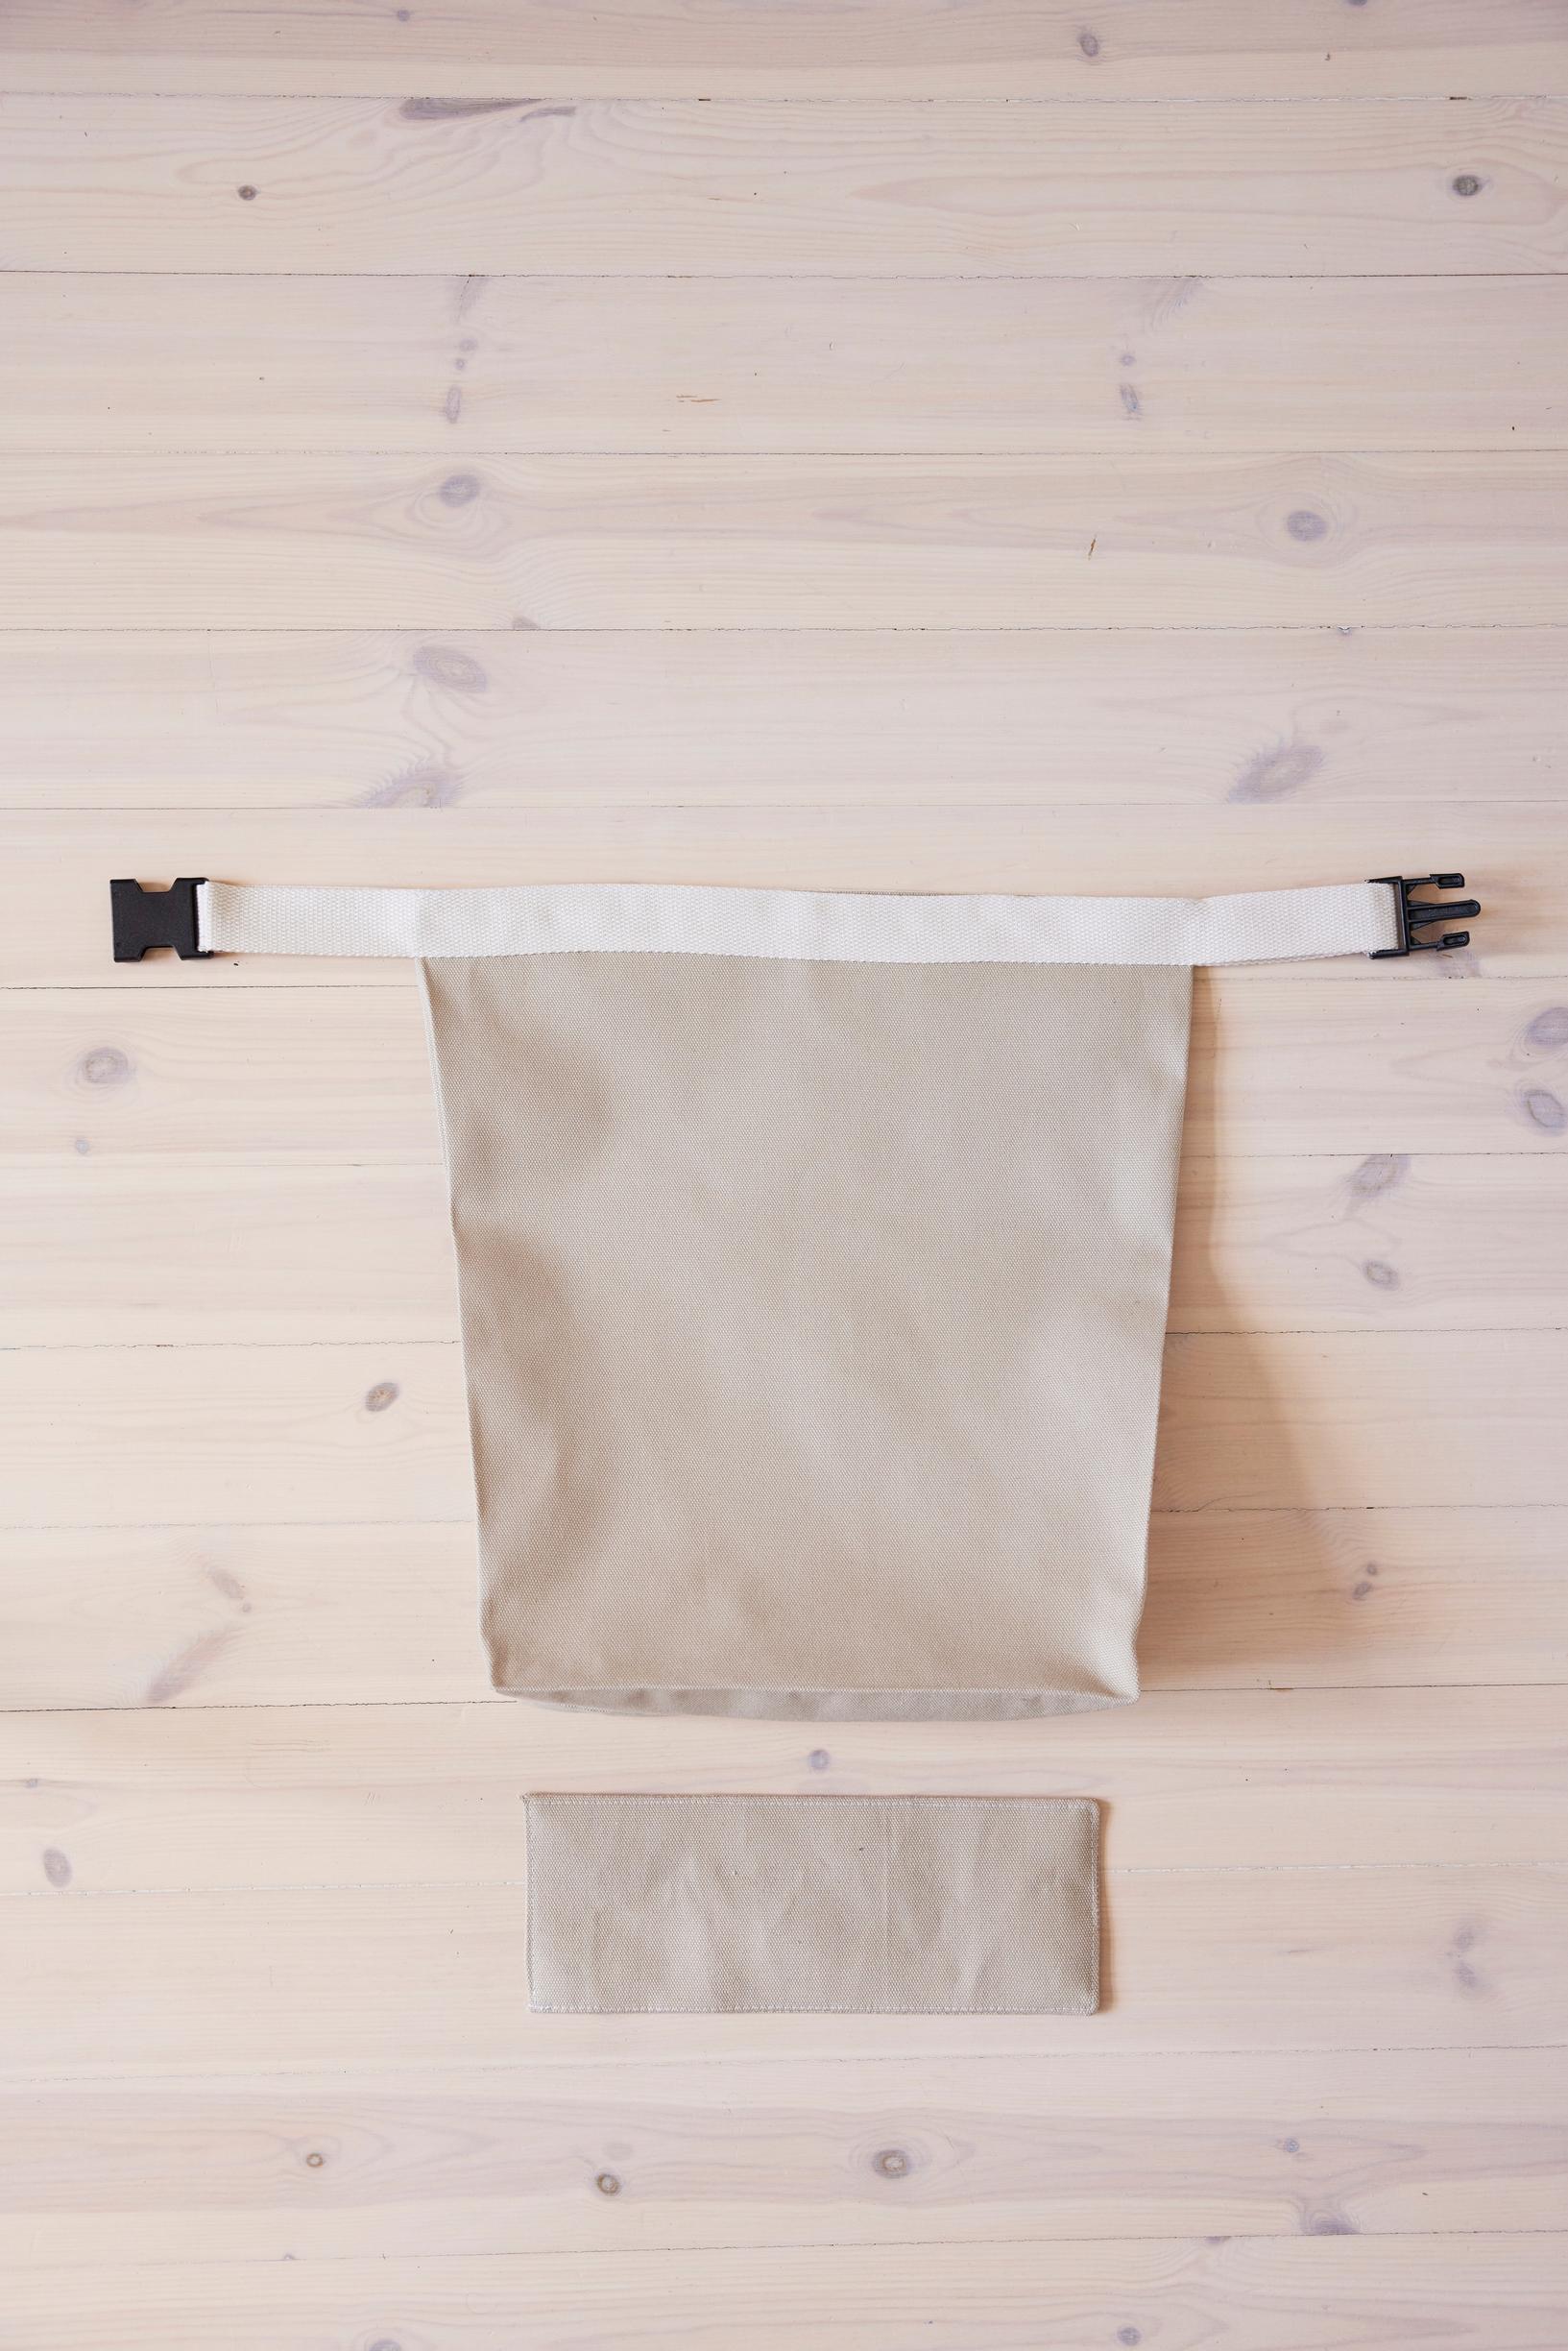
Instructions for the one-piece lunch bag:
- Cut and sew the bag: Fold the 75 cm by 35 cm fabric in half vertically, with right sides together. Sew the back seam with a 1 cm seam allowance, finish the edges, and press. On the right side, topstitch a presser foot’s width from the seam.
- Turn the piece so the seam is centered at the back, and press the side folds. Sew the bottom seam with a 1 cm allowance, finish the edges, and press. On both sides, mark 5 × 5 cm squares at the bottom corners and fold them inwards so that the bottom seam and side fold line up. Sew along the drawn lines to form the bottom corners. Turn the bag right side out, and press the corner seams and bottom folds from corner to corner. Fold and press the bag’s opening flat, and make small cuts less than 1 cm into the sides at the top. Press the folds from the cuts down to the bottom corners.
- Thread the buckles onto the strap and sew the strap into a loop. Finish the seam and topstitch. Pin the strap to the wrong side of the bag’s opening so that the fabric and strap overlap by 1 cm, and the strap loop extends equally over both sides of the bag, with one buckle on each side. Sew the bottom edge of the strap to the fabric, fold it over onto the fabric, and press. Topstitch the edges.
- Sew a 10 × 27.5 cm bottom reinforcement from two layers of bag fabric stiffened with interfacing, stitch them together and topstitch, then insert it into place.
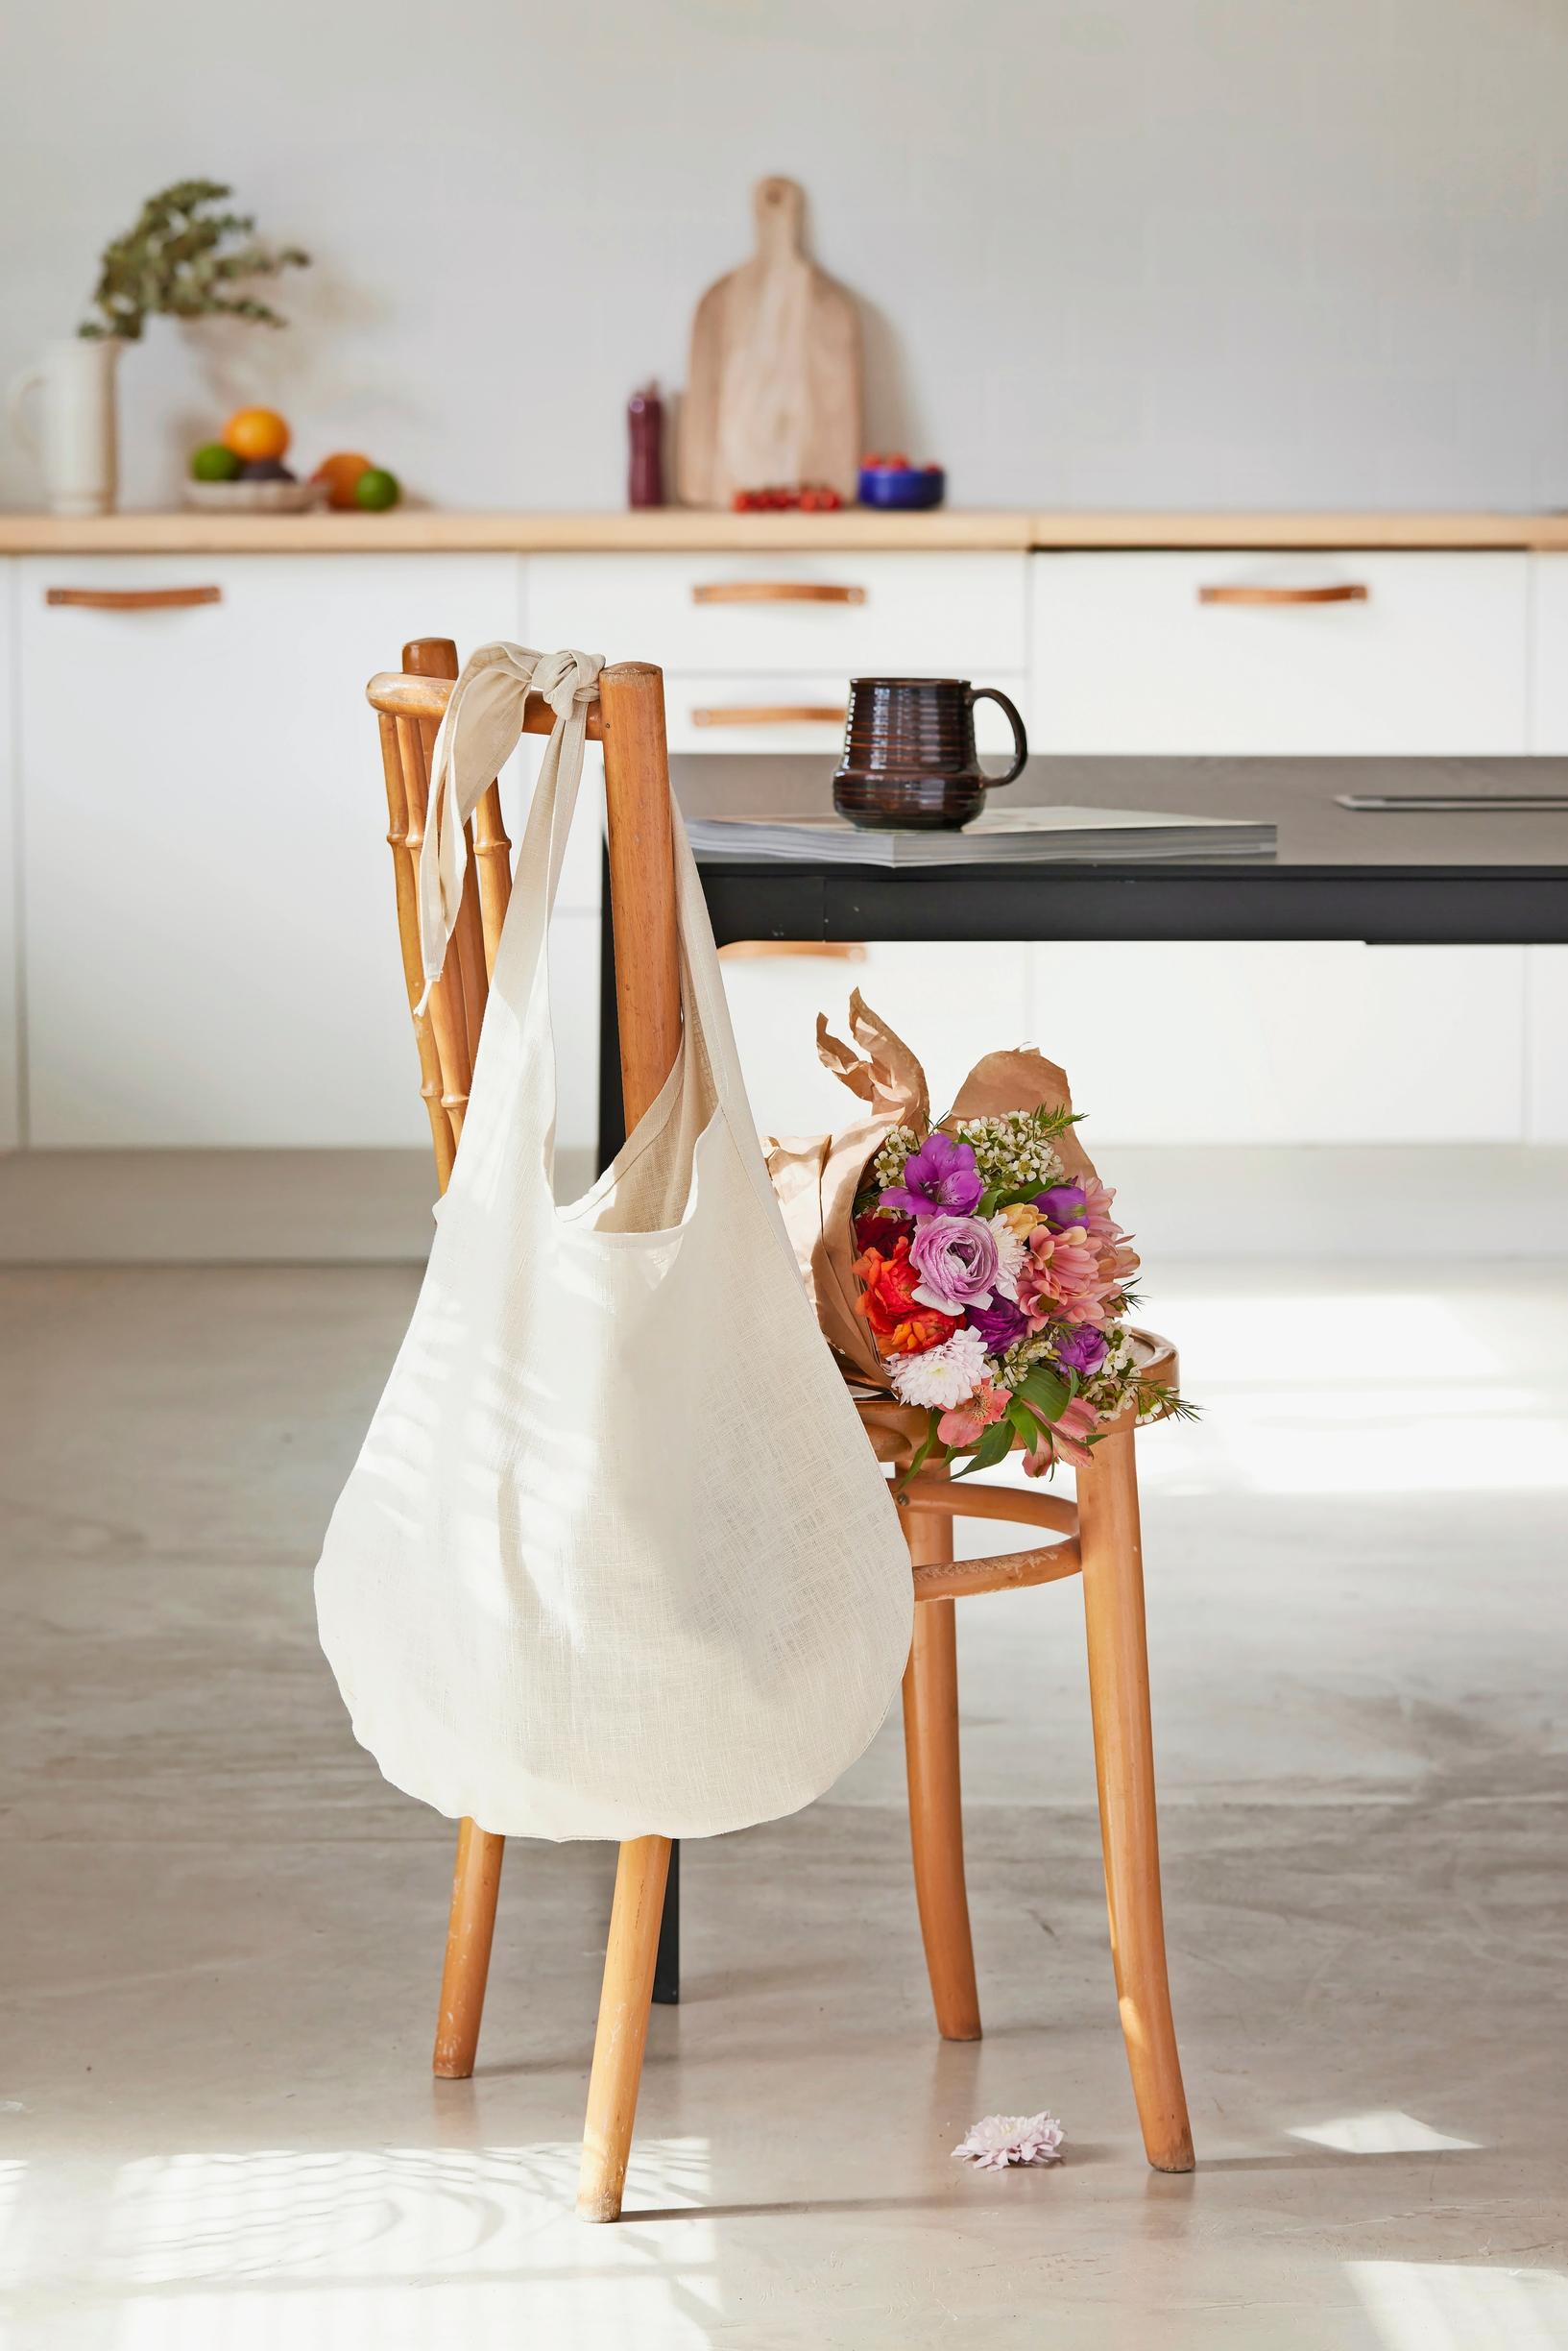
Super easy linen bag

Materials:
Paper, pen, ruler, and scissors
90 × 110 cm of linen fabric
Sewing machine and thread
Iron and ironing board

Instructions for the super easy linen bag:
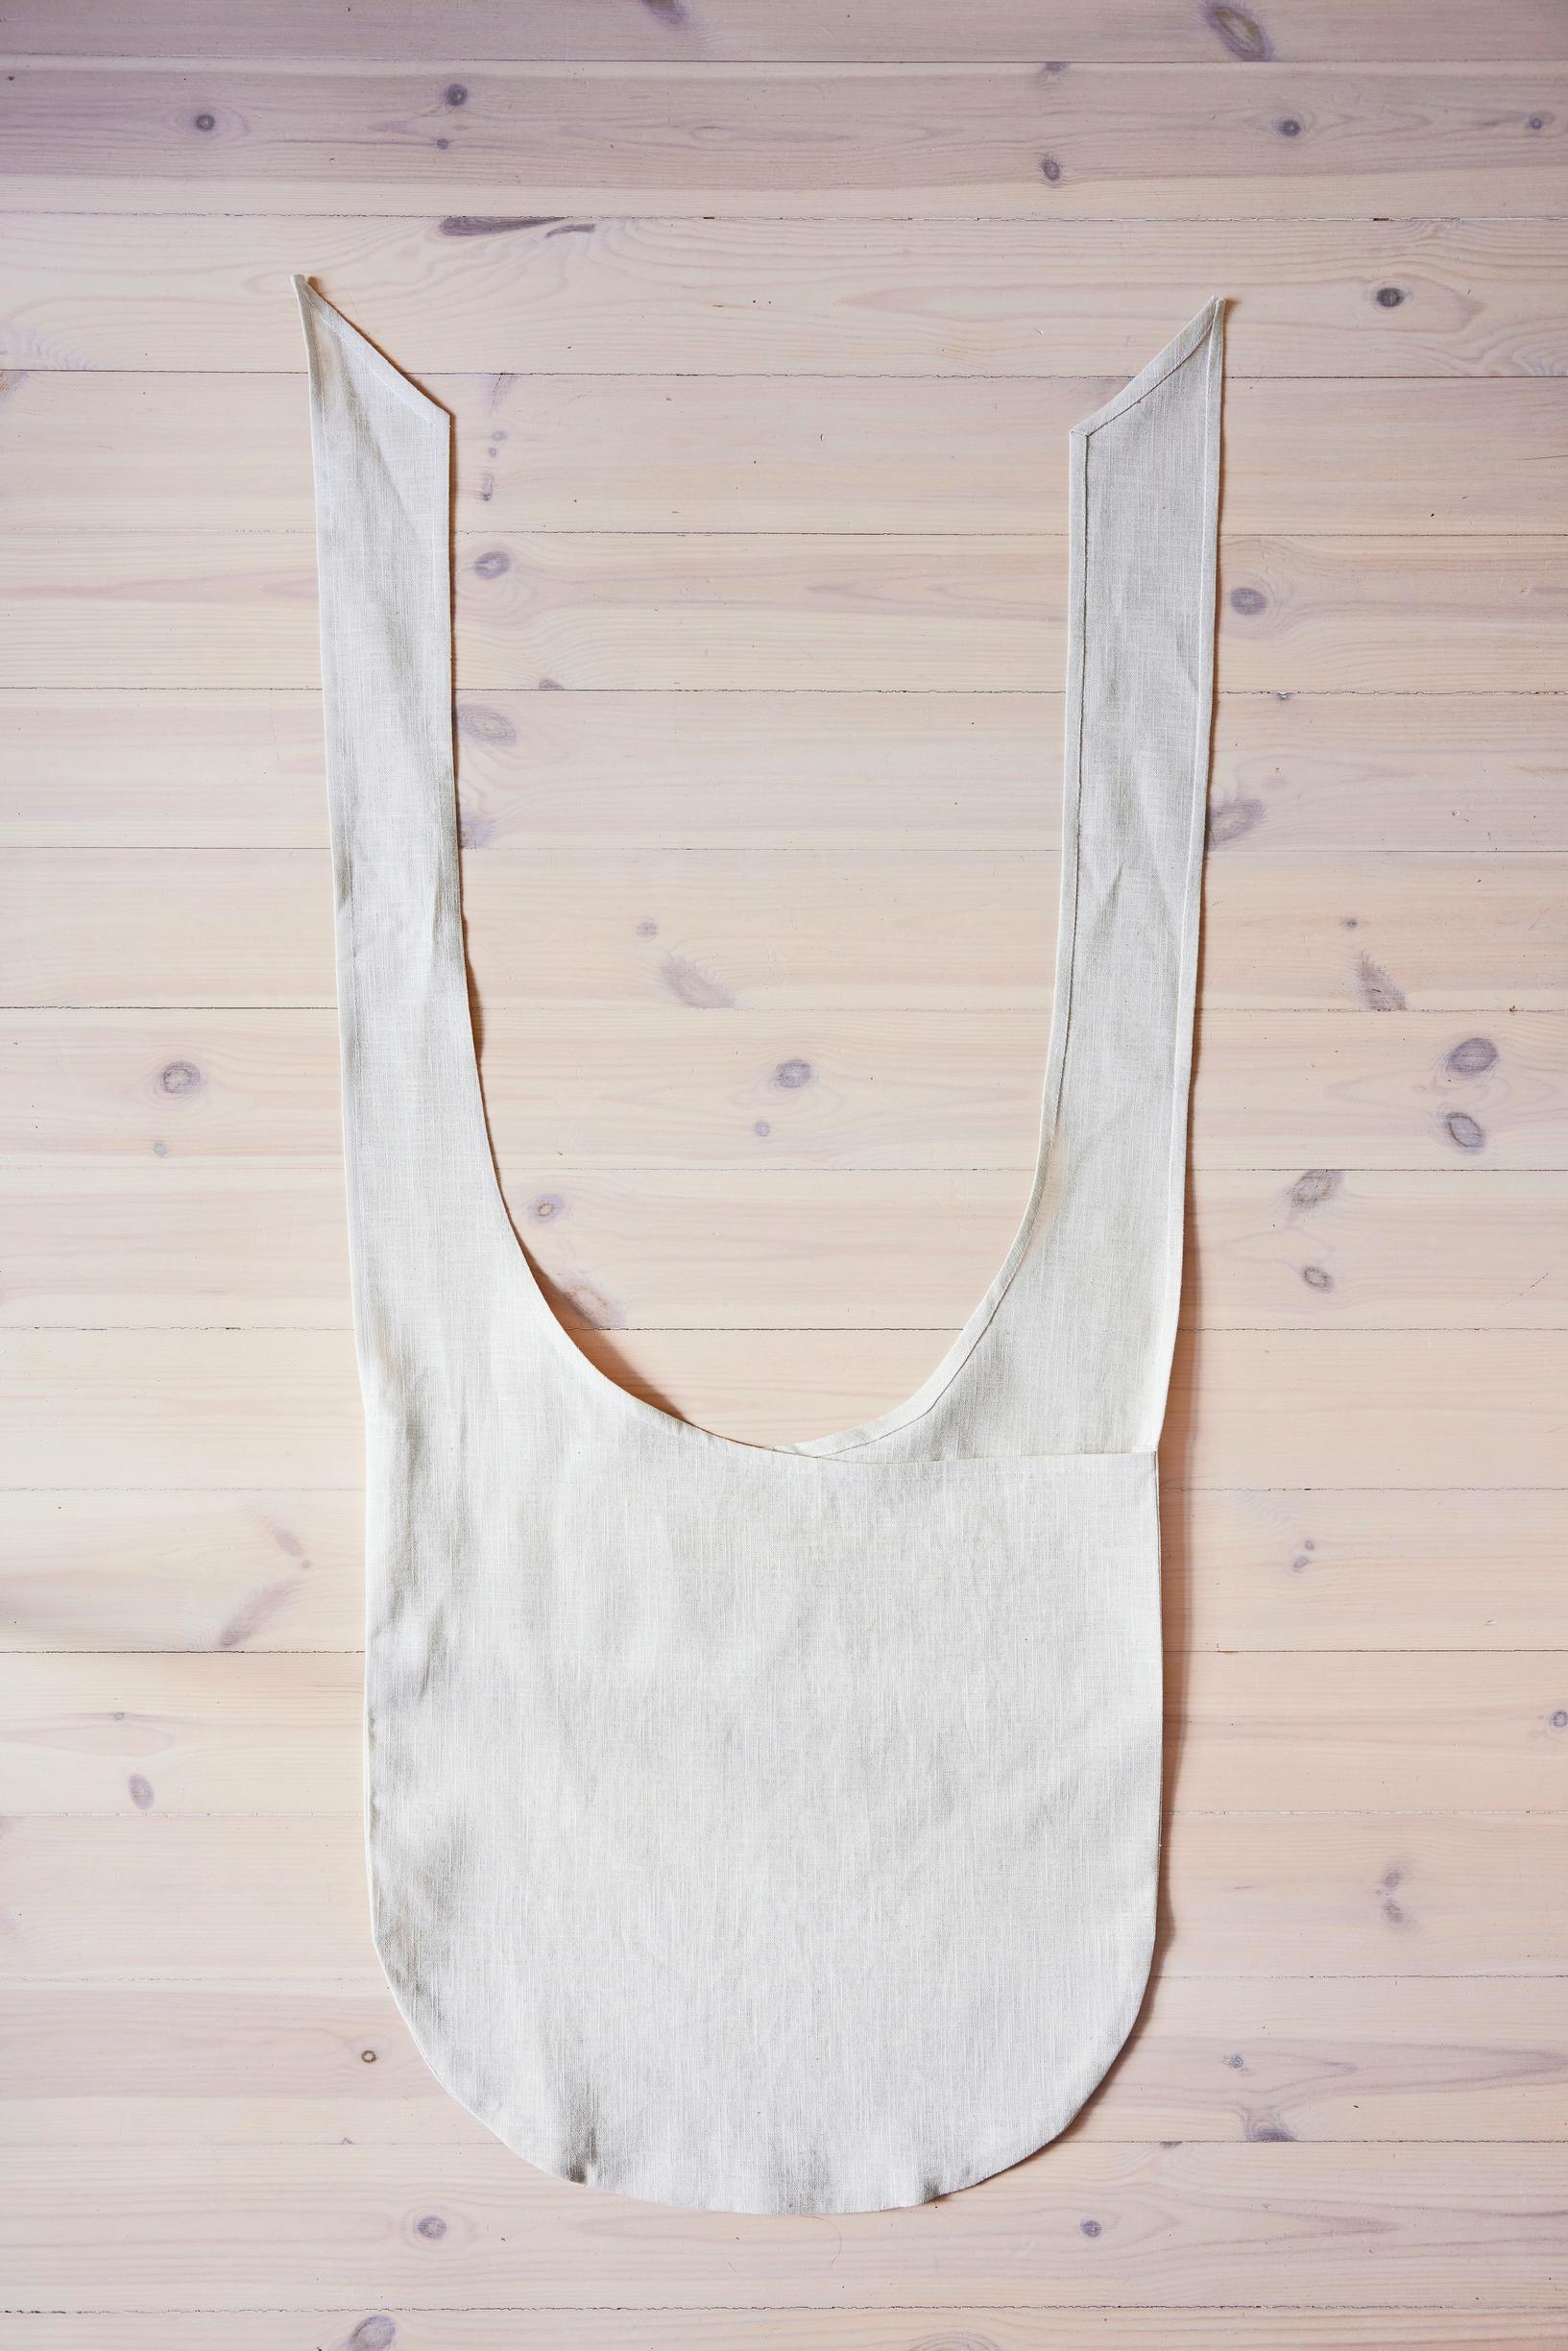
- Draw a bag piece on paper: a 45 × 45 cm square, round its bottom corners, and add a shoulder strap 10 cm wide and 65 cm long to the right side of the top edge. Round the bottom of the strap towards the bag opening, make an angled cut at the top of the strap, and cut out the pattern. Fold your fabric in half and cut two mirror-image pieces. Make cuts of about 1.5 cm at the base of the straps.
- Fold, press, and stitch double hems—first 0.5 cm, then 1 cm—along the openings and strap edges of the pieces. Topstitch the hems. Place the pieces right sides together. Sew, finish, and press the bag seam with a 1.5 cm seam allowance from one cut to the other.
Japanese knot bag


Materials:
Paper, pen, ruler, and scissors
40 × 92 cm of non-stretch velvet or other soft fabric
Sewing machine and thread
Iron and ironing board

Instructions for the Japanese knot bag:
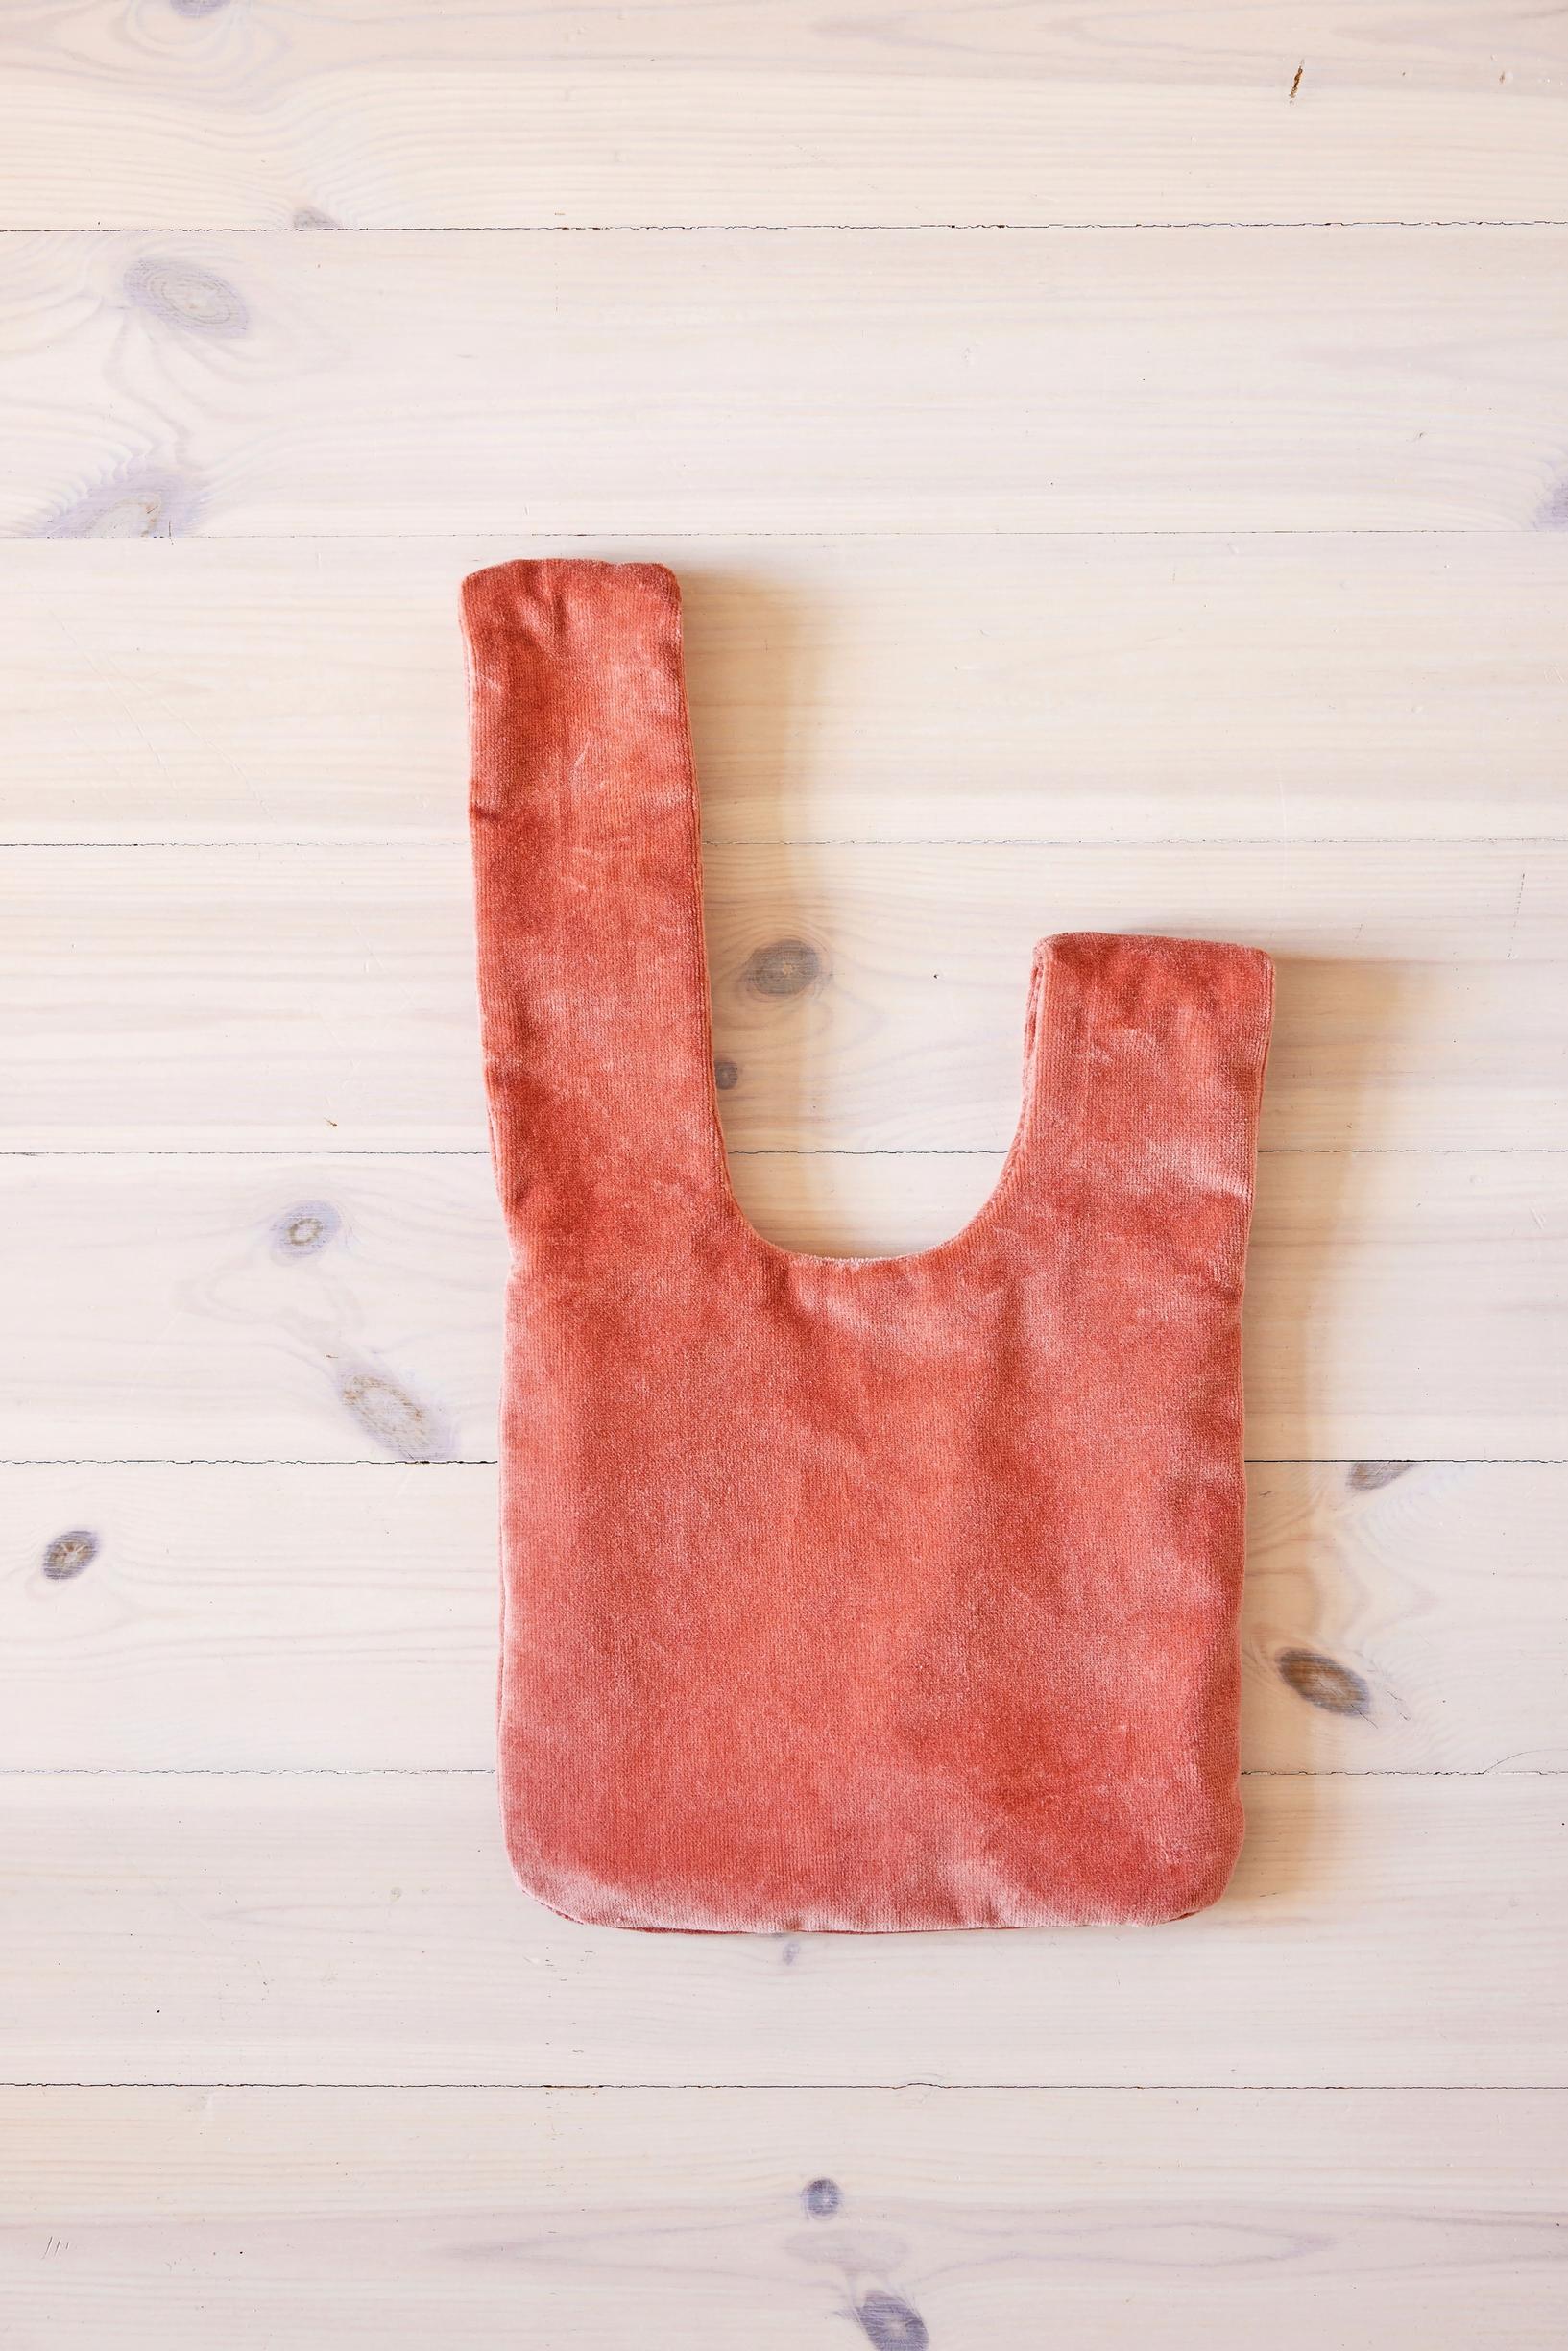
- Draw the pattern on paper: a bag section 23 cm wide and 20 cm high, rounded at the bottom, with 8 cm wide straps on each side of the opening—one strap 10 cm long and the other 20 cm long. Round the bag’s opening between the straps. Fold your fabric in half with right sides together. Using the pattern, cut two outer pieces and two lining pieces from the fabric. Make alignment notches of about 1 cm at the base of the straps.
- Sew the outer and lining pieces right sides together at the sides of the strap sections and at the openings with 1 cm seam allowances, forming pairs. Make a few snips in the seam allowances around the openings, turn right side out, and press. Turn one pair inside out, insert the right-side-out pair into it, and sew the top edges of the straps together. Press the seams and turn the work right side out. Fold the pairs over each other.
- Fold the bag section that will become the lining over the handles, and the outer pieces under them. Sew the bag sections all around, right sides together, with 1 cm seam allowances to form a pouch, but leave a 15 cm opening at the bottom edge of the lining piece for turning. Turn the work right side out through the opening, press the seams, and sew the opening closed. Push the lining inside the bag.

Most recent
Latest